
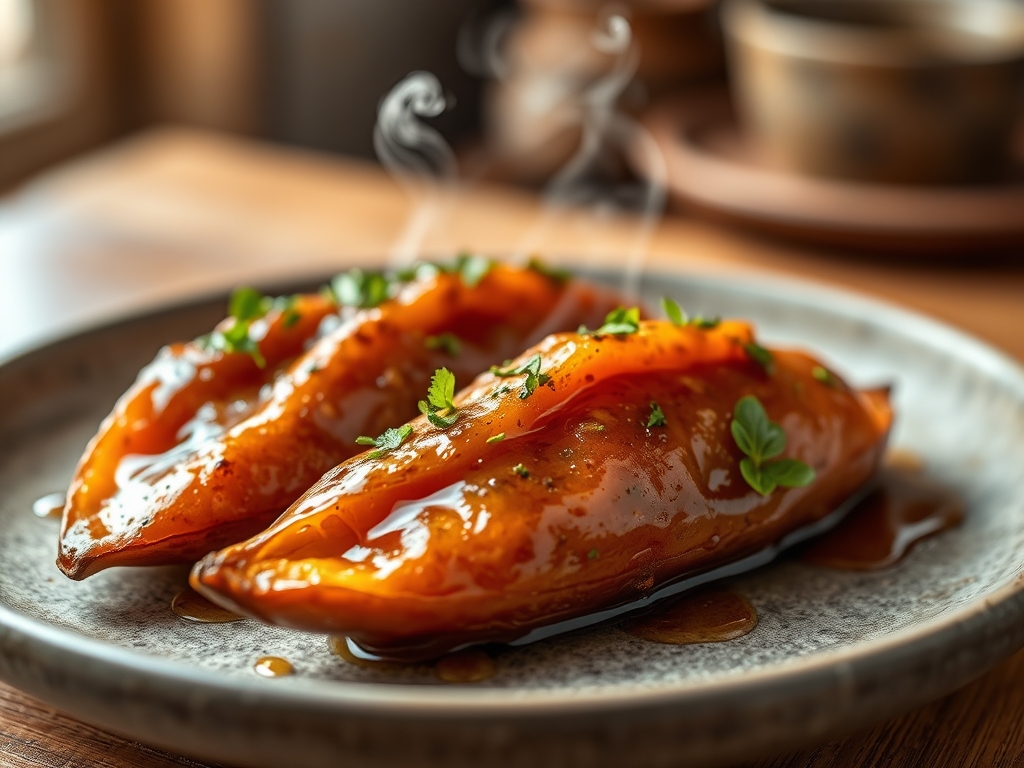
Picture the kitchen at sunset, a warm golden hue filtering through the steam as the scent of scorched sugar and earthy tubers fills the air. We are not just making a side dish; we are engineering a masterpiece of caramelization. Mastering glazed sweet potato recipes requires more than just heat. It demands an understanding of how starch transforms into a molten, amber velvet that clings to every forkful. Whether you are prepping for a festive holiday spread or a Tuesday night indulgence, the goal is a balance of salt, acid, and that signature glossy sheen. We want the edges to be crisp enough to shatter, while the interior remains a buttery cloud. This is the ultimate comfort food elevated by culinary precision. Forget the mushy, overly sweet casseroles of the past. Today, we are focusing on the structural integrity of the potato and the chemical magic of a perfectly reduced glaze. Let us grab our favorite heavy-bottomed skillet and get to work on these nine life-changing secrets.
The Gathers:
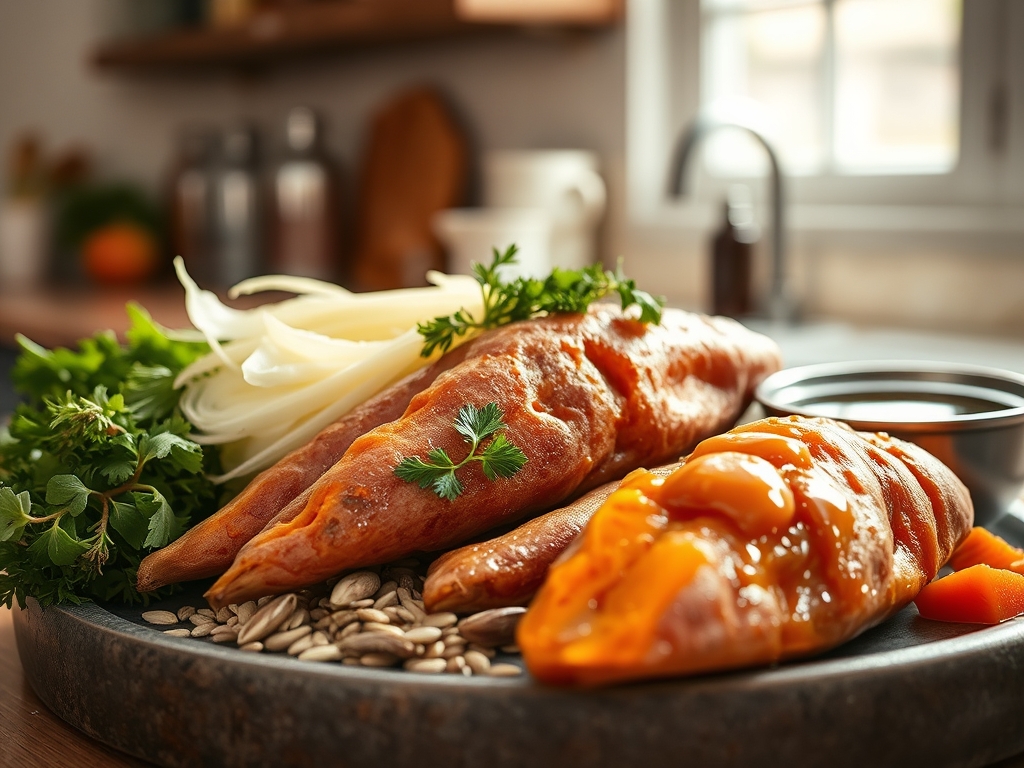
Before we ignite the burner, we must assemble our mise-en-place with the precision of a chemist. The foundation starts with firm, garnet-skinned sweet potatoes. Look for tubers with high moisture content; these contain the necessary polysaccharides to soften without becoming fibrous. You will need a high-quality fat, preferably unsalted European-style butter with a high butterfat percentage to ensure a viscous mouthfeel. For the glaze, we require a humectant like maple syrup or honey, which prevents the sugar from crystallizing into a grainy mess.
Do not forget the aromatic profile. Freshly grated ginger provides a piquant bite that cuts through the density of the starch. Use a microplane to achieve a fine paste that integrates seamlessly into the liquid. To balance the sweetness, keep a bottle of apple cider vinegar or a fresh lemon nearby to deglaze the pan and brighten the finish.
Smart Substitutions:
If you are avoiding dairy, reach for cold-pressed coconut oil. It offers a similar saturated fat structure that allows the glaze to emulsify without breaking. For a lower glycemic index, swap the maple syrup for agave nectar or a monk fruit reduction. If you lack fresh ginger, a pinch of ground cardamom or star anise can infuse the dish with a sophisticated, floral depth that mimics that spicy heat.
The Clock
Efficiency in the kitchen is about "Chef's Flow," the art of overlapping tasks to minimize downtime. Expect a total time of 45 minutes from the first peel to the final garnish. Prep takes approximately 10 minutes; this involves scrubbing the skins and dicing the tubers into uniform cubes. Uniformity is the secret to even cooking. If your pieces vary in size, the small ones will disintegrate before the large ones reach the desired al dente texture.
The cooking process spans 30 to 35 minutes. We begin with a high-heat sear to initiate the Maillard reaction, followed by a lower-temperature simmer once the glaze is added. The final 5 minutes are reserved for the "glaze tightening" phase, where we use a saucier or wide pan to increase surface area evaporation, ensuring the sauce coats the potatoes rather than pooling at the bottom.
The Masterclass
1. The Uniform Cube
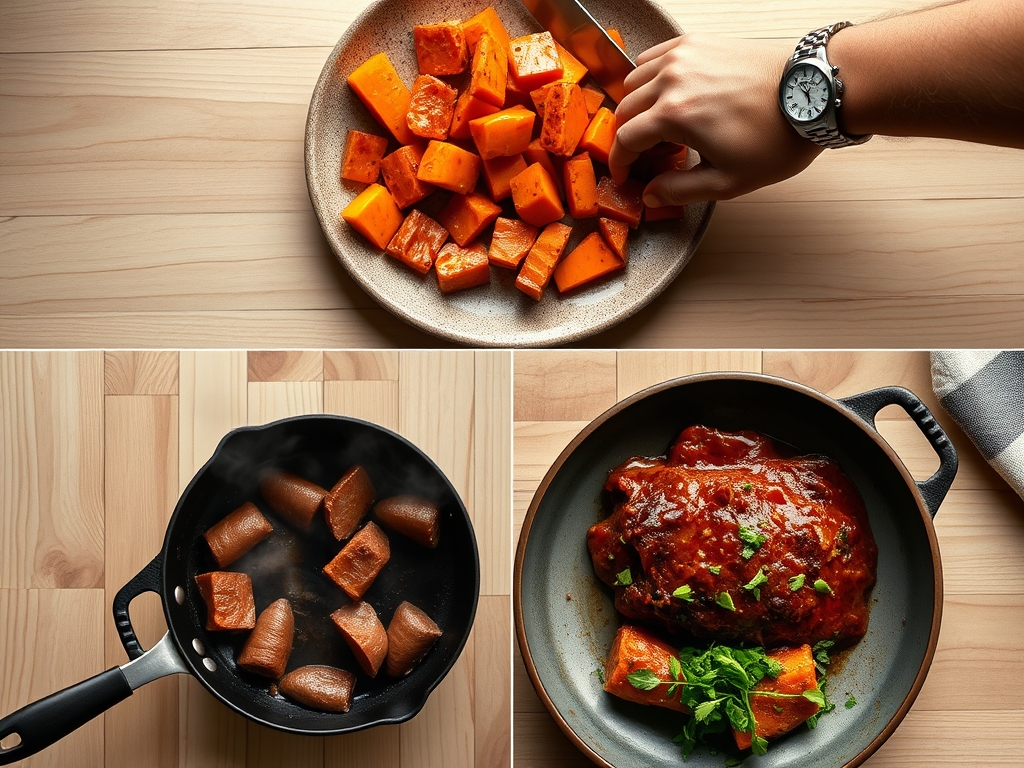
Start by using a sharp chef's knife and a bench scraper to organize your cubes into one-inch increments. Note the texture in the step-by-step photos below; the edges should be clean and sharp.
Pro Tip: Cutting the potatoes into uniform sizes ensures consistent heat transfer. If the surface area to volume ratio is identical across all pieces, they will reach their thermal equilibrium at the exact same moment, preventing a mix of raw and mushy bites.
2. The Cold Water Shock
Place your cut potatoes in a bowl of ice-cold water for five minutes before cooking. This removes excess surface starch that can lead to a gummy exterior.
Pro Tip: This process prevents enzymatic browning and ensures that when the potatoes hit the hot oil, they fry rather than steam. Drying them thoroughly with a lint-free towel after the soak is essential for a crisp exterior.
3. The High-Heat Sear
Heat your heavy-bottomed skillet with a high-smoke-point oil until it shimmers. Add the potatoes in a single layer. Do not crowd the pan, as this lowers the temperature and causes the vegetables to release moisture.
Pro Tip: This stage is all about the Maillard reaction, where amino acids and reducing sugars create complex flavor compounds. You want a deep golden crust before you even think about adding the glaze.
4. The Butter Render
Once the potatoes are browned, drop the heat to medium and add your butter. Allow it to foam and turn slightly brown, releasing a nutty aroma.
Pro Tip: By rendering the butter solids until they brown, you are creating beurre noisette. This adds a layer of toasted flavor that complements the natural earthiness of the sweet potato.
5. The Glaze Infusion
Pour in your maple syrup and aromatics. Use a pair of tongs to gently toss the potatoes, ensuring every side is submerged in the bubbling liquid.
Pro Tip: This is where osmosis occurs. The sugar in the glaze draws out a small amount of moisture from the potato, which is then replaced by the flavorful syrup, seasoning the vegetable from the inside out.
6. The Acid Balance
Just as the glaze begins to look like thick lava, splash in your vinegar or citrus juice. Use a wooden spoon to scrape up any browned bits from the bottom of the pan.
Pro Tip: Deglazing the pan incorporates the fond (those tasty browned bits) back into the sauce. The acid also acts as a chemical foil to the heavy sugars, preventing the dish from tasting cloying.
7. The Gentle Simmer
Cover the pan for three to five minutes. This allows the steam to penetrate the center of the cubes, ensuring a creamy interior.
Pro Tip: This step utilizes conduction and steam to break down the internal pectin structures. It ensures the potato is fully cooked without burning the delicate sugars in the glaze.
8. The Aeration Finish
Remove the lid and increase the heat slightly. Shake the pan vigorously or use a whisk to aerate the sauce as it reduces.
Pro Tip: Agitating the sauce as it thickens helps to emulsify the fats and sugars. This creates a stable, glossy coating that stays on the potato instead of sliding off onto the plate.
9. The Thermal Carryover
Remove the pan from the heat when the potatoes are just barely tender. Transfer them to a warm serving dish immediately.
Pro Tip: Account for thermal carryover. The internal temperature of the potatoes will continue to rise by 5 to 10 degrees after they leave the pan. Pulling them early prevents them from turning into mash on the way to the table.
The Deep Dive
Beyond the taste, glazed sweet potato recipes offer a powerhouse of nutrition. They are rich in Beta-carotene, which the body converts to Vitamin A, and provide a significant amount of dietary fiber. For those following specific diets, these are naturally gluten-free. To make them Keto-friendly, replace the sugar-heavy glaze with a reduction of balsamic vinegar and brown butter. For a Vegan version, use a high-quality avocado oil and maple syrup.
The Fix-It: Common Pitfalls
- The Glaze is Too Runny: This happens if the potatoes release too much water. Fix it by removing the potatoes and boiling the liquid solo until it reaches a viscous consistency, then re-incorporate.
- Burned Sugar: If the pan gets too hot, the glaze will turn bitter. Fix it by adding a tablespoon of heavy cream or water to cool the pan and thin the caramel.
- Mushy Texture: This is caused by over-crowding or too much steaming. Fix it by spreading the potatoes on a baking sheet and blasting them under the broiler for 60 seconds to crisp the skins.
Meal Prep Science:
To reheat these and maintain "day-one" quality, avoid the microwave, which turns the glaze into a sticky film. Instead, use a toaster oven or a dry skillet over medium heat. This re-activates the fats and recrisps the exterior without drying out the center.
The Wrap-Up
There you have it! You are now equipped with the technical prowess to turn a humble root vegetable into a culinary event. By focusing on the chemistry of the glaze and the precision of the sear, you ensure that your glazed sweet potato recipes are the star of every meal. Remember, cooking is as much about the tools and the timing as it is about the ingredients. So, grab your digital scale, measure your spices, and get ready to impress. Your kitchen is your laboratory, and the results are going to be delicious.
The Kitchen Table
Can I make these ahead of time for a party?
Yes, you can par-cook the potatoes and store them. When ready to serve, finish the glazing process in a hot skillet to ensure the texture remains crisp and the sauce stays perfectly emulsified and glossy.
What is the best potato variety to use?
Garnet or Jewel sweet potatoes are ideal. They have a high sugar content and a moist texture that holds up well during the caramelization process, unlike the drier, starchier white sweet potato varieties.
Why does my glaze keep separating?
Separation usually occurs if the heat is too high or if there is not enough agitation. Use a whisk to aerate the mixture and ensure the fat and sugar are fully bound into a smooth, thick syrup.
How do I get a deeper flavor in the glaze?
Try rendering your butter until it reaches a deep amber color before adding the syrup. This adds toasted, nutty notes that provide a sophisticated counterpoint to the natural sweetness of the potatoes.
Can I use frozen sweet potatoes?
It is not recommended. Frozen potatoes have compromised cell structures that release too much water when thawed. For a professional-grade glaze, fresh tubers are essential to achieve the proper sear and internal creaminess.