

Imagine the sound of a heavy-bottomed baking sheet sliding out of a five-hundred-degree oven; it is a rhythmic, metallic scrape followed by the frantic, high-pitched sizzle of hot oil meeting cold air. That sound is the promise of the perfect crunch. We have all been there, staring at a bag of tubers and scrolling for easy roasted red potato recipes that actually deliver on that elusive, glass-like exterior and fluffy, cloud-like center. It is not just about heat; it is about the physics of moisture evaporation and the chemistry of starch gelatinization. Red potatoes are waxy by nature, meaning they hold their shape beautifully but require a specific touch to coax out that golden, shattered-crust finish we crave. Today, we are moving beyond the basic salt-and-pepper routine. We are diving into seven transformative upgrades that turn a humble side dish into the undisputed star of the plate. Grab your favorite apron and a glass of something crisp; we are about to turn your kitchen into a high-end bistro with science as our secret ingredient.
The Gathers:
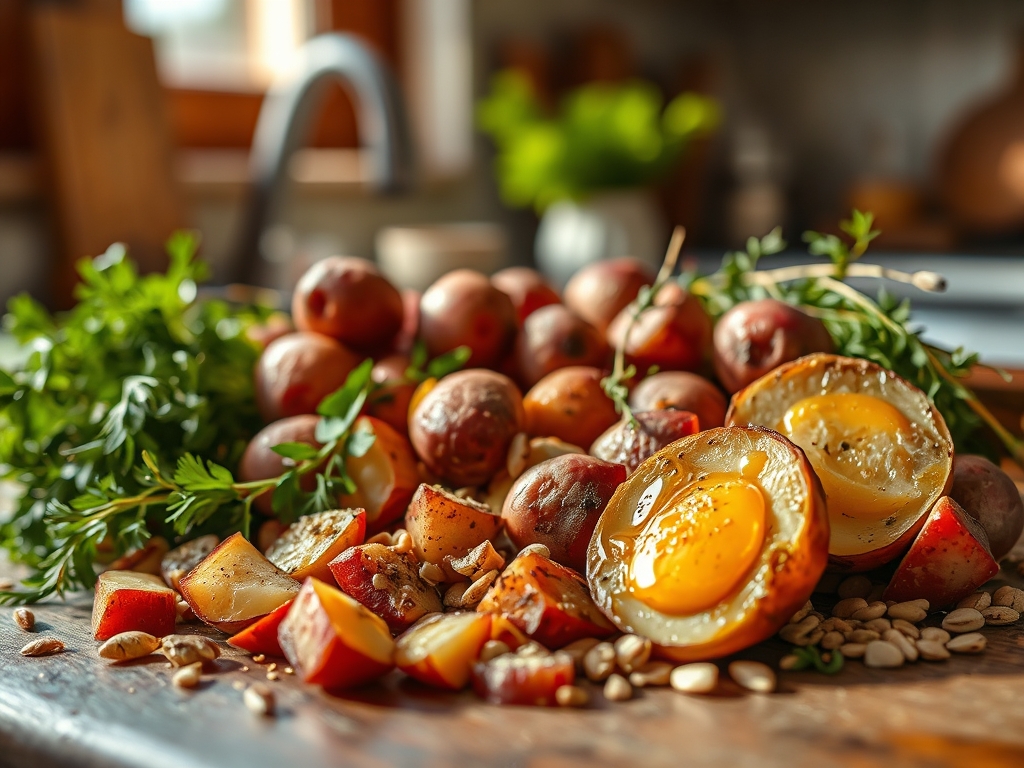
To achieve professional results, your mise-en-place must be precise. Start with three pounds of ruby-skinned red potatoes; look for specimens with tight, unblemished skin which indicates high cellular turgor pressure. You will need a high-smoke-point lipid like avocado oil or clarified butter to ensure the fats do not oxidize before the potatoes reach peak crispness. For the aromatics, gather fresh rosemary sprigs, a bulb of hard-neck garlic, and Maldon sea salt for its pyramidal crystal structure that provides a tactile crunch.
Smart Substitutions: If you are out of fresh herbs, use a high-quality dried Herbes de Provence, but remember that dried herbs are more concentrated; use one-third of the fresh volume. For a dairy-free richness that mimics butter, reach for nutritional yeast. It adds a piquant, nutty depth that interacts with the potato starch to create a savory crust. If you lack a microplane for your garlic, use a heavy chef's knife to create a paste with a pinch of salt; the salt acts as an abrasive to break down the fibrous cell walls.
The Clock
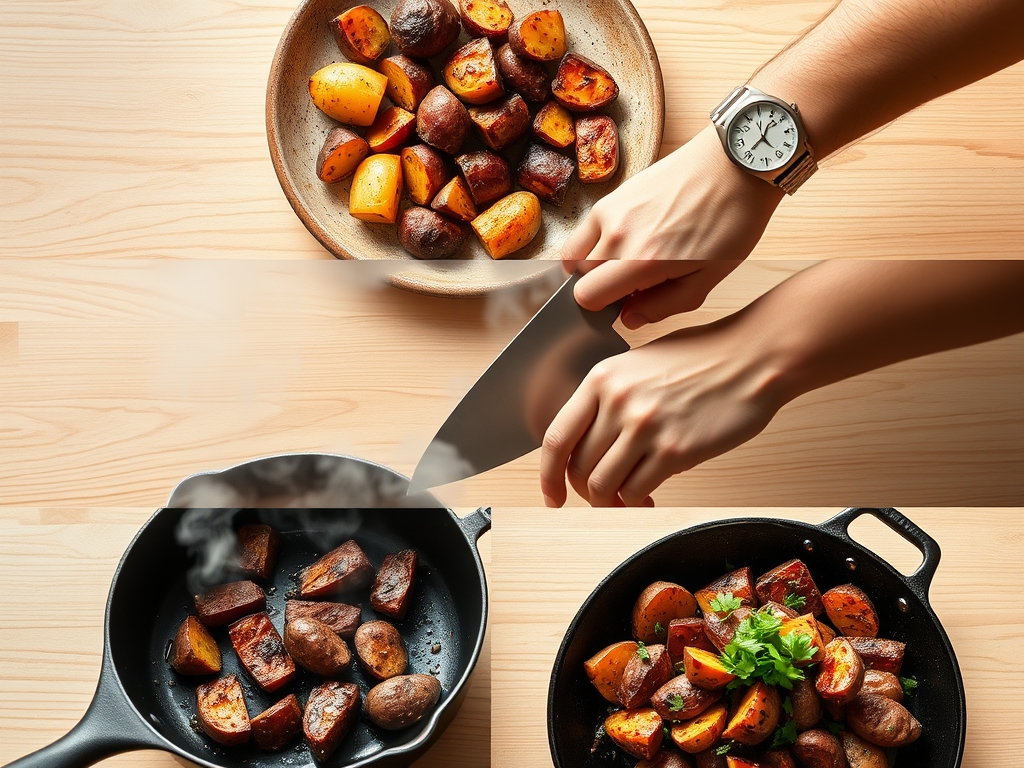
Efficiency in the kitchen is all about "Chef's Flow." Total active preparation time is fifteen minutes, while the oven does the heavy lifting for forty-five minutes. Start by preheating your oven with the baking sheet inside; this thermal head start ensures that the potatoes begin searing the moment they touch the metal. While the oven climbs to temperature, wash and cube your potatoes. Use a bench scraper to move your piles quickly and cleanly. By the time your oven chime sounds, your potatoes should be par-boiled and seasoned. This overlapping workflow ensures that you are never standing idle, maximizing the kinetic energy of your kitchen time.
The Masterclass
1. The Par-Boil and Rough-Up
Place your cubed potatoes in a pot of cold, heavily salted water and bring to a simmer. Cook until the exterior is just tender but the core remains firm. Drain them and give them a vigorous shake in the colander to scuff the edges.
Pro Tip: This scuffing creates a starchy slurry on the surface. When roasted, this slurry dehydrates to form a "micro-crust," significantly increasing the surface area for the Maillard reaction to occur.
2. The High-Heat Infusion
Whisk your oil with minced garlic and herbs in a small saucier over low heat for two minutes. Toss the par-boiled potatoes in this infused oil until every crevice is coated.
Pro Tip: Infusing the oil first allows the fat-soluble flavor compounds in the herbs to distribute evenly. This prevents the "burnt herb" bitter flavor that happens when raw leaves are exposed to direct oven heat for too long.
3. The Pre-Heated Sheet Transfer
Carefully spread the potatoes onto your pre-heated heavy-bottomed skillet or baking sheet. You should hear an immediate, aggressive sizzle. Ensure no two potatoes are touching; overcrowding is the enemy of the crunch.
Pro Tip: This immediate heat transfer initiates "Leidenfrost-adjacent" moisture evaporation. By searing the bottom instantly, you lock in the internal moisture while the dry oven air wicks away the external humidity.
4. The Mid-Way Aeration
Halfway through the roasting process, use metal tongs to flip each potato. This is the moment to add a dusting of smoked paprika or parmesan cheese if you are feeling adventurous.
Pro Tip: Flipping ensures even thermal distribution. It also allows the steam trapped underneath the potato to escape, preventing the bottom from becoming soggy due to trapped condensation.
5. The Carryover Finish
Remove the potatoes when they look one shade lighter than your desired final color. Transfer them to a wire rack rather than a paper towel.
Pro Tip: Thermal carryover means the internal temperature continues to rise for several minutes after removal. A wire rack allows air to circulate entirely around the potato, preventing "steam-back" which softens the crust.
The Deep Dive
From a macro perspective, red potatoes are a nutritional powerhouse, offering more potassium than a banana and a significant dose of Vitamin C. For those following specific dietary paths, these easy roasted red potato recipes are naturally gluten-free. To make them Vegan, swap butter for a high-quality extra virgin olive oil or coconut oil. For a Keto-adjacent version, reduce the portion size and pair with high-fiber greens to mitigate the glycemic load.
The Fix-It:
- Soggy Potatoes: Usually caused by overcrowding. The fix is to use two pans or a larger surface area to allow steam to dissipate.
- Burnt Garlic: If your garlic turns acrid, you likely added it too early. The fix is to add minced garlic in the last ten minutes of roasting.
- Sticking to the Pan: This happens if the pan wasn't hot enough or you used too little oil. The fix is to use a silicone mat or ensure the pan is pre-heated to 450 degrees.
Meal Prep Magic: To reheat and maintain "day-one" quality, avoid the microwave at all costs. The microwave agitates water molecules, making the starch gummy. Instead, use an air fryer at 380 degrees for four minutes or a dry skillet over medium heat. This re-crisps the exterior lipids without overcooking the interior.
The Wrap-Up
Mastering easy roasted red potato recipes is less about following a rigid script and more about understanding the dance between heat and starch. When you treat your ingredients with a bit of scientific respect; par-boiling for texture, infusing oils for flavor, and respecting the space on the pan; you elevate a simple root vegetable into a culinary masterpiece. These seven upgrades are just the beginning. Once you understand the "why" behind the crunch, the flavor combinations are infinite. Go forth, get that golden crust, and remember that the best seat in the house is always at the kitchen table with a plate of perfectly roasted spuds.
The Kitchen Table
Why are my roasted potatoes always soft?
Softness usually results from overcrowding the pan, which traps steam. Ensure each potato has at least a half-inch of space. This allows moisture to evaporate quickly, creating a dry environment essential for a crisp, golden-brown exterior.
Do I really need to peel red potatoes?
No, the skin on red potatoes is incredibly thin and nutrient-dense. Leaving the skin on adds a beautiful color contrast and an extra layer of texture. Just ensure you scrub them thoroughly to remove any residual soil before slicing.
What is the best oil for roasting potatoes?
Use oils with high smoke points like avocado, grapeseed, or clarified butter (ghee). These fats can withstand the 400-degree heat required for roasting without breaking down, oxidizing, or creating off-flavors that ruin the delicate taste of the potato.
Can I roast potatoes ahead of time?
Yes, you can par-boil and toss them in oil up to 24 hours in advance. Store them in the refrigerator. When ready to serve, spread them on a pre-heated tray and roast. This actually improves the final crunch due to starch retrogradation.