
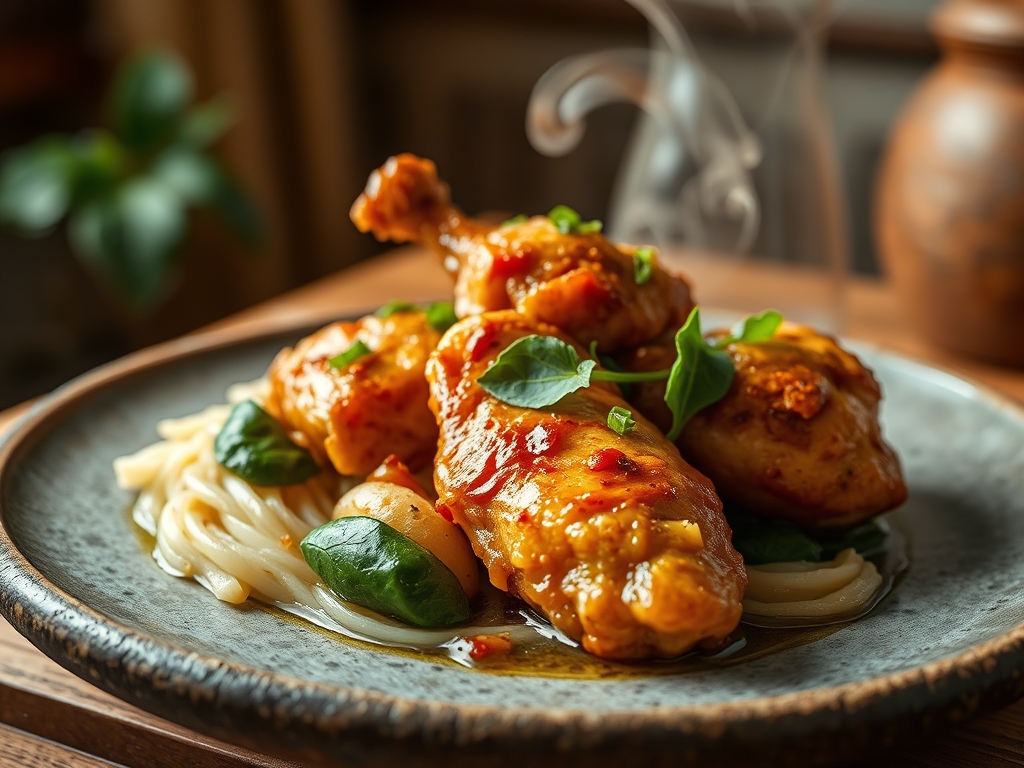
Picture a rainy afternoon where the air smells of ozone and damp earth. You are wrapped in a knit blanket, but your soul feels a bit hollow. Suddenly, the sharp, medicinal sting of ginger hits your nostrils, followed by the savory hum of garlic. This is the magic of traditional tinola chicken recipes; they are not just soups, but liquid gold designed to reset your internal thermostat. It is a deceptively simple Filipino classic, yet most home cooks miss the mark by rushing the extraction of flavor. We are looking for a broth that is translucent yet deeply viscous, carrying the essence of the bird without a drop of grease. The secret lies in the balance of the piquant ginger against the sweetness of green papaya. By the time you finish this bowl, the warmth will have traveled from your throat to your toes. We are going to master the art of the simmer and the science of the sear to ensure your next pot is nothing short of legendary.
The Gathers:
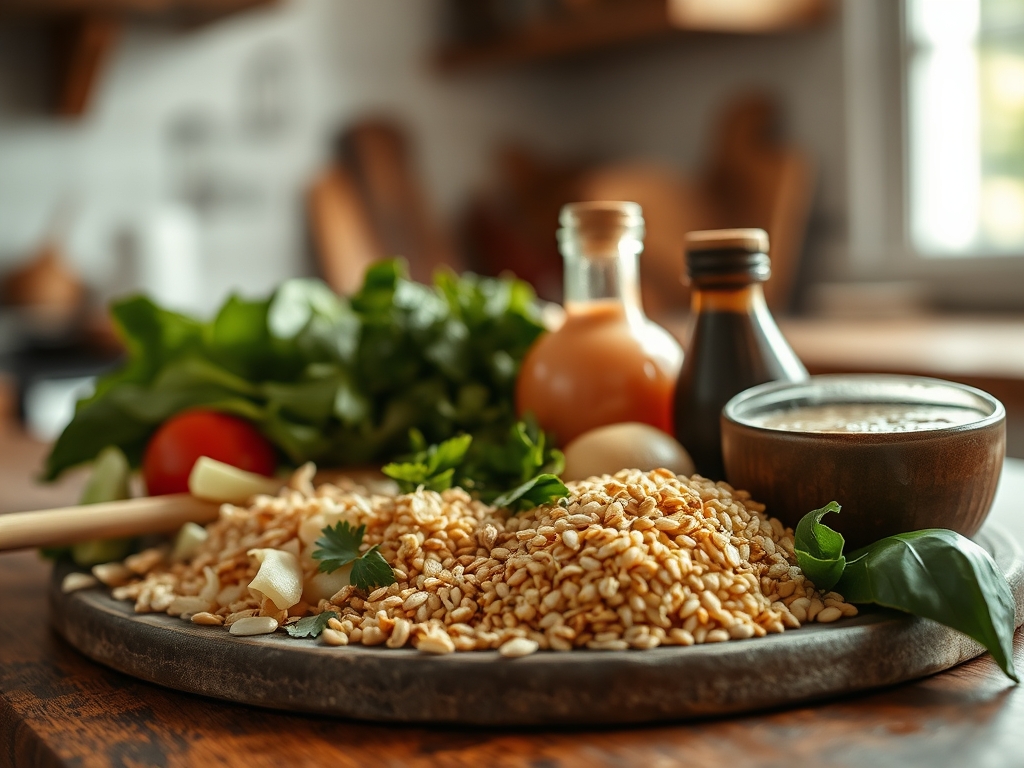
To execute world-class tinola chicken recipes, your mise-en-place must be precise. Start with a whole, pasture-raised chicken. You need the bones for collagen extraction. Use a heavy-bottomed Dutch oven or a saucier to ensure even heat distribution. You will need a digital scale to measure out 50 grams of fresh ginger; do not use the dried powder. The ginger should be sliced into thin coins to maximize the surface area for infusion.
Grab two large cloves of garlic and crush them with the flat side of a chef's knife to release the allicin. For the aromatics, one white onion should be diced finely using a bench scraper to transport the pieces without losing juice. The star of the vegetable show is the green papaya. It must be unripe and firm. If you cannot find it, chayote squash is a brilliant smart substitution. It has a similar water content and provides that essential crunch. Finally, secure a bunch of fresh malunggay (moringa) leaves or chili leaves. These provide a peppery finish and a hit of Vitamin C. For the seasoning, use a high-quality fermented fish sauce (patis) to provide the umami backbone.
The Clock:
Mastering the "Chef's Flow" is about overlapping tasks so you are never standing idle. Total preparation time is approximately 15 minutes, while the active cooking time spans 45 minutes. Start by breaking down the chicken; this takes 5 minutes if you use sharp kitchen shears. While the chicken rests at room temperature to prevent thermal shock, peel and prep your ginger and papaya.
The first 10 minutes of cooking are the most critical. This is when you render the fat and infuse the oil with aromatics. Once the broth is simmering, you have a 25-minute window of passive cooking. Use this time to clean your station or prep a side of jasmine rice. The final 5 minutes are for the "flash-cook" of the greens, ensuring they stay vibrant and do not turn a dull, swampy brown.
The Masterclass:
1. The Aromatic Foundation
Heat your pot over medium heat and add a neutral oil. Toss in the ginger first. You want to see small bubbles forming around the edges. This is the process of dehydrating the ginger slightly to concentrate its oils. Add the garlic and onions once the ginger is fragrant.
Pro Tip: This is called infusion. By heating the aromatics in fat before adding liquid, you are capturing fat-soluble flavor compounds that would otherwise be lost in a water-based boil.
2. The Maillard Sear
Increase the heat and add the chicken pieces. Use tongs to turn them, ensuring every surface makes contact with the hot metal. We are not looking for a deep crust, but a light golden hue.
Pro Tip: This triggers the Maillard reaction. Even a light sear creates complex melanoidins that deepen the flavor profile of the final broth, preventing it from tasting "thin" or "watery."
3. Deglazing with Umami
Pour in two tablespoons of fish sauce directly onto the hot surface of the pot. It will hiss and steam. Use a wooden spoon to scrape up any browned bits from the bottom.
Pro Tip: This is deglazing. The fish sauce acts as a solvent to lift the caramelized proteins (fond) off the pot and incorporate them back into the liquid for a richer mouthfeel.
4. The Gentle Extraction
Add enough filtered water to cover the chicken by two inches. Bring it to a boil, then immediately drop the heat to a low simmer. Use a fine-mesh skimmer to remove any gray foam that rises to the top.
Pro Tip: Avoid a rolling boil. High heat causes emulsification, where fat and impurities mix into the water, resulting in a cloudy, greasy broth. A low simmer keeps the liquid crystal clear.
5. The Papaya Integration
Add the green papaya wedges. These should simmer for about 10 to 12 minutes until they are fork-tender but still hold their shape.
Pro Tip: Green papaya contains papain, a proteolytic enzyme. While the enzyme's activity slows down at high heat, the initial contact helps slightly tenderize the chicken fibers as the fruit cooks.
6. The Final Flourish
Turn off the heat entirely. Toss in the malunggay or chili leaves and cover the pot with a tight-fitting lid for two minutes.
Pro Tip: This utilizes residual heat or thermal carryover. The leaves are delicate; boiling them destroys their volatile oils and turns them bitter. The steam is enough to wilt them perfectly.
The Deep Dive:
From a macro perspective, tinola is a nutritional powerhouse. It is high in lean protein and incredibly low in carbohydrates, making it naturally keto-friendly if you swap the papaya for chayote. For a vegan version, use king oyster mushrooms for texture and a "no-fish" sauce made from seaweed and soy. If you are gluten-free, simply ensure your fish sauce is certified, as some cheaper brands use wheat-based thickeners.
The "Fix-It" guide for common pitfalls:
- The Broth is Bitter: You likely burnt the garlic. Next time, add the garlic after the ginger has already softened.
- The Chicken is Tough: You boiled it too hard. Slow down the heat to keep the proteins from tightening.
- The Flavor is Flat: You need more salt or umami. Add a splash more fish sauce or a pinch of sea salt at the very end to "brighten" the ginger notes.
For meal prep, tinola actually improves after 24 hours as the ginger continues to macerate in the broth. When reheating, do it on the stovetop over medium-low heat. Avoid the microwave, which can result in "rubbery" chicken due to uneven molecular agitation.
The Wrap-Up:
You have now graduated from a basic cook to a tinola technician! By focusing on the extraction of aromatics and the clarity of your broth, you have elevated a humble Filipino staple into a gourmet experience. Remember, the secret is in the ginger and the patience of the simmer. Put on your favorite playlist, grab your Dutch oven, and go make a pot that would make any grandmother proud. You've got this!
The Kitchen Table:
Why is my tinola broth cloudy?
Cloudiness happens when the soup boils too vigorously, causing fats and proteins to emulsify into the water. To keep it clear, maintain a gentle simmer and frequently skim the impurities (scum) from the surface using a fine-mesh strainer.
Can I use chicken breast for tinola?
You can, but the broth will lack depth. Traditional tinola chicken recipes rely on bone-in, skin-on cuts like thighs or drumsticks. The collagen and marrow from the bones provide the characteristic "lip-smacking" richness and essential nutrients.
What is the best substitute for green papaya?
Chayote (sayote) is the most common substitute. It has a similar mild flavor and firm texture. In a pinch, you can also use zucchini or even thick-cut cucumber (seeds removed), though the cooking time will be much shorter.
How do I store and reheat leftover tinola?
Store leftovers in an airtight container in the fridge for up to three days. Reheat slowly on the stovetop over medium heat. Adding a splash of fresh water can help restore the broth's volume without making it too salty.