
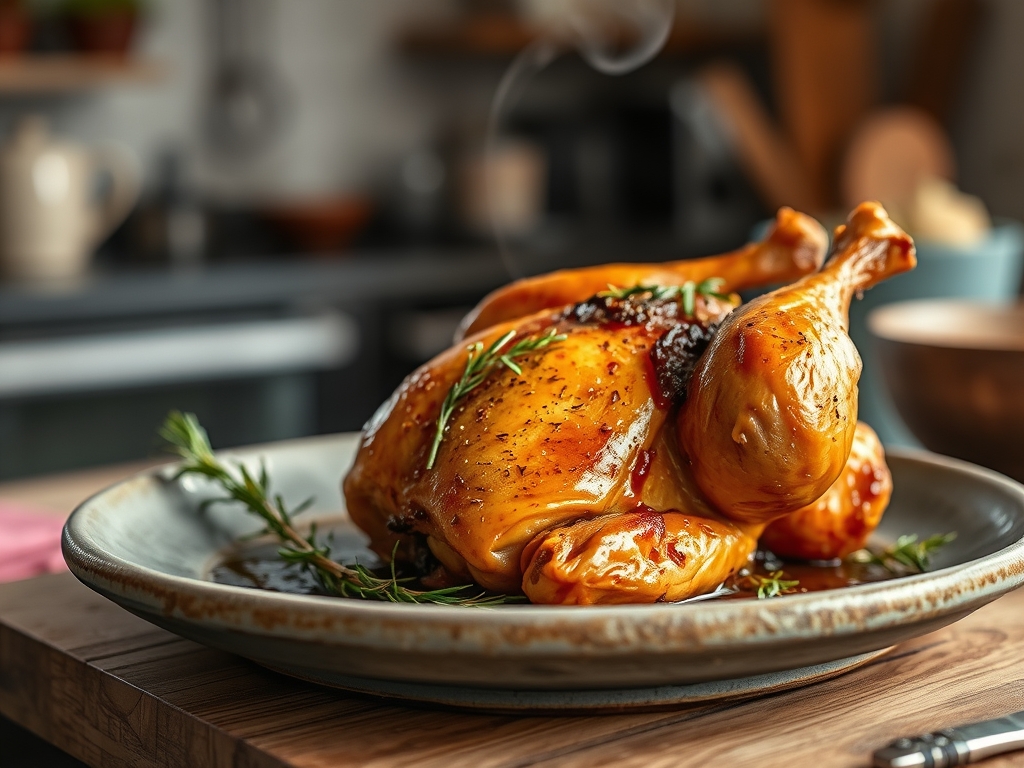
The skin crackles like thin parchment as you lift it from the roasting pan, bronze and glistening, the sort of texture that shatters under gentle pressure. Beneath that crust, steam rises in fragrant waves carrying thyme, garlic, and butter, revealing meat so tender it practically separates from the bone with a sideways glance. Mastering roast chicken recipes oven techniques isn't about fancy equipment or obscure ingredients; it's about understanding ten precise moments where science, timing, and temperature converge to transform a simple bird into something extraordinary.
Most home cooks accept soggy skin or dried-out breasts as inevitable, but both failures trace back to specific, fixable errors in moisture management and heat application. The secret isn't a single magic trick. It's a cascade of small, deliberate choices that compound into perfection.
This guide breaks down each critical decision point with the kind of specificity you'd expect in a professional kitchen, translated for your home oven.
The Gathers
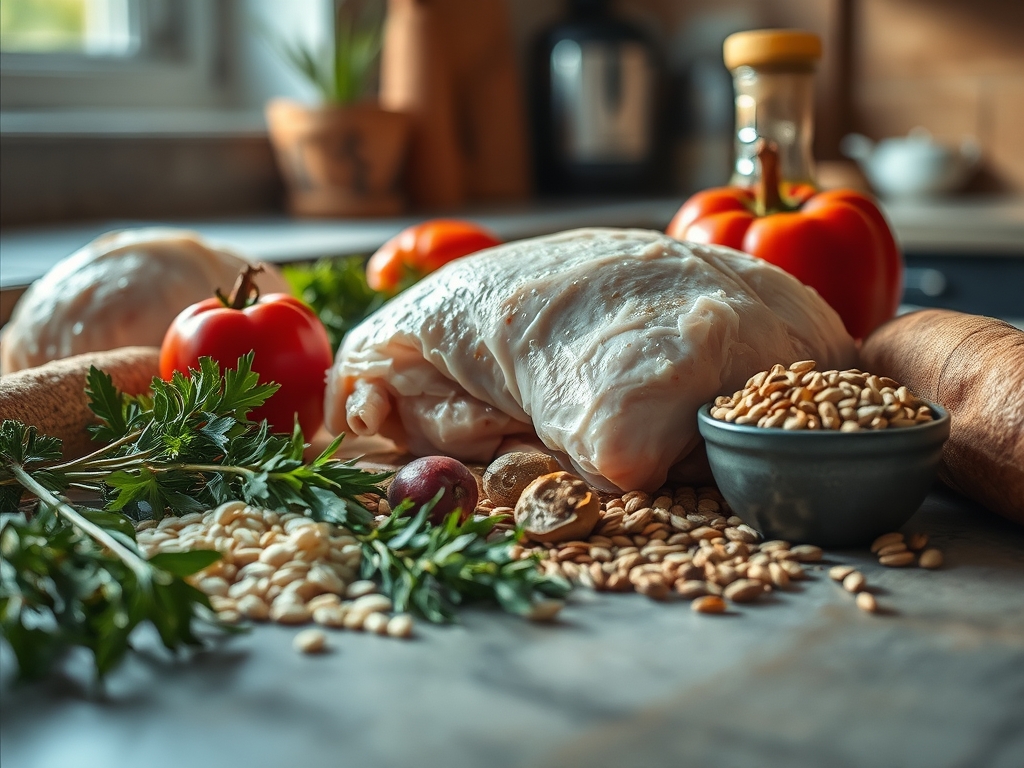
One whole chicken (1.5-2 kg), preferably air-chilled rather than water-chilled, sits at room temperature for 45 minutes before roasting. As you see in the ingredient spread below, kosher salt (2 tablespoons) provides the coarse crystal structure needed for proper dry-brining. Unsalted butter (4 tablespoons, room temperature) gets worked with minced garlic (4 cloves), fresh thyme (6 sprigs), and black pepper (1 teaspoon).
Extra virgin olive oil (2 tablespoons) goes on the exterior for Maillard browning enhancement. One lemon (halved) and one onion (quartered) provide aromatic steam from the cavity. Chicken stock (200ml) prevents fond from burning in the roasting pan.
Smart Substitutions: Swap butter for duck fat if you want deeper flavor complexity and a lower smoke point isn't a concern. Replace thyme with rosemary or sage, but reduce quantity by half since both are more potent. Ghee works beautifully for dairy-sensitive eaters while maintaining the fat-soluble flavor carrier properties butter provides.
The Clock
Prep Time: 20 minutes (dry-brining requires 2-12 hours if planned ahead).
Cook Time: 75-90 minutes at 220°C (425°F), plus 10-minute rest.
Total Time: 2-3 hours including inactive dry-brine time.
Chef's Flow: Salt the bird the night before and refrigerate uncovered. This dehydrates the skin (critical for crispness) while the salt penetrates deep into the muscle tissue, seasoning from within and altering protein structure for better moisture retention. Pull it from the fridge 45 minutes before roasting so the meat reaches 10-15°C (50-60°F), ensuring even cooking without extended oven time that would dry the exterior.
The Masterclass
Step 1: The Dry Brine
Pat the chicken completely dry with paper towels, inside and out. Apply kosher salt generously over every surface, including under the breast skin by gently loosening it with your fingers.
Why It Works: Salt dissolves surface moisture initially, then gets reabsorbed along with dissolved proteins, which gel during cooking to trap water molecules. Note the texture shown in the step-by-step photos: the skin should look taut and slightly translucent after 8 hours of refrigerated brining.
Step 2: The Compound Butter Insertion
Mix softened butter with garlic, thyme leaves, and black pepper. Slide this compound butter directly under the breast and thigh skin, spreading it evenly without tearing the membrane.
Chef's Secret: Fat-soluble flavor compounds in garlic and herbs need lipids to migrate into the meat. Water-based marinades stay on the surface; butter-based applications penetrate during the long roast, basting from the inside.
Step 3: The Truss and Tuck
Tie the legs together with kitchen twine and tuck the wing tips under the body. Stuff the cavity with lemon halves and onion quarters.
Why It Works: Compact shape promotes even heat distribution. The cavity aromatics create steam that bastes interior surfaces while their sugars caramelize, adding complexity to pan drippings.
Step 4: The Initial Blast
Place the chicken breast-side up on a rack in a roasting pan. Pour chicken stock into the pan bottom (not over the bird). Roast at 220°C (425°F) for 20 minutes.
Chef's Secret: High initial heat sets the skin proteins rapidly, creating a moisture barrier. The elevated rack allows hot air circulation underneath, preventing the bottom from steaming in its own juices.
Step 5: The Temperature Drop
Reduce oven temperature to 190°C (375°F) and continue roasting for 50-60 minutes until a probe thermometer reads 73°C (163°F) in the thickest part of the thigh.
Why It Works: Lower sustained heat gently brings the interior to temperature without overcooking the breast. Carryover cooking will add another 3-5°C during the rest period, landing you perfectly at 76°C (165°F) food-safe temperature.
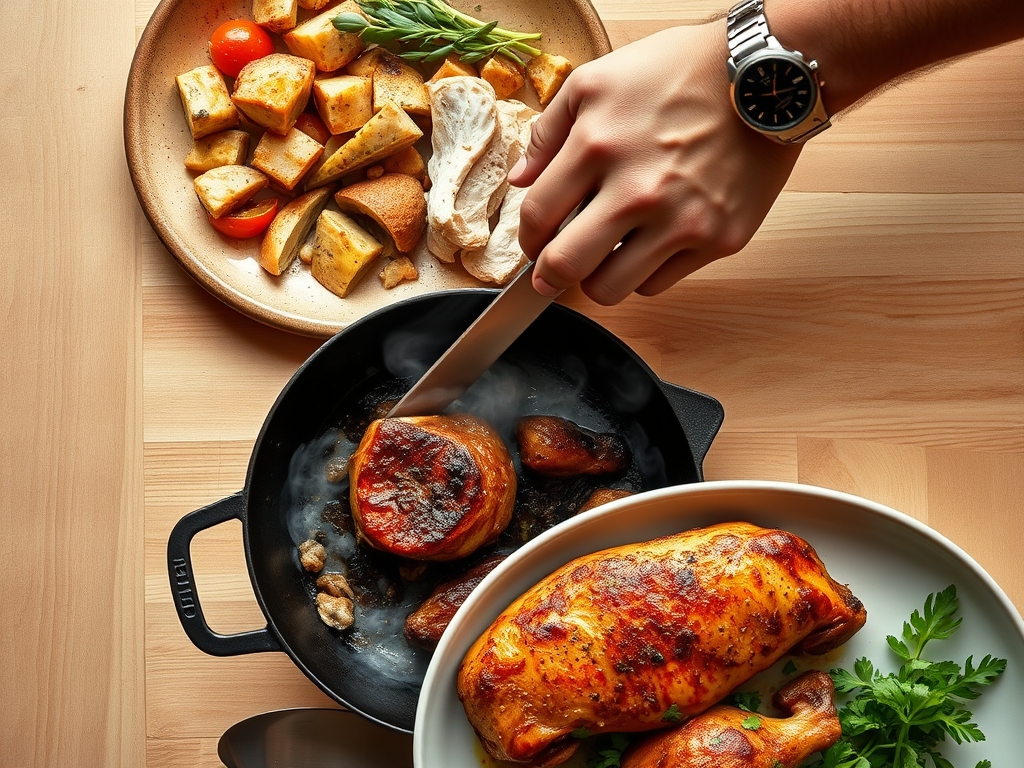
Step 6: The Critical Rest
Remove the chicken when the thigh reaches 73°C. Tent loosely with foil and rest for 10 minutes before carving.
Chef's Secret: Muscle fibers contract during cooking, squeezing liquid toward the center. Resting allows those fibers to relax and reabsorb expelled moisture, reducing juice loss by up to 40% when you carve.
Nutritional Info
Per 150g serving (approximately one-quarter chicken with skin): 320 calories, 38g protein, 18g fat (6g saturated), 0g carbohydrates, 0g fiber, 480mg sodium. Removing the skin drops fat to 9g and calories to 240.
Micronutrient Highlights: Excellent source of niacin (B3), selenium, phosphorus, and vitamin B6. Dark meat provides more iron and zinc than breast meat.
Dietary Swaps
Keto-Friendly: This recipe already fits perfectly. Increase the butter and skip the stock for pure fat-based basting.
Paleo Compliance: Use ghee instead of butter, ensure your stock contains no additives.
Dairy-Free: Replace butter with olive oil or avocado oil compound (mix oil with minced garlic and herbs, then brush over and under skin).
Low-Sodium: Reduce salt to 1 teaspoon and compensate with acid (lemon zest) and dried mushroom powder for umami depth.
Serving & Presentation
The Rustic Family Board: Carve the chicken tableside on a wooden cutting board surrounded by roasted root vegetables, fresh herb sprigs, and small bowls of flaky salt. Let the bronze skin speak for itself.
The Refined Plate: Slice breast meat on the bias, fan over cauliflower puree, and drizzle with reduced pan jus whisked with cold butter. Garnish with microgreens and a single roasted garlic clove.
The Deconstructed Approach: Separate legs, thighs, wings, and sliced breast onto individual plates. Serve each cut with a complementary sauce: legs with mustard jus, breast with herb oil, wings with spicy honey.
The Pro-Dodge
Pitfall 1: Soggy skin on the underside.
Fix: Always use a roasting rack. If you lack one, create a "raft" from thick-cut onion slices and celery ribs to elevate the bird.
Pitfall 2: Dry breast meat while waiting for thighs to cook.
Fix: Start the chicken breast-side down for the first 30 minutes at high heat, then flip. This protects the delicate breast while the thighs (closer to the pan) get a head start.
Pitfall 3: Bland drippings that taste watery.
Fix: Ensure your stock goes in the pan, not over the bird, and check halfway through. If the fond is darkening too quickly, add a splash more liquid. Deglaze with white wine after removing the chicken, scraping up all caramelized bits.
The Meal Prep Corner
Storage: Break down the chicken completely. Store white and dark meat separately in airtight containers with a tablespoon of reserved pan jus to prevent drying. Refrigerate for up to 4 days.
Reheating for Day-One Quality: Never microwave. Place chicken pieces skin-side up on a wire rack over a baking sheet. Reheat at 175°C (350°F) for 12-15 minutes until warmed through. The elevated position and dry heat re-crisp the skin instead of steaming it.
Freezing Protocol: Wrap individual portions tightly in plastic wrap, then foil. Freeze up to 3 months. Thaw overnight in the refrigerator, then reheat using the oven method above.
The Wrap-Up
These ten secrets work in concert: dry-brining for seasoning depth, compound butter for interior basting, high-then-low heat for crisp-tender contrast, precise temperature monitoring for safety without dryness, and the patience to rest before carving. Each principle builds on the last, creating a system where failure points get systematically eliminated.
Roast chicken recipes oven methods shine when you treat the process as interconnected steps rather than isolated tasks. Master this foundation, and you'll own a technique that adapts to any seasoning profile, any herb combination, any flavor direction you choose.
Try this method twice, take notes on your specific oven's hot spots and timing quirks, then make it yours. Drop your results, questions, or favorite herb combinations in the comments.
The Kitchen Table
How do I know when the chicken is done without a thermometer?
Pierce the thigh at its thickest point; juices should run clear, not pink. The leg should wiggle freely in its socket. However, a probe thermometer (73°C/163°F in the thigh) removes all guesswork and prevents both undercooking and overcooking.
Can I use a frozen chicken?
Not directly. Thaw completely in the refrigerator (24 hours per 2kg), then dry-brine. Cooking from frozen creates uneven results: burnt skin before the interior reaches safe temperature, and waterlogged texture from trapped ice crystals melting during the roast.
Why is my skin golden but not crispy?
Moisture is the enemy. Ensure you've dry-brined (or at minimum patted very dry), used a roasting rack for air circulation, and avoided basting during the final 30 minutes when the skin is setting. A 2-minute blast under the broiler at the end can salvage borderline-crispy skin.
Should I stuff the chicken with bread or rice stuffing?
Never stuff densely with starch-based dressings. The stuffing insulates the cavity, slowing interior cooking and creating food safety risks. Aromatics (citrus, onion, herbs) provide flavor through steam without the thermal barrier of dense stuffing.
What's the best way to carve for maximum presentation?
Remove legs first by cutting through the joint where thigh meets body. Separate thighs from drumsticks. Remove wings. Slice down along one side of the breastbone, following the ribcage curve to remove each breast half whole, then slice against the grain into medallions. Save the carcass for stock.