
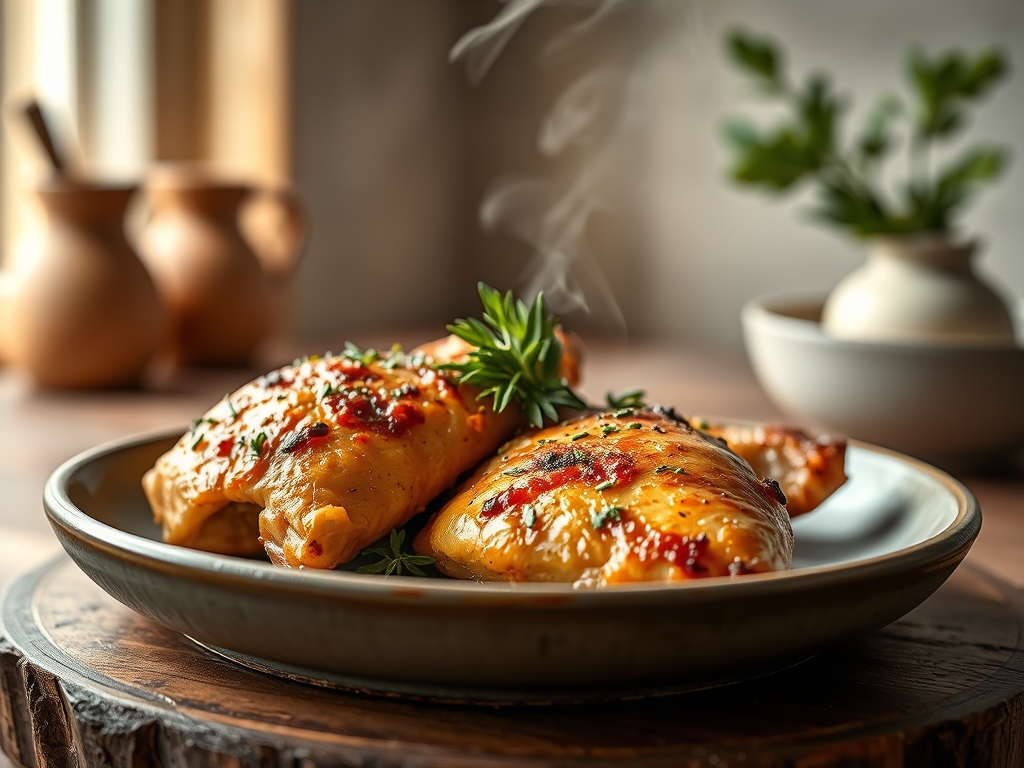
Picture the scene. You pull a sheet pan from the oven, expecting a golden masterpiece, but you are met with a dry, fibrous texture that tastes more like cardboard than poultry. We have all been there. Learning how to bake chicken recipes is less about following a timer and more about mastering the physics of moisture retention. It is the difference between a sad, rubbery breast and a succulent, herb-infused protein that practically melts on the tongue.
I am here to be your culinary navigator. We are going to treat your kitchen like a high-end laboratory where flavor is the primary variable. We are moving beyond basic seasoning into the realm of cellular structure and thermal dynamics. By the time we are done, you will understand exactly why your chicken has been coming out lackluster and how to pivot toward perfection every single time.
This guide is designed to transform your approach from guesswork to precision. We will explore the way salt interacts with muscle fibers to trap water, and how high-heat blasts create that irresistible crust through the Maillard reaction. Grab your apron and your favorite digital scale. It is time to elevate your weeknight dinner game into something truly sophisticated.

The Gathers:
Before we even preheat the oven, we must assemble our mise-en-place with intentionality. Start with high-quality poultry; look for air-chilled chicken if possible. Air-chilling prevents the meat from absorbing excess water during processing, which ensures that the flavor remains concentrated and the skin can actually crisp up rather than steam. You will need a heavy-bottomed skillet or a rimmed baking sheet to provide even heat distribution.
Your flavor profile relies on a balance of fats and aromatics. Reach for a high-smoke-point oil like avocado oil or clarified butter to avoid acrid flavors at high temperatures. Gather piquant elements like fresh garlic, sprigs of rosemary, and perhaps a squeeze of lemon to provide a bright acid hit that cuts through the richness. Use a microplane to zest your citrus; this tool releases the volatile oils in the peel without hitting the bitter white pith.
Smart Substitutions: If you are out of fresh herbs, use a ratio of one teaspoon of dried herbs for every tablespoon of fresh. The drying process concentrates the essential oils, making them more potent. If you want a deeper umami profile but are avoiding soy, coconut aminos offer a viscous, slightly sweet alternative that mimics the depth of a traditional marinade while remaining gluten-free.
The Clock
The "Chef's Flow" is all about timing and temperature management. Total preparation usually takes fifteen minutes of active work, while the baking phase spans twenty to thirty minutes depending on the thickness of the cut. However, the most important segment of the clock is the rest period. Do not skip the ten-minute rest after the chicken leaves the heat. This allows the internal juices to redistribute.
The Masterclass
1. The Dry Brine Technique
Start by patting your chicken completely dry with paper towels. Sprinkle a generous amount of kosher salt over every surface. Let it sit for at least thirty minutes in the refrigerator. This process allows the salt to penetrate the protein structure, seasoning the meat from the inside out while drawing moisture to the surface where it can evaporate.
Pro Tip: This is known as osmosis. Initially, salt draws moisture out, but eventually, the brine is reabsorbed into the muscle fibers, breaking down tough proteins for a more tender result.
2. Tempering the Meat
Never take chicken directly from the cold fridge to the hot oven. Let your chicken sit on the counter for about twenty minutes to take the chill off. This ensures that the center of the meat reaches the safe internal temperature at the same time the exterior finishes browning.
Pro Tip: Tempering prevents thermal shock, which can cause muscle fibers to seize up and push out precious juices, leaving you with a dry end product.
3. The Fat Barrier
Coat your chicken thoroughly in your chosen oil or melted fat. Use your hands or a silicone brush to ensure every nook and cranny is covered. This layer of fat acts as a heat conductor and prevents the meat from drying out in the arid environment of the oven.
Pro Tip: Fat facilitates the Maillard reaction, a chemical reaction between amino acids and reducing sugars that gives browned food its distinctive flavor and golden-brown hue.
4. High Heat Searing
If you want maximum flavor, sear the chicken in a heavy-bottomed skillet on the stovetop for three minutes per side before moving it to the oven. This creates a crust that seals in the moisture and adds a complex, toasted flavor profile that baking alone cannot achieve.
Pro Tip: This step utilizes conduction to rapidly brown the surface. The intense heat creates a savory crust that provides a textural contrast to the soft interior.
5. Using a Digital Thermometer
Forget the "poke test" or cutting into the meat to check for doneness. Use a digital probe thermometer to monitor the internal temperature. Remove the chicken from the oven when it hits 160 degrees Fahrenheit. The temperature will continue to rise as it rests.
Pro Tip: This is called carryover cooking. The residual heat on the surface continues to move toward the center, safely bringing the meat to the USDA-recommended 165 degrees without overcooking it.
6. Aromatics and Infusion
During the last ten minutes of baking, toss a few smashed garlic cloves and butter into the pan. Use a large spoon to baste the chicken with the flavored fat. This adds a final layer of aromatic complexity that permeates the skin.
Pro Tip: Fats are excellent carriers for fat-soluble flavor compounds found in garlic and herbs, allowing the flavor to "stick" to the protein more effectively.
7. The Acid Finish
Once the chicken is out of the oven, hit it with a final spritz of lemon juice or a splash of white wine vinegar. This brightens the heavy, roasted flavors and balances the palate.
Pro Tip: Acid acts as a flavor enhancer by stimulating salivation and cutting through the density of the rendered fats on the plate.
8. The Essential Rest
Transfer the chicken to a warm plate and tent it loosely with foil. Wait ten minutes before slicing. If you cut into it immediately, the pressurized juices will flood the cutting board instead of staying in the meat.
Pro Tip: Resting allows the liquid proteins to thicken and re-bind to the muscle fibers, ensuring the juice stays inside the chicken when you finally take a bite.
9. Deglazing the Pan
Don't let the brown bits at the bottom of the pan go to waste. Use a saucier or the baking pan itself to add a splash of chicken stock or wine. Scrape the bottom with a bench scraper or wooden spoon to incorporate those bits into a quick pan sauce.
Pro Tip: Those browned bits are called fond. They contain highly concentrated flavor molecules that, when deglazed, create a sophisticated sauce with zero waste.
The Deep Dive
From a macro nutrition perspective, baked chicken is a powerhouse. A standard six-ounce breast provides roughly fifty grams of high-quality protein with minimal fat, making it a staple for muscle synthesis. If you are following a Keto lifestyle, keep the skin on to increase healthy fats. For a vegan alternative, apply these same seasoning and roasting techniques to extra-firm tofu or cauliflower steaks to mimic the savory depth.
The Fix-It:
- Rubbery Skin: Your oven wasn't hot enough. Increase the heat to 425 degrees for the last five minutes.
- Bland Meat: You skipped the dry brine. Ensure you salt the meat at least thirty minutes prior to cooking.
- Uneven Cooking: The chicken breasts were different sizes. Use a meat mallet to pound them to an even thickness before seasoning.
For meal prep, reheating chicken can often lead to a "warmed-over flavor" caused by lipid oxidation. To maintain "day-one" quality, reheat your chicken gently in a covered pan with a tablespoon of water or stock. This creates a steam chamber that rehydrates the fibers without overcooking the exterior.
The Wrap-Up
Mastering how to bake chicken recipes is the ultimate culinary superpower. It turns a mundane Tuesday night into a gourmet experience. By focusing on moisture control, temperature precision, and the science of the Maillard reaction, you are no longer just "cooking"; you are engineering flavor. Remember to trust your thermometer, respect the rest period, and never be afraid to use plenty of salt. Your kitchen is your domain, so go forth and roast with confidence.
The Kitchen Table
How do I prevent baked chicken from being dry?
Always use a digital thermometer to pull the chicken at 160 degrees Fahrenheit. Allow the meat to rest for ten minutes so the juices can redistribute through the fibers. Dry brining with salt beforehand also helps the cells retain moisture.
What temperature is best for baking chicken?
A temperature of 400 to 425 degrees Fahrenheit is ideal. High heat ensures the exterior browns quickly through the Maillard reaction while the interior stays juicy. Lower temperatures often result in "steamed" meat that lacks a savory crust.
Should I cover chicken while baking?
Leave the chicken uncovered if you want crispy skin and a golden exterior. Covering the pan traps steam, which is great for poaching but will prevent browning. Only cover it if you are reheating or using a specific braising liquid.
Can I bake frozen chicken directly?
It is not recommended. Frozen chicken releases excess moisture as it thaws in the oven, leading to a rubbery texture. For the best results, thaw the meat completely in the refrigerator and pat it dry before seasoning and baking.