
Picture this: a golden, glistening bird so tender the meat practically sighs off the bone, all achieved in less time than it takes to watch a single prestige drama episode. When searching for whole chicken recipes instant pot enthusiasts often settle for "good enough" results that lack texture. We are going to change that today. We are transforming a standard weeknight bird into a culinary masterpiece using physics, chemistry, and a little bit of kitchen swagger.
The magic of pressure cooking lies in its ability to force moisture into muscle fibers while simultaneously breaking down tough connective collagen into silky gelatin. However, the Instant Pot is a closed system. Without the right technique, you end up with a pale, soggy mess. By mastering the art of the sear and understanding the delicate balance of internal pressure, you will elevate your repertoire. This is not just dinner; it is an exercise in efficiency and flavor extraction that will make you the hero of your own kitchen.
The Gathers:
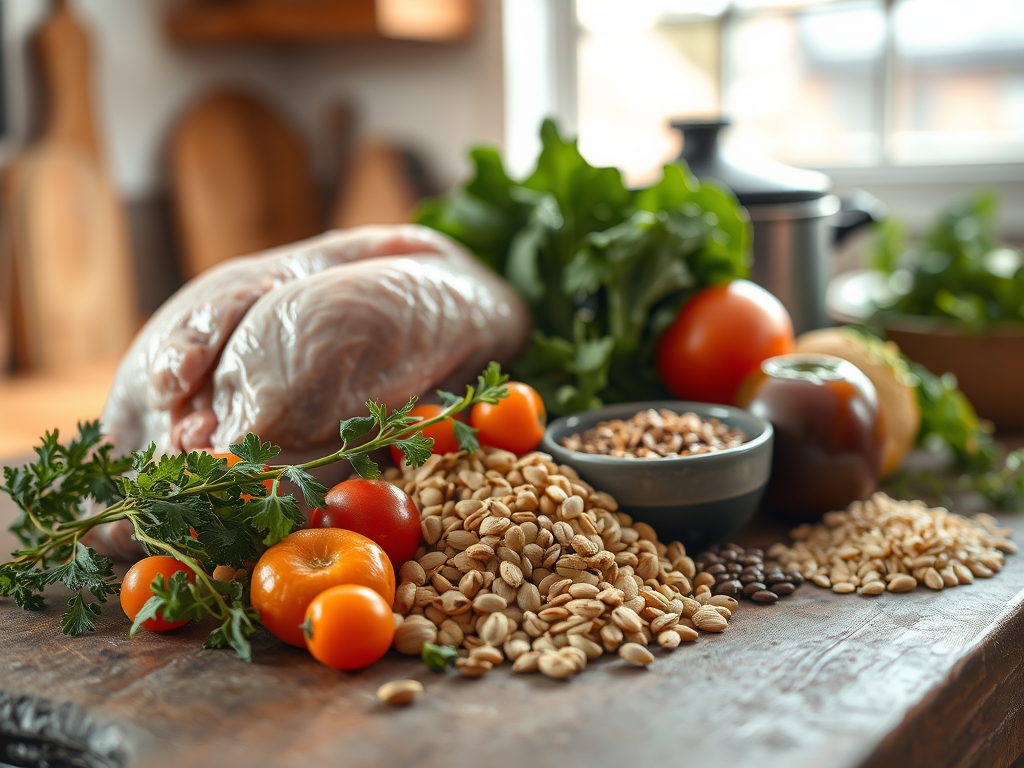
Before we engage the heating element, we must curate our mise-en-place with precision. You will need a four to five pound bird, preferably air-chilled to ensure the skin is not water-logged. For the aromatics, gather a head of garlic, halved to expose the cloves, and a large yellow onion. The sulfur compounds in the onion will undergo a chemical transformation during the cook, providing a savory backbone to the resulting jus.
For the dry rub, utilize a digital scale to measure out smoked paprika, garlic powder, dried oregano, and a generous amount of kosher salt. Salt is your most important tool here; it acts as a denaturant, unwinding protein strands so they can trap more water. You will also need two tablespoons of high-smoke-point oil, such as avocado or grapeseed oil, and one cup of high-quality chicken bone broth.
Smart Substitutions:
If you are out of bone broth, a dry white wine like Sauvignon Blanc adds a piquant acidity that cuts through the fat. For a citrus-forward profile, replace the onion with halved lemons. If you lack a specific herb, remember that dried herbs are more concentrated than fresh. Use a one-to-three ratio to avoid overpowering the delicate poultry.
The Clock: Chef's Flow
Efficiency in the kitchen is about "Chef's Flow," the seamless transition between tasks. Expect fifteen minutes for prep, which includes patting the bird dry and applying the rub. The "Sauté" function on your pot requires about five minutes to reach the optimal temperature for the Maillard reaction.
The actual pressurized cook time is six minutes per pound. For a four-pound bird, that is twenty-four minutes of active pressure. However, the "hidden" time lies in the "Natural Pressure Release" (NPR). You must factor in fifteen minutes for the pressure to dissipate naturally. This prevents the muscle fibers from seizing up and purging their juices, which would happen during a "Quick Release." Total time from counter to table is roughly one hour.
The Masterclass
1. The Surface Preparation
Start by using paper towels to remove every trace of moisture from the skin. A damp bird will steam rather than sear. Once dry, coat the entire surface with your oil and spice blend. Use your hands to ensure the rub reaches every crevice, especially under the wings.
Pro Tip: This process utilizes the principle of surface area maximization. By drying the skin, you allow the heat to immediately begin the Maillard reaction, which is the chemical dance between amino acids and reducing sugars that creates that deep, savory flavor.
2. The High-Heat Sear
Set your Instant Pot to "Sauté" on the highest setting. Once the display reads "Hot," use heavy-duty tongs to carefully lower the chicken into the pot, breast-side down. Sear for four minutes without moving it to ensure a deep crust. Flip and sear the back for another three minutes.
Pro Tip: This step is about enzymatic browning. While the pressure cooker cannot crisp skin once the lid is on, pre-searing develops complex flavor compounds that will infuse the meat throughout the pressurized cycle.
3. Deglazing the Foundation
Remove the chicken and set it on a clean plate. Pour in your broth or wine. Use a wooden spoon or a bench scraper to aggressively scrape the bottom of the pot. Those brown bits are called "fond," and they are concentrated flavor gold.
Pro Tip: Deglazing is a thermodynamic necessity. If those bits remain stuck to the bottom, they can trigger the "Burn" sensor on your device. By dissolving them into a viscous liquid, you create the base for a world-class gravy.
4. The Pressurized Descent
Place the trivet into the pot and set the chicken on top, breast-side up. Lock the lid and ensure the venting knob is set to "Sealing." Set the manual high pressure based on the weight of your bird.
Pro Tip: Elevating the bird on a trivet prevents it from boiling in its own juices. This ensures the heat is distributed via convection through the steam, leading to a more uniform texture across the white and dark meat.
5. The Natural Release
Once the timer beeps, walk away. Allow the pot to sit undisturbed for fifteen minutes. This is the most difficult but vital step of the entire process.
Pro Tip: This period accounts for thermal carryover. The internal temperature will continue to rise slightly while the pressure drops. More importantly, the cooling period allows the proteins to relax and reabsorb the moisture that was pushed toward the surface during the high-heat phase.
6. The Final Polish
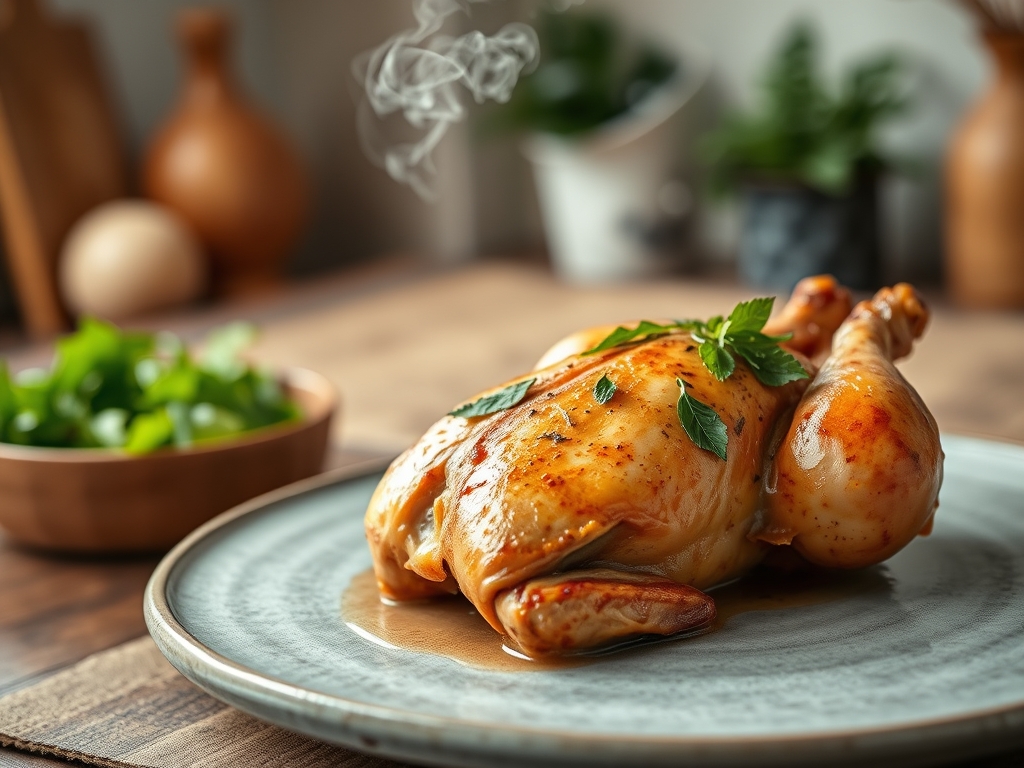
Carefully remove the chicken. If you desire "shatter-crisp" skin, place it under a broiler for three minutes. Meanwhile, use a saucier to reduce the remaining liquid in the pot by half to create a concentrated pan sauce.
Pro Tip: Reducing the liquid increases the solute concentration, intensifying the umami profile. Use a microplane to zest a bit of fresh lemon over the finished bird to provide a bright, acidic contrast to the rich fats.
The Deep Dive
Macro Nutrition:
A standard serving of this chicken (about 4 ounces) provides roughly 25g of protein and 8g of fat. It is a lean, high-density protein source perfect for muscle recovery. Because we are using a controlled environment, we retain more B-vitamins and minerals than traditional boiling or high-heat roasting.
Dietary Swaps:
For a Keto version, ensure your rub contains no sugar or cornstarch. For a Vegan alternative, this method works beautifully with a whole head of cauliflower, though you should reduce the pressure time to five minutes. This recipe is naturally Gluten-Free, provided your chicken broth is certified.
The Fix-It: Common Pitfalls
- The "Burn" Warning: This usually means you did not deglaze thoroughly. Add an extra quarter-cup of water and scrape the bottom again.
- Rubbery Skin: This happens if you skip the sear or the broiler. Moisture is the enemy of crunch.
- Dry Breast Meat: You likely overcooked it or used a "Quick Release." Always weigh your bird and stick to the six-minutes-per-pound rule.
Meal Prep & Reheating:
To maintain "day-one" quality, store the chicken in the remaining cooking juices. When reheating, use a low-heat method like a covered skillet with a splash of water. This creates a mini-steam chamber that prevents the proteins from becoming "stringy" through over-oxidation.
The Wrap-Up
Mastering whole chicken recipes instant pot style is a transformative skill for any home cook. It combines the speed of modern technology with the foundational principles of French culinary technique. By focusing on the Maillard reaction, respecting the natural pressure release, and utilizing the right tools, you turn a simple bird into a gourmet event. Now, grab your tongs and get cooking; your kitchen is about to smell incredible.
The Kitchen Table
Can I cook a frozen whole chicken in the Instant Pot?
Yes, but you must increase the cook time to 12 minutes per pound. Ensure you remove the giblet bag first. The texture will be slightly softer, but it remains safe and delicious.
Why is my chicken falling apart?
If the meat is shredding involuntarily, it was likely overcooked or left on "Keep Warm" too long. High pressure breaks down connective tissue rapidly; precise timing is the key to a clean carve.
Do I have to use the trivet?
Using the trivet is highly recommended. Without it, the bottom of the chicken sits in boiling liquid, resulting in a soggy texture and uneven cooking between the legs and the breast.
How do I get the skin truly crispy?
The Instant Pot uses steam, which softens skin. To get a rotisserie-style crunch, you must finish the chicken under a conventional oven broiler for three to five minutes after the pressure cooking is complete.