
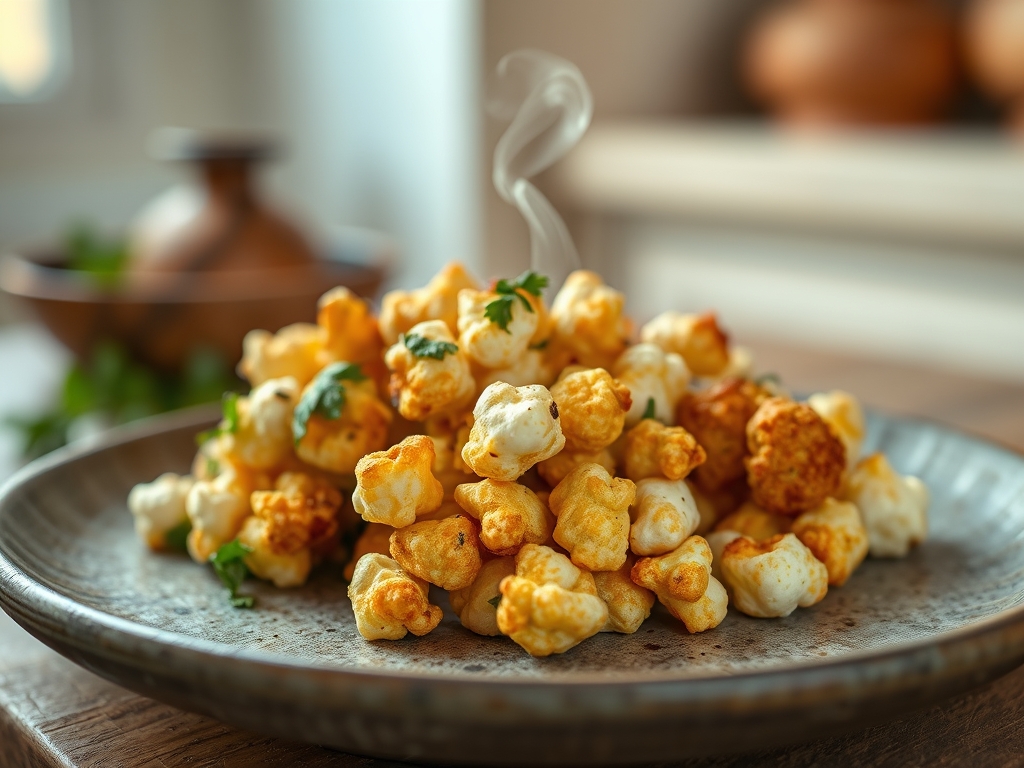
Close your eyes and listen for that specific, high-frequency shatter that only occurs when a perfectly dehydrated starch coating meets boiling oil. We are not just making a snack; we are engineering the ultimate crunch. When you search for chicken recipes popcorn, you are usually looking for a quick fix, but today we are elevating this cinema staple into a masterclass of molecular gastronomy. Imagine bite-sized nuggets of poultry that are so light they practically float, yet possess a crust that stands up to the most viscous dipping sauces. This is about the marriage of moisture retention and surface area maximization. We are using thigh meat for its superior fat content and a double-dredge technique that creates a craggy, lunar landscape of texture. Whether you are hosting a high-stakes game night or just need a protein-heavy comfort meal, these eight variations on the classic popcorn chicken will redefine your kitchen standards. Get your digital scale ready because precision is the secret ingredient to achieving that elusive, professional-grade shatter.
The Gathers:
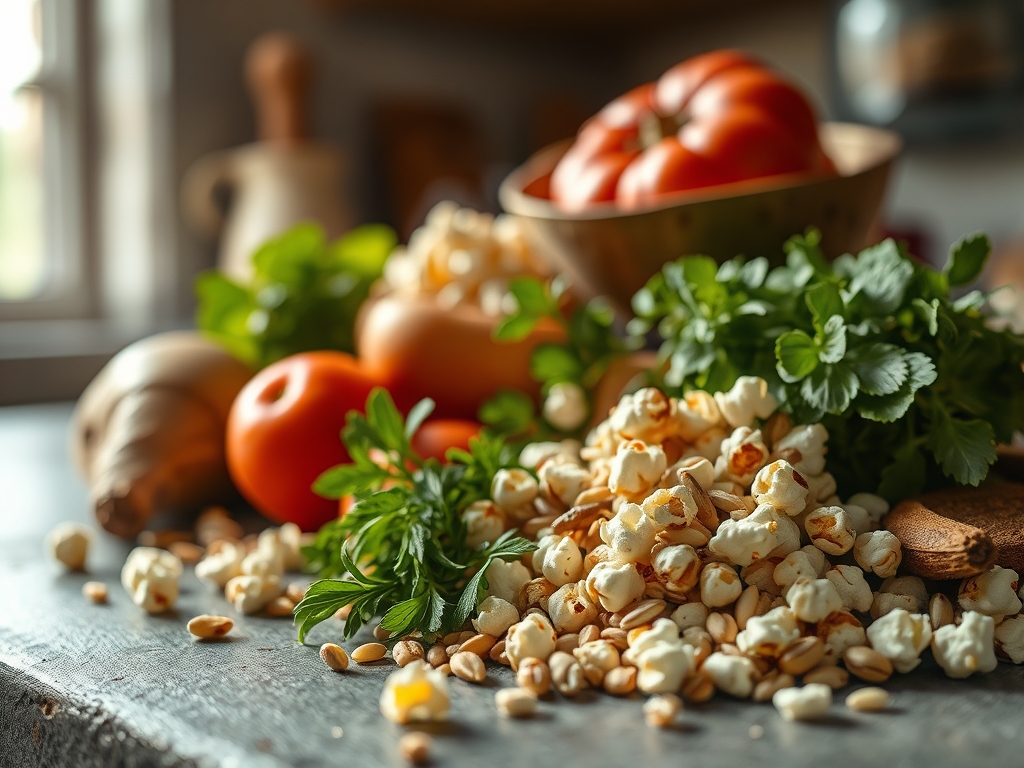
To achieve a result that rivals any high-end bistro, your mise-en-place must be impeccable. Start with 800 grams of boneless, skinless chicken thighs. Thighs are essential because they contain more connective tissue than breasts; this collagen transforms into gelatin during the fry, ensuring the interior remains succulent while the exterior dehydrates. You will need a high-smoke-point lipid, such as peanut oil or refined avocado oil, to prevent acrid flavors from developing at high temperatures.
For the dry dredge, we utilize a blend of all-purpose flour and cornstarch. The cornstarch is vital because it lacks gluten-forming proteins, which prevents the coating from becoming tough or bready. You will also need buttermilk, which acts as a piquant tenderizer. The lactic acid in the buttermilk breaks down protein fibrils, while the viscous texture allows the flour to adhere in thick, craggy clumps. Use a microplane to grate fresh garlic and ginger into the marinade for an immediate aromatic infusion.
Smart Substitutions: If you are avoiding dairy, swap the buttermilk for a mixture of soy milk and apple cider vinegar to mimic the acidity. For a lower glycemic index, replace the cornstarch with arrowroot powder, which provides a similar crystalline structure when fried. If you lack a deep fryer, a heavy-bottomed skillet or a cast iron dutch oven is mandatory to maintain thermal consistency.
The Clock
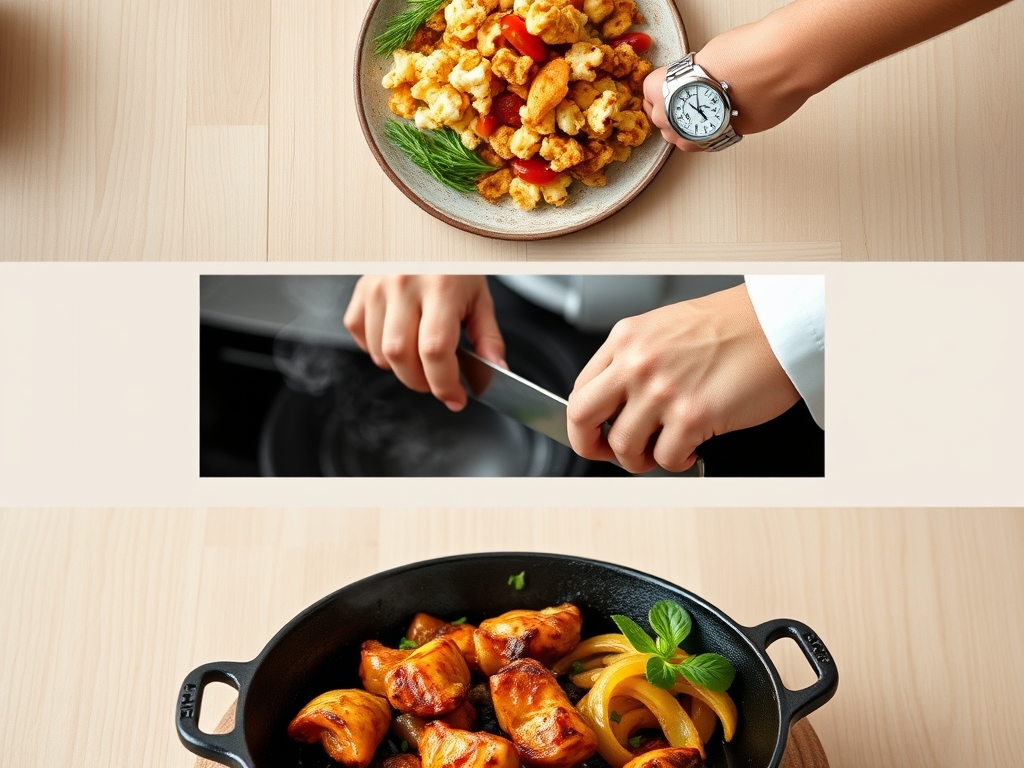
Efficiency in the kitchen is about managing "The Flow." Expect 20 minutes of active prep time, which includes dicing the poultry and whisking the dredge. However, the secret to the best chicken recipes popcorn is the rest period. You must allow the chicken to marinate for at least 30 minutes, though two hours is the sweet spot for maximum enzymatic breakdown.
The actual frying process moves quickly. Each batch takes approximately 4 to 5 minutes. If you are organized, you can move from raw ingredients to a plated masterpiece in under an hour. Use a bench scraper to keep your workstation clear of excess flour, ensuring you stay in a rhythmic, professional headspace.
The Masterclass
1. Precision Cubing and Brining
Slice your chicken into uniform 1.5-centimeter cubes. Uniformity is not just for aesthetics; it ensures every piece reaches the safe internal temperature of 165 degrees Fahrenheit at the exact same moment. Submerge the pieces in your seasoned buttermilk.
Pro Tip: This stage utilizes osmosis. By salting your marinade, you draw moisture into the protein cells, ensuring the meat stays hydrated even when subjected to the intense heat of the frying oil.
2. The Aerated Dredge
Whisk your flour, cornstarch, and spices in a large bowl. Use a fork to drizzle two tablespoons of the buttermilk marinade into the dry flour. Rub the mixture together until small, shaggy clumps form. This increases the surface area of the coating.
Pro Tip: This technique creates extra-nubbly bits that fry into glass-like shards. Increasing the surface area allows for more Maillard reaction sites, which translates to deeper flavor and more crunch.
3. The Press and Set
Work in small batches to toss the chicken in the flour. Do not just coat them; press the flour into the meat with your palms. Once coated, let the chicken sit on a wire rack for five minutes before frying.
Pro Tip: This rest period allows for hydration of the starch. If you fry immediately, the flour may blow off in the oil. Letting it sit ensures the coating "sets" and bonds to the protein.
4. Thermal Management
Heat your oil in a heavy-bottomed skillet to 350 degrees Fahrenheit. Use a digital thermometer to verify. Drop the chicken in one by one to avoid clumping, but do not crowd the pan.
Pro Tip: Crowding causes the oil temperature to plummet, leading to oil absorption. When the temperature stays high, the steam escaping the chicken creates a pressure barrier that prevents oil from soaking into the crust.
5. The Agitation Phase
Once the chicken hits the oil, wait 60 seconds, then use tongs or a spider skimmer to gently move the pieces. This ensures even heat distribution and prevents "flat spots" where the chicken touches the bottom of the pan.
Pro Tip: Constant movement promotes convection. This ensures the heat surrounds the entire sphere of the popcorn chicken, leading to a perfectly spherical, 360-degree crunch.
6. The Golden Extraction
Remove the chicken when it reaches a deep, golden mahogany. Transfer them immediately to a wire rack set over a baking sheet rather than paper towels.
Pro Tip: Paper towels trap steam, which leads to evaporative softening. A wire rack allows air to circulate around the entire piece, preserving the crystalline structure of the fried starch.
7. The Flavor Infusion
While the chicken is hot, toss it in a saucier with your choice of glaze or a dry spice rub. The residual heat will help the flavors bloom and adhere to the crust.
Pro Tip: This is known as thermal carryover. The internal heat of the chicken continues to cook the meat for a minute after it leaves the oil, while simultaneously "toasting" any dry spices applied to the surface.
8. The Final Emulsification
Serve with a side sauce that has been properly emulsified. If using a buffalo-style sauce, whisk cold butter into hot hot-sauce slowly to create a creamy, stable coating.
Pro Tip: A stable emulsion provides a velvety mouthfeel that contrasts beautifully with the jagged, crispy exterior of the chicken.
The Deep Dive
Macro Nutrition: A standard serving of this popcorn chicken contains approximately 350 calories, 28 grams of protein, and 18 grams of healthy fats. By using thigh meat, you gain essential micronutrients like zinc and Vitamin B12.
Dietary Swaps: For a Keto version, replace the flour and cornstarch with crushed pork rinds and parmesan cheese. For Vegan popcorn "chicken," use extra-firm tofu that has been frozen and thawed to create a fibrous, meat-like texture. For Gluten-Free needs, a 1:1 GF flour blend with extra potato starch works beautifully.
The Fix-It:
- Soggy Crust: Your oil was too cold. Ensure it hits 350F before starting.
- Bland Meat: You skipped the marinade. The salt must penetrate the meat fibers for at least 30 minutes.
- Coating Falling Off: You didn't allow the "set" period on the wire rack. Starch needs time to hydrate.
Meal Prep: To achieve "day-one" quality when reheating, avoid the microwave at all costs. Use an air fryer at 375F for 4 minutes. This re-activates the fats in the crust, essentially "re-frying" the exterior without overcooking the center.
The Wrap-Up
Mastering chicken recipes popcorn is a rite of passage for any home cook looking to blend scientific precision with pure, unadulterated joy. By understanding the physics of the fry and the chemistry of the marinade, you have transformed a simple snack into a culinary event. Go ahead and share these with your friends, but be warned; once they taste the "shatter-crunch" of a scientifically perfected nugget, they will never settle for fast food again. Grab your tongs and get frying!
The Kitchen Table
How do I make the chicken extra crispy?
Use a 50/50 blend of all-purpose flour and cornstarch. The cornstarch prevents gluten development, creating a brittle, glass-like texture. Additionally, double-dredging and allowing the coated chicken to rest for five minutes before frying ensures the crust stays firmly attached.
Can I make popcorn chicken in an air fryer?
Yes. Spray the breaded chicken generously with high-smoke-point oil. Air fry at 400 degrees Fahrenheit for 10 to 12 minutes, shaking the basket halfway through. While not as decadent as deep-frying, the convection air creates a respectable, lower-fat crunch.
What is the best oil for frying chicken?
Peanut oil is the gold standard due to its high smoke point and neutral flavor profile. If you have nut allergies, refined canola or avocado oil are excellent alternatives. Avoid extra virgin olive oil, as it smokes and degrades at frying temperatures.
How long can I marinate the chicken?
For the best texture, marinate in buttermilk for 2 to 4 hours. The lactic acid gently tenderizes the meat. Avoid marinating for more than 24 hours, as the acid can eventually turn the protein fibers mushy rather than tender.
Why is my popcorn chicken tough?
Toughness usually results from using overcooked breast meat or over-working the flour coating. Use chicken thighs for more fat and moisture. When dredging, toss gently to avoid compressing the flour into a dense, gluten-heavy layer that hardens during frying.