

Picture the scene: your kitchen is filled with the intoxicating scent of toasted sesame and caramelized ginger while a glistening, mahogany-glazed fillet rests on your cutting board. We have all been there; chasing that elusive restaurant-quality finish where the skin is crisp but the interior remains a buttery, translucent pink. Mastering teriyaki salmon recipes oven techniques is about more than just heat; it is about the chemistry of sugars meeting high-quality protein. When you slide that tray into the rack, you are not just cooking dinner. You are orchestrating a complex series of thermal reactions that transform a humble piece of fish into a masterpiece of umami. Today, I am pulling back the curtain on the nine secrets that will elevate your weeknight routine into a culinary event. We are moving beyond the bottled sauce and the overcooked flakes. We are aiming for perfection through precision, science, and a little bit of kitchen magic. Grab your apron; your journey to becoming the neighborhood salmon whisperer starts right here.
The Gathers:
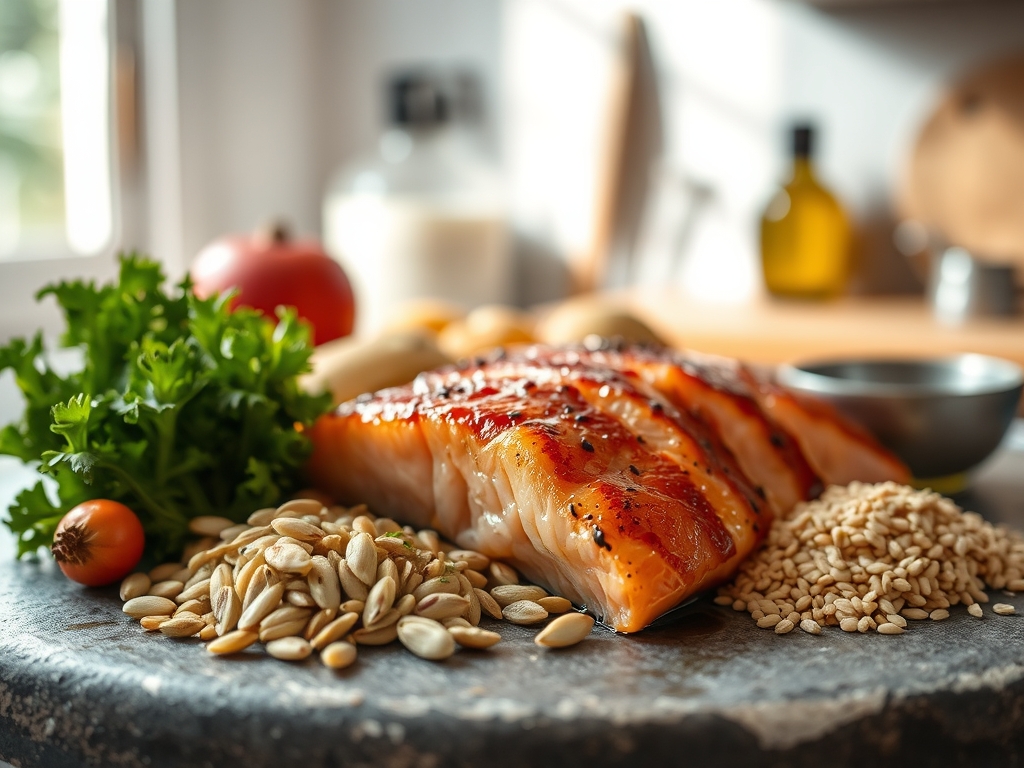
To achieve a truly viscous and piquant glaze, your mise-en-place must be intentional. We start with the salmon itself; ideally, a center-cut Atlantic or King fillet. Use a digital scale to ensure your portions are uniform, as varying thickness is the enemy of even cooking. For the sauce, you will need high-quality soy sauce (the base of umami), mirin for that distinct Japanese sweetness, and sake to provide an acidic backbone that cuts through the fatty acids of the fish.
Freshness is non-negotiable here. Use a microplane to grate fresh ginger and garlic into a fine paste; this increases the surface area, allowing the aromatics to infuse the liquid more effectively than rough chopping ever could. If you are looking for smart substitutions, coconut aminos offer a fantastic soy-free alternative, while honey or agave can stand in for traditional white sugar if you prefer a deeper, more floral sweetness. Do not forget the finishing touches: toasted sesame oil for its nutty aroma and thinly sliced scallions to provide a sharp, fresh contrast to the rich glaze.
The Clock
Efficiency in the kitchen is what I call "Chef's Flow." Total active preparation time should clock in at exactly 15 minutes, with a total cook time of 12 to 15 minutes depending on the thickness of your fillets. The secret to a seamless experience is the saucier. While your oven preheats to a steady 400 degrees Fahrenheit, you should be reducing your marinade on the stovetop. This ensures the sauce is already thickened and ready to coat the fish, preventing it from simply running off the sides and burning on the baking sheet. By the time your timer dings, your salmon should be resting, allowing the juices to redistribute for maximum succulence.
The Masterclass
1. The Desiccation Ritual
Before a drop of sauce touches the fish, you must use a paper towel to pat the skin and flesh completely dry. Moisture is the enemy of the Maillard reaction. If the surface is damp, the fish will steam rather than sear.
Pro Tip: This process, known as surface desiccation, ensures that the proteins can bond quickly with the sugars in the glaze, creating a lacquer-like finish rather than a watery mess.
2. The Emulsified Marinade
Whisk your soy, mirin, and aromatics in a small saucier over medium heat. Add a slurry of cornstarch and water if you want a thicker consistency. You are looking for a glaze that coats the back of a spoon.
Pro Tip: Heating the marinade first initiates the enzymatic browning of the garlic and ginger, deepening the flavor profile before it even hits the oven.
3. The Parchment Barrier
Line your heavy-duty baking sheet with parchment paper or a silicone mat. This prevents the sugars in the teriyaki from sticking and burning, which can create a bitter "off" flavor.
Pro Tip: Using a heavy-bottomed pan provides better heat distribution, preventing hot spots that could cause the thin tail-end of the fillet to overcook.
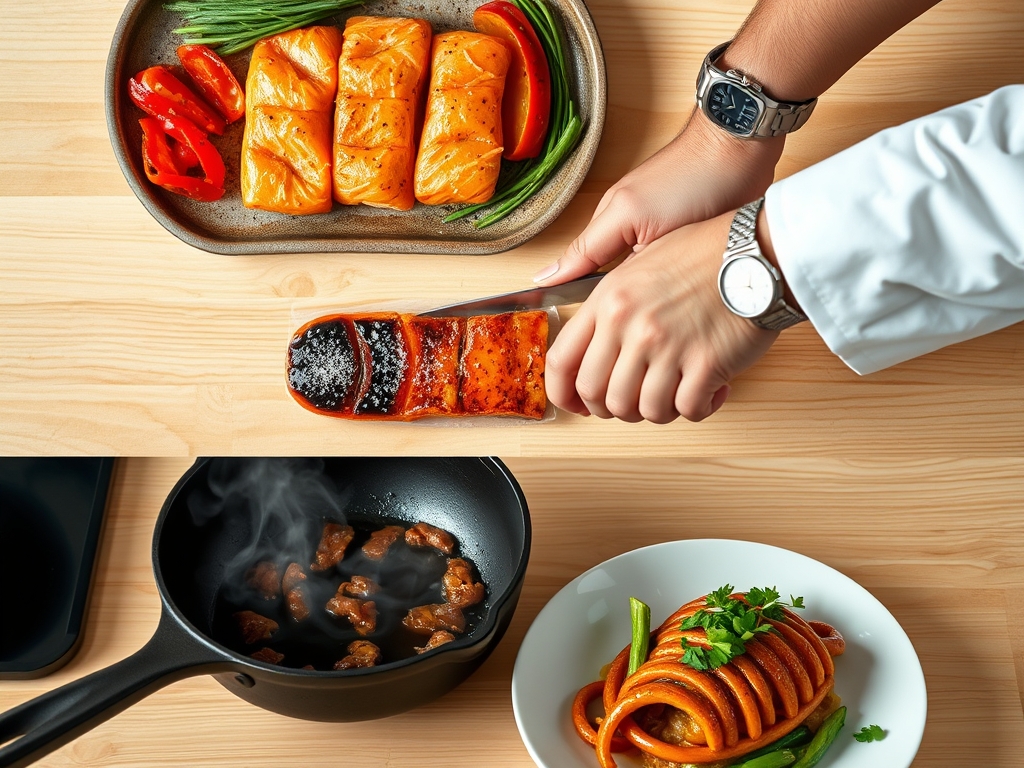
4. The First Coat
Place the fillets skin-side down and use a silicone brush to apply a generous layer of the reduced sauce. Do not drown the fish; you want a controlled application.
Pro Tip: The skin acts as an insulator, protecting the delicate flesh from the direct heat of the metal pan while it renders its own fat.
5. The Thermal Jump
Slide the tray into the center rack. We want the ambient heat to cook the fish through while the top heat begins to set the glaze.
Pro Tip: Avoid using the convection setting unless you are very experienced; the fan can dry out the exterior of the salmon before the center reaches the safe internal temperature of 145 degrees Fahrenheit.
6. The Basting Interval
Halfway through the cooking process, pull the tray out and apply a second layer of glaze. This creates layers of flavor and a beautiful, glossy sheen.
Pro Tip: This is called "layering umami." Each application of glaze undergoes a mini-reduction in the oven, intensifying the salt and sugar concentrations.
7. The Broiler Finish
For the final two minutes, switch your oven to the "broil" setting. Watch it like a hawk. You want the glaze to bubble and slightly char at the edges.
Pro Tip: This rapid increase in temperature triggers the caramelization of the sugars, providing that signature "burnt ends" flavor that balances the richness of the fish.
8. The Carryover Rest
Remove the salmon from the oven when it is about 5 degrees below your target temperature. Use tongs to gently transfer the fillets to a warm plate.
Pro Tip: Thermal carryover means the internal temperature will continue to rise even after the fish is out of the oven. Resting prevents the protein fibers from tightening and squeezing out all the moisture.
9. The Final Infusion
Just before serving, drizzle a teaspoon of fresh, unheated marinade and a squeeze of lime over the top. Sprinkle with sesame seeds and scallions for texture.
Pro Tip: Adding fresh acid at the end "wakes up" the palate, cutting through the heavy, sweet notes of the cooked glaze.
The Deep Dive
When we look at the macro nutrition, teriyaki salmon is a powerhouse. It is loaded with Omega-3 fatty acids, which are essential for brain health, and provides a high-density protein source. For those on specific diets, the swaps are simple. For Keto, replace the sugar and mirin with monk fruit sweetener and a splash of rice vinegar. For a Gluten-Free version, use Tamari instead of traditional soy sauce.
If you encounter the "white stuff" (albumin) seeping out of your salmon, it means you have cooked it too fast or too long. The muscle fibers have contracted and pushed the protein to the surface. To fix this, lower your temperature next time and ensure you are using a digital thermometer. For meal prep, never reheat salmon in the microwave. Instead, use a low-heat oven or eat it cold over a salad to preserve the delicate texture of the fats.
The Wrap-Up
Mastering teriyaki salmon recipes oven style is your ticket to a sophisticated, healthy, and wildly delicious dinner that feels like a splurge but takes less time than ordering takeout. By focusing on the science of the glaze and the precision of the cook time, you are ensuring a perfect result every single time. Remember: dry the fish, reduce the sauce, and watch that broiler! You have the tools, the tips, and the talent to make this your new signature dish. Now, get in that kitchen and make some magic happen.
The Kitchen Table
Can I use frozen salmon for this recipe?
Yes, but you must thaw it completely in the refrigerator first. Pat it extremely dry with paper towels to remove excess moisture, which prevents the glaze from sticking and ensures the skin can still crisp up properly.
How do I know when the salmon is done?
The most reliable method is using a digital thermometer to reach an internal temperature of 145 degrees Fahrenheit. Alternatively, the flesh should easily flake with a fork and appear opaque rather than translucent in the thickest part.
Why is my teriyaki sauce too thin?
If your sauce is watery, you likely did not reduce it long enough on the stovetop. Simmer it for a few extra minutes until it reaches a syrupy consistency, or add a small cornstarch slurry to thicken it instantly.
Can I make the glaze in advance?
Absolutely. You can prepare the teriyaki glaze up to a week in advance and store it in an airtight container in the fridge. This actually allows the garlic and ginger flavors to meld and intensify over time.