
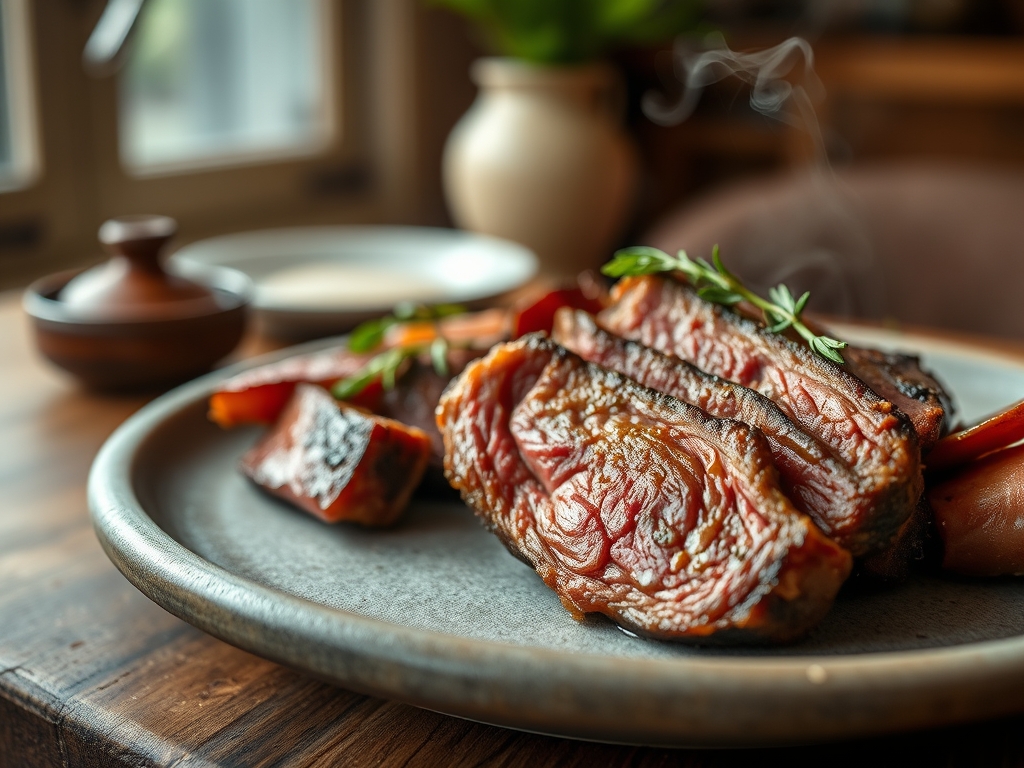
Picture the scene where your kitchen is heavy with the scent of caramelized onions and seared protein; it is a sensory embrace that promises a perfect Sunday dinner. Achieving the ultimate centerpiece requires more than luck; it requires an understanding of how heat interacts with muscle fiber. When searching for tender roast beef recipes, the goal is always a balance between a crusty exterior and a buttery, melt in your mouth interior. We are moving beyond the dry, grey slabs of the past and stepping into a world where science meets soul. This guide is your roadmap to mastering eight distinct methods to ensure your beef is the talk of the neighborhood. Whether you are using a high heat blast or a slow, low crawl in the oven, the result should always be a masterpiece of texture. We will explore the nuances of fat rendering and moisture retention to ensure every slice is a victory. Pull up a chair and grab your favorite apron; we are about to turn your kitchen into a high end steakhouse.
The Gathers:
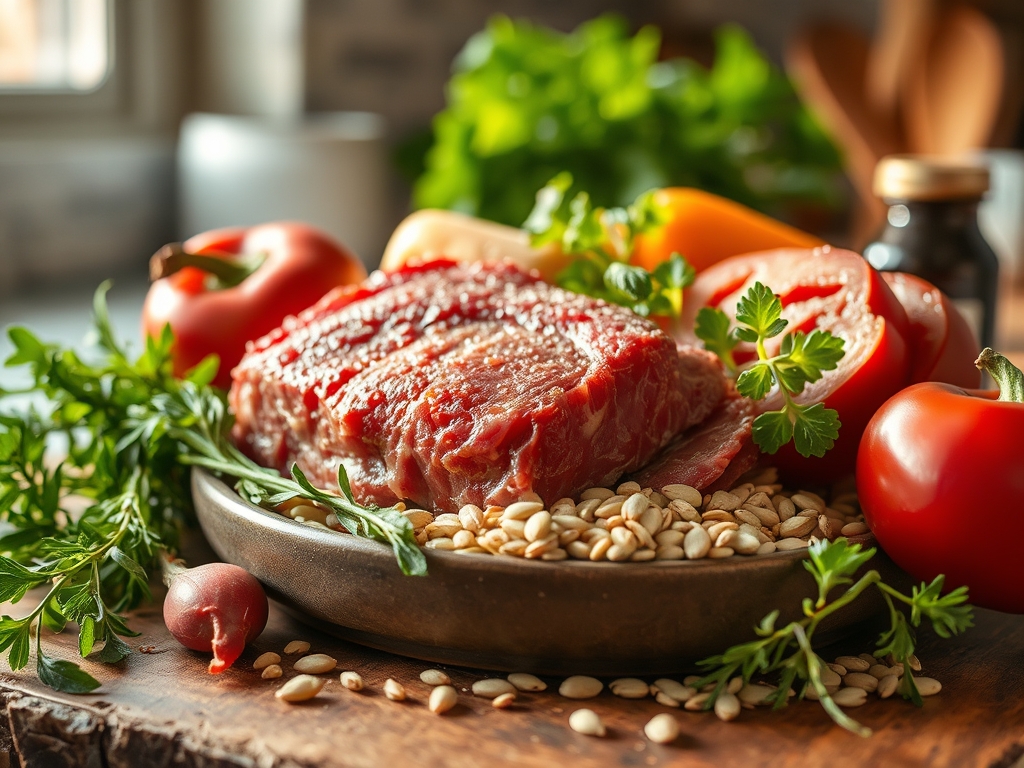
Setting up your station is the first step toward culinary excellence. You will need a high quality cut of beef, such as a prime rib, top round, or a center cut tenderloin. Look for heavy intramuscular marbling; these small flecks of white fat will render during the cooking process, self basting the meat from within. You will also need coarse kosher salt to initiate the osmotic process that seasons the meat deeply. For the aromatic base, gather fresh rosemary, thyme, and whole garlic cloves. A high smoke point oil, such as avocado or grapeseed oil, is essential for the initial sear.
For your "Smart Substitutions," consider using a viscous balsamic glaze if you lack red wine for deglazing. If you find yourself without fresh herbs, a high quality dried herbes de Provence can work, provided you bloom it in fat first to release the oils. If you are watching your sodium, replace half the salt with nutritional yeast to provide a savory, umami depth without the extra chloride. Ensure your digital scale is handy to weigh your aromatics for precision.
The Clock
Efficiency in the kitchen is about the "Chef's Flow." This is the rhythm where prep and cooking overlap seamlessly. Total preparation time for these tender roast beef recipes usually takes about 30 minutes of active work, but the "passive" time is where the magic happens. You must account for the "Tempering Phase," which is the 60 minutes the meat sits at room temperature before hitting the heat.
Cooking times vary wildly based on the method chosen. A high heat roast might take 45 minutes, while a slow braise or low temperature roast could span four to six hours. Always factor in a mandatory 20 to 30 minute rest period after the meat leaves the oven. This allows the internal juices, which have been pushed to the center by the heat, to redistribute through the fibers. If you cut too soon, you lose the viscous nectar that makes the meat tender.
The Masterclass
1. The Tempering Technique
Before the meat ever touches a pan, it must lose its refrigerator chill. Pat the beef dry with paper towels to remove surface moisture. Salt the exterior liberally and let it sit on a wire rack for at least an hour.
Pro Tip: This allows for enzymatic browning to occur more rapidly. If the meat is cold, the energy of the pan is wasted heating the interior rather than creating a crust.
2. The Hard Sear
Use a heavy bottomed skillet or a cast iron pan. Heat your oil until it reaches the shimmering point. Use tongs to press the beef into the pan, searing every side until a deep mahogany crust forms.
Pro Tip: This is the Maillard Reaction in action. It is a chemical reaction between amino acids and reducing sugars that creates hundreds of different flavor compounds.
3. The Low and Slow Method
Set your oven to a modest 250 degrees Fahrenheit. Place the beef on a roasting rack inside a shallow pan. This allows hot air to circulate around the entire radius of the meat.
Pro Tip: Slow cooking prevents the muscle proteins from contracting too violently. This keeps the cell walls intact, ensuring the moisture stays trapped inside the fibers.
4. The Reverse Sear
Start the roast in a low oven until it reaches an internal temperature of 115 degrees. Remove it, let it rest, and then finish it in a screaming hot pan or under the broiler for just three minutes.
Pro Tip: This method minimizes the "grey ring" of overcooked meat under the surface. It provides the most even edge to edge pinkness possible.
5. The Butter Baste
During the final stages of cooking, add a knob of unsalted butter, smashed garlic, and thyme to the pan. Use a large spoon to continuously douse the meat in the foaming fat.
Pro Tip: This is known as Arrosage. The fat carries the fat soluble flavors of the herbs into the nooks of the crust while adding a rich, velvety mouthfeel.
6. The Deglaze
Once the meat is removed from the pan, you will see brown bits stuck to the bottom. Pour in a splash of red wine or beef stock and use a saucier or whisk to scrape them up.
Pro Tip: Those bits are called fond. Dissolving them creates a highly concentrated flavor base for your jus or gravy through the process of reduction.
7. The Thermal Carryover
Pull your roast out of the oven when it is 5 to 10 degrees below your target final temperature. Wrap it loosely in foil and let it sit on a cutting board.
Pro Tip: Thermal carryover occurs because the exterior of the meat is hotter than the center. That residual heat continues to move inward even after the heat source is gone.
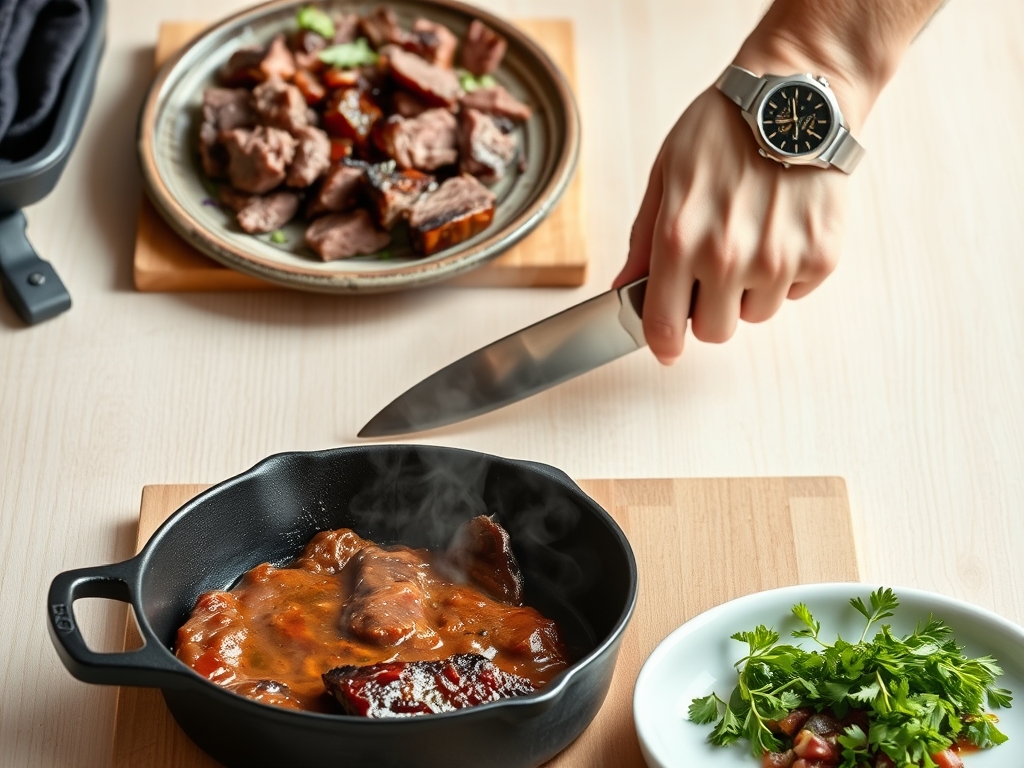
8. The Precision Slice
Use a sharp carving knife or a bench scraper to guide your cuts. Always slice against the grain of the meat. Look at the direction of the muscle fibers and cut perpendicular to them.
Pro Tip: Slicing against the grain shortens the muscle fibers. This makes the meat significantly easier to chew, mechanically enhancing the perception of tenderness.
The Deep Dive
From a macro nutrition perspective, roast beef is a powerhouse of bioavailable protein, zinc, and B vitamins. A standard six ounce serving provides roughly 45 grams of protein. For those following a Keto lifestyle, the high fat content of a rib roast is ideal. If you are looking for a Vegan swap, a large "roast" made of seasoned seitan or a whole roasted cauliflower head can mimic the presentation, though the chemistry of the Maillard reaction will differ. For Gluten Free guests, ensure your gravy is thickened with cornstarch or a potato starch slurry instead of flour.
"The Fix It" section handles common disasters. If your roast is tough, it likely did not rest long enough; wrap it in foil and let it sit for another ten minutes. If the exterior is burnt but the inside is raw, your oven temp was too high; slice the meat and finish the slices briefly in a warm pan with broth. If the meat is bland, finish the slices with a sprinkle of flaky sea salt and a squeeze of lemon to brighten the fats. For meal prep, reheat your leftovers in a vacuum sealed bag in warm water or in a covered dish with a splash of beef stock at 300 degrees to maintain "day one" moisture.
The Wrap-Up
Mastering tender roast beef recipes is a rite of passage for any home cook. It is the intersection of patience, high quality tools, and an understanding of thermal dynamics. By respecting the rest period and embracing the sear, you transform a simple cut of meat into an extraordinary experience. Now, go forth, grab your microplane for some fresh horseradish, and serve a meal that your friends will be dreaming about for weeks. You have the science; now add the love.
The Kitchen Table
How do I know when the roast is done?
Always use a digital meat thermometer. For medium rare, pull the beef at 130 degrees Fahrenheit. The temperature will rise to 135 degrees as it rests. Avoid relying on "time per pound" as oven calibrations vary.
Why is my roast beef always dry?
Dryness usually stems from overcooking or skipping the resting phase. If you cut the meat immediately, the internal pressure forces the juices out. High oven temperatures can also cause the muscle fibers to squeeze out moisture prematurely.
Can I roast beef in a slow cooker?
Yes, but you will lose the textural contrast of a crusty exterior. For the best results, sear the meat in a skillet first to develop flavor via the Maillard reaction before placing it in the slow cooker.
What is the best cut for budget roasting?
The eye of round or top round are excellent budget friendly choices. Because they are leaner, they require a lower cooking temperature and very thin slicing against the grain to ensure they remain palatable and tender.