
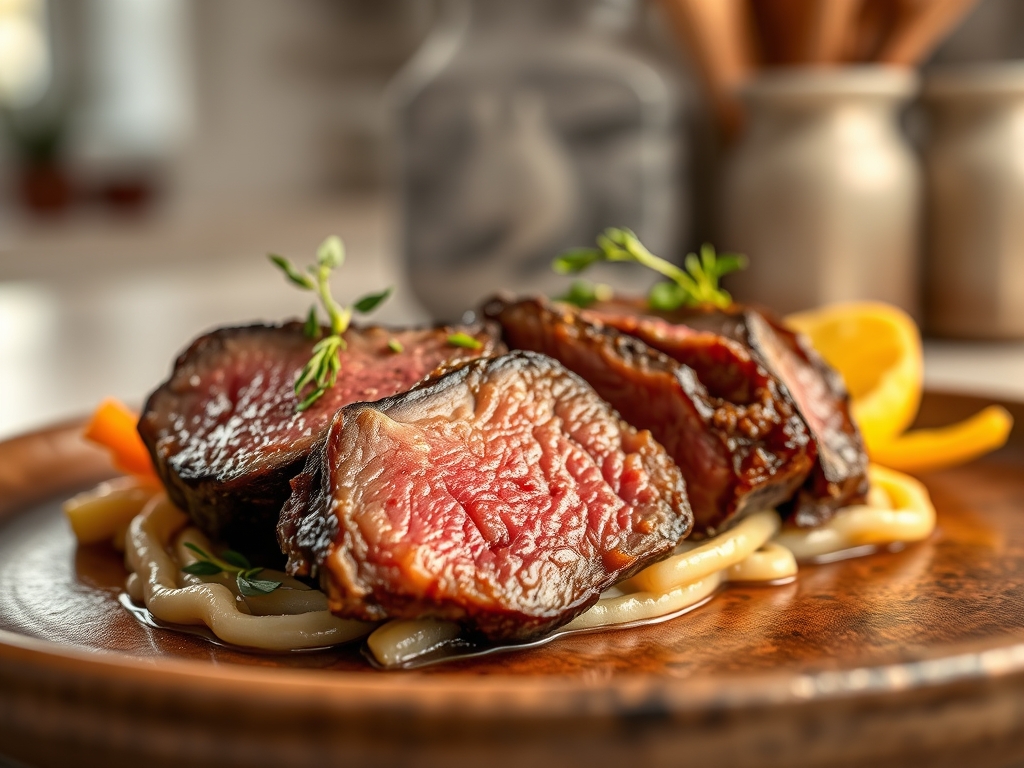
Picture a cold Sunday afternoon where the air in your kitchen is thick with the scent of rosemary and rendered fat. You are hovering over a heavy-bottomed skillet, watching the steam rise as a deep, mahogany crust forms on a beautiful piece of meat. Finding the perfect top round roast beef recipes is about more than just a meal; it is about mastering the art of the Sunday supper. The top round is a lean, hardworking muscle from the hindquarters of the cow. It is notoriously tricky because it lacks the heavy marbling of a ribeye, but when treated with scientific precision, it transforms into a succulent, melt-in-your-mouth masterpiece that rivals any expensive steakhouse cut. We are going to unlock the secrets of connective tissue breakdown and moisture retention to ensure every slice is edge-to-edge pink. This is not just cooking; it is a delicious chemistry experiment that ends with a standing ovation from your dinner guests. Grab your apron and your sharpest slicing knife; we are about to turn a humble cut into a culinary legend.
The Gathers:
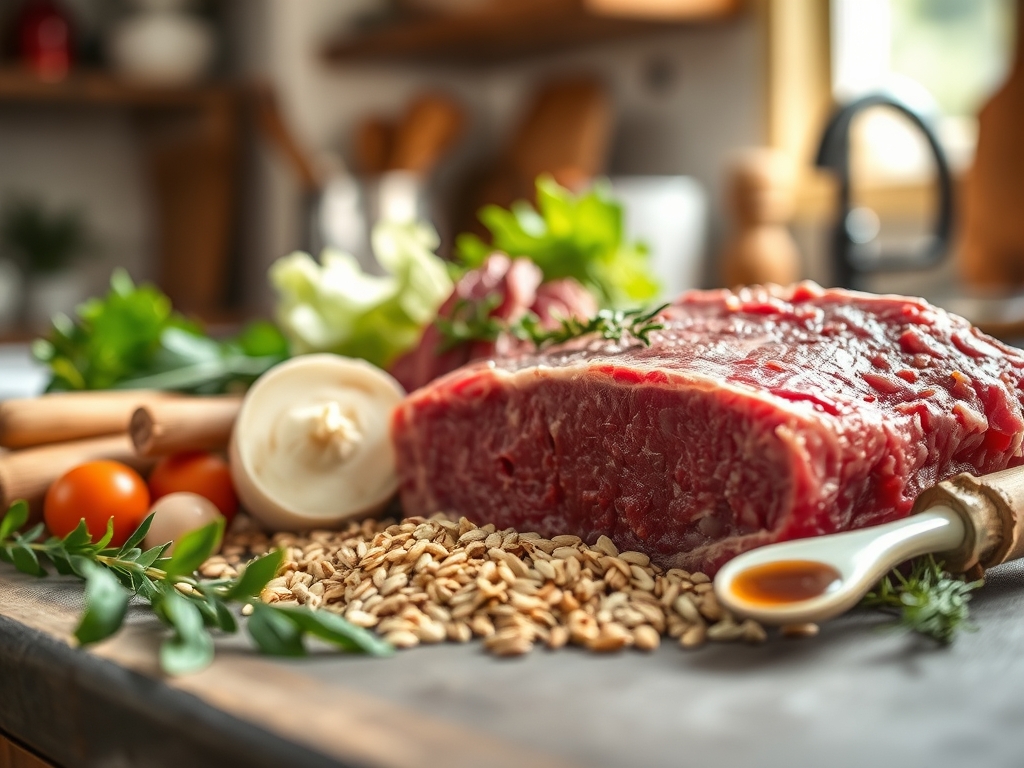
To achieve a world-class result, your mise-en-place must be impeccable. You will need a four-pound top round roast, ideally one with a thin "fat cap" still attached to provide self-basting capabilities. For the dry rub, gather coarse kosher salt, cracked black peppercorns, dried thyme, and garlic powder. The larger grains of kosher salt are essential for creating a hygroscopic effect, drawing moisture out to the surface before reabsorbing it as a concentrated brine. You will also need a high-smoke-point oil, such as avocado or grapeseed oil, to facilitate a violent sear without the acrid taste of burnt lipids.
Smart Substitutions: If you cannot find top round, a bottom round or eye of round will suffice, though they are slightly tougher. For a piquant twist, swap the garlic powder for a rub of freshly grated horseradish using a microplane. If you are avoiding nightshades, replace the black pepper with toasted mustard seeds crushed in a mortar and pestle. Always use a digital scale to measure your salt; the standard ratio is one teaspoon of kosher salt per pound of meat to ensure perfect seasoning without over-salting the interior fibers.
The Clock
Efficiency in the kitchen is dictated by the Chef's Flow, a sequence of tasks that maximizes downtime. Your total active prep time is approximately 20 minutes, but the passive time is where the magic happens.
- The Dry Brine: 2 to 24 hours (Passive). This allows the salt to penetrate the cellular structure.
- The Tempering: 60 minutes (Passive). Bringing the meat to room temperature prevents a "cold core" and uneven cooking.
- The Sear: 10 minutes (Active). High-heat Maillard reaction.
- The Roast: 60 to 90 minutes (Passive). Low and slow at 250 degrees Fahrenheit.
- The Rest: 20 to 30 minutes (Passive). Crucial for juice redistribution.
By starting the dry brine the night before, your "day-of" workload is minimal. You can use the roasting time to prepare a viscous red wine reduction in a saucier or to aerate a batch of creamy mashed potatoes.
The Masterclass
1. The Salt Saturation
Begin by patting the roast bone-dry with paper towels. Rub the salt and spice mixture over every square inch of the meat. Place it on a wire rack set over a rimmed baking sheet and refrigerate uncovered.
Pro Tip: This process is known as dry brining. The salt denatures the meat proteins, allowing them to hold onto more water during the heat stress of roasting. Keeping it uncovered in the fridge uses the refrigerator's fan to dehydrate the surface, which is the secret to a superior crust.
2. Tempering for Uniformity
Remove the beef from the fridge at least one hour before you plan to cook. Use a digital thermometer to track the internal temperature as it rises toward 60 degrees Fahrenheit.
Pro Tip: This is about thermal equilibrium. If you put a fridge-cold roast into a hot oven, the exterior will overcook and become gray and leathery before the center even reaches a safe temperature. Tempering ensures the heat travels through the muscle fibers at a consistent rate.
3. The High-Heat Sear
Heat your heavy-bottomed skillet until the oil just begins to shimmer and smoke. Using sturdy metal tongs, sear the roast on all sides until a deep brown crust forms. Do not forget to sear the ends.
Pro Tip: This is the Maillard Reaction. It is a chemical reaction between amino acids and reducing sugars that gives browned food its distinctive flavor. Without this step, your roast will lack the savory complexity that defines top-tier top round roast beef recipes.
4. The Low and Slow Roast
Transfer the roast to a shallow roasting pan. Insert a probe thermometer into the thickest part of the meat and set the oven to 250 degrees Fahrenheit. Aim for an internal pull temperature of 125 degrees Fahrenheit for medium-rare.
Pro Tip: High heat causes muscle fibers to contract violently, squeezing out moisture like a wrung-out sponge. By roasting at a low temperature, you minimize this contraction, keeping the myoglobin (the red juice) inside the meat where it belongs.
5. The Deglaze
While the meat roasts, take that skillet used for searing and place it back on the heat. Pour in a splash of beef stock or red wine and use a wooden spoon to scrape up the brown bits (the fond).
Pro Tip: These bits are concentrated flavor bombs. By adding a liquid, you deglaze the pan, incorporating those caramelized proteins into a sauce. Whisk in a knob of cold butter at the end to emulsify the sauce, giving it a glossy, viscous texture.
6. The Carryover Rest
Once the meat reaches 125 degrees, remove it from the oven and tent it loosely with foil. Let it sit on a carving board for at least 20 minutes.
Pro Tip: This accounts for thermal carryover. The internal temperature will continue to rise by 5 to 10 degrees after it leaves the oven. More importantly, the heat has pushed the juices toward the center; resting allows them to migrate back to the edges so they do not spill out when you slice.
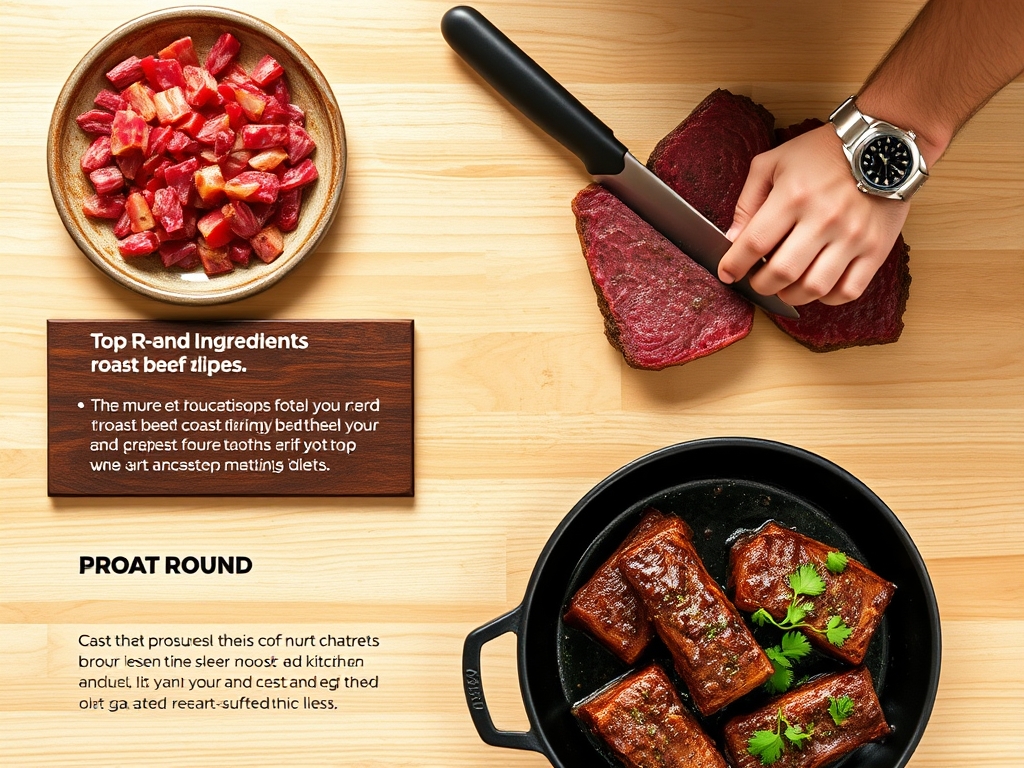
7. The Precision Slice
Use a long, sharp carving knife or a serrated blade to cut the beef against the grain into paper-thin slices. Note the texture in the step-by-step photos above; the grain should look like short "dots" rather than long lines.
Pro Tip: Cutting against the grain shortens the tough muscle fibers. Since the top round is a lean cut, slicing it thinly is the mechanical way to ensure it feels tender in the mouth.
8. The Final Infusion
Arrange the slices on a warm platter and drizzle with the accumulated juices from the carving board and your prepared pan sauce.
Pro Tip: This is a final opportunity to infuse flavor. The warm meat will readily absorb the seasoned jus, enhancing the savory profile of the dish right before it hits the table.
9. The Garnish and Serve
Finish with a sprinkle of flaky sea salt and fresh parsley to provide a pop of color and a crunch of salinity.
Pro Tip: The acidity in fresh herbs or a squeeze of lemon juice acts as a palate cleanser, cutting through the richness of the beef and balancing the heavy umami flavors.
The Deep Dive
Macro Nutrition: Top round is a nutritional powerhouse. A 3-ounce serving contains roughly 30 grams of protein and only 5 grams of fat. it is rich in Vitamin B12, zinc, and iron, making it an ideal choice for those tracking macros without sacrificing flavor.
Dietary Swaps:
- Keto: This recipe is naturally keto-friendly. Serve with a butter-heavy béarnaise sauce for added fats.
- Vegan: To replicate the experience, use a large "roast" made of seitan (wheat gluten), which has a similar fibrous texture.
- Gluten-Free: Ensure your beef stock is certified GF and use cornstarch or a cold butter whisk-in instead of a flour roux to thicken your sauce.
The Fix-It:
- Too Tough: You likely sliced with the grain. Turn the roast 90 degrees and slice again.
- Too Dry: You overshot the temperature. Next time, use a probe thermometer with an alarm set to 120 degrees.
- No Crust: The meat was too wet when it hit the pan. Always pat dry and consider the overnight fridge "air-dry" method.
Meal Prep: To reheat without losing "day-one" quality, avoid the microwave. Place slices in a shallow dish with a tablespoon of broth, cover with foil, and warm in a 300-degree oven for 10 minutes. This gently steams the meat without overcooking the proteins.
The Wrap-Up
Mastering top round roast beef recipes is a rite of passage for any home cook. By respecting the science of the sear and the patience of the rest, you transform a budget-friendly cut into a centerpiece. Remember; the thermometer is your best friend, and the grain of the meat is your roadmap. Now, go forth and conquer that roast!
The Kitchen Table
How do I make my roast beef more tender?
Always dry-brine with salt for at least 2 hours to denature proteins. Roast at a low temperature (250F) and slice paper-thin against the grain to mechanically break up tough muscle fibers for a better mouthfeel.
What is the best temperature for medium-rare?
Pull the roast from the oven when the internal temperature hits 125 degrees Fahrenheit. During the resting period, carryover cooking will bring the final temperature to a perfect 130 to 135 degrees for a rosy, tender center.
Can I cook this in a slow cooker?
While possible, a slow cooker uses moist heat which "stews" the meat. For traditional roast beef with a crust, the oven is superior. If using a slow cooker, sear it in a skillet first to develop Maillard flavors.
Why is my roast beef gray inside?
A gray interior usually means the oven was too hot or the meat was too cold when it started. Low-temperature roasting and proper tempering at room temperature ensure an even, edge-to-edge pink color without the dreaded gray ring.