
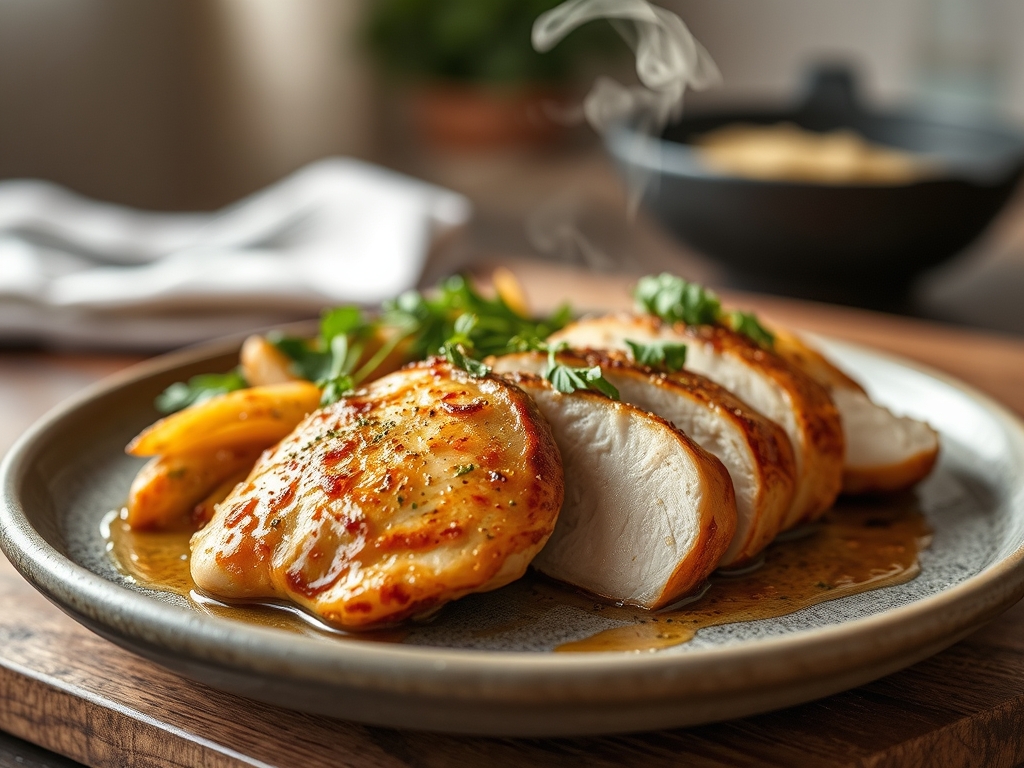
Picture this: you are standing in a kitchen filled with the intoxicating aroma of sizzling poultry, woodsy rosemary, and the sharp, piquant scent of garlic hitting hot fat. The skin on the bird is transforming into a golden, glass-like mosaic that shatters with the slightest pressure from your knife. This is the magic of working with bone-in poultry. When you master split breast chicken recipes, you are not just cooking dinner; you are performing a culinary masterclass in moisture retention and flavor depth. Most people shy away from the bone and skin because they fear the clock, but that bone acts as a thermal conductor, radiating heat from the inside out while protecting the delicate white meat from the aggressive drying effects of the oven. We are going to treat this cut like the premium protein it is, utilizing professional techniques to ensure every bite is succulent, seasoned to the marrow, and visually stunning. Grab your favorite apron and let's get into the science of why this specific cut is the secret weapon of every high-end bistro.
The Gathers:
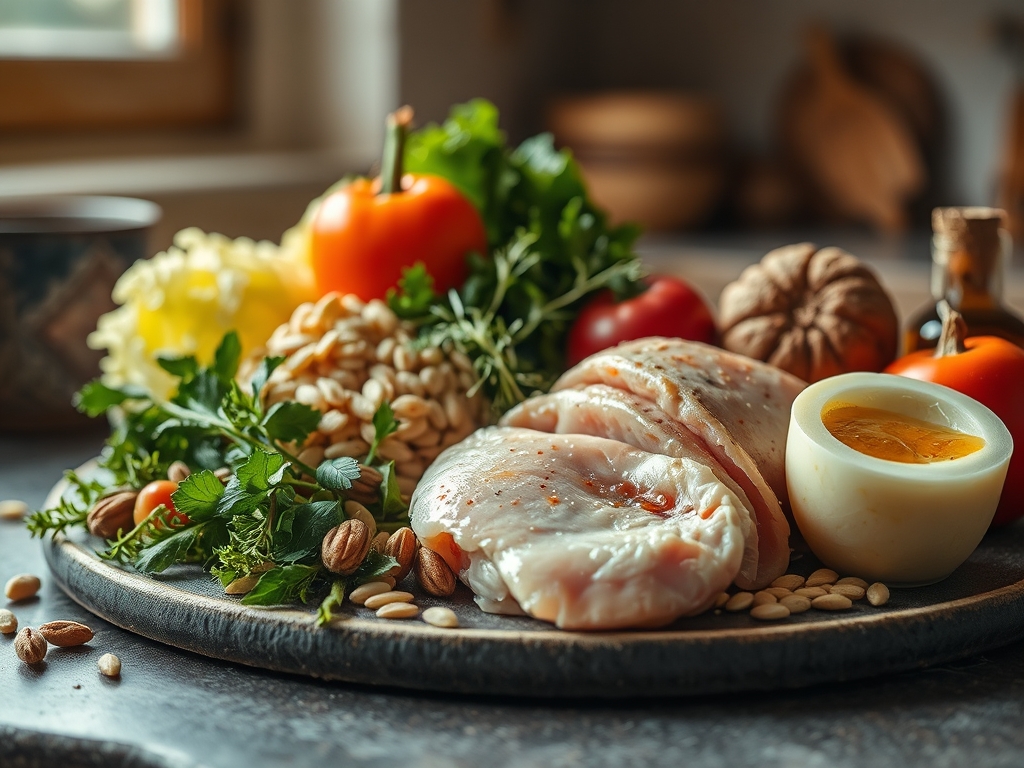
To achieve a restaurant-grade result, your mise-en-place must be precise. Start with two large split chicken breasts, ideally air-chilled to ensure the skin is not water-logged. You will need high-quality kosher salt for its jagged crystal structure, which adheres better to the protein fibers. For the fat, we are using a combination of avocado oil for its high smoke point and unsalted European-style butter for its low water content and rich solids.
Your aromatics are essential: fresh thyme sprigs, four cloves of smashed garlic, and a halved lemon. Use a microplane to zest the lemon before slicing it; this releases the volatile oils without the bitter pith. For the liquid component, keep a dry Sauvignon Blanc or a viscous, gelatin-rich chicken stock nearby for when we deglaze the pan.
Smart Substitutions: If you are avoiding dairy, swap the butter for a high-quality ghee or a neutral coconut oil. For a nightshade-free version of a spice rub, replace paprika with a touch of ground turmeric and toasted cumin to maintain that earthy, vibrant hue. If you lack fresh herbs, use one-third the amount of dried herbs, but bloom them in the hot oil first to rehydrate their essential oils.
The Clock:
Efficiency in the kitchen is all about the "Chef's Flow." Total active prep time is approximately 15 minutes, while the roasting process takes between 35 and 45 minutes depending on the weight of the breast.
- The Chill-Off (10 mins): Remove the chicken from the fridge. Tempering the meat ensures the muscle fibers don't seize when they hit the pan.
- The Sear (8 mins): This is the high-intensity phase where we build the foundation of flavor.
- The Roast (25-30 mins): Passive time where the bone does the heavy lifting.
- The Rest (10 mins): Non-negotiable. This allows the internal pressure to stabilize so the juices don't flood the cutting board.
The Masterclass:
1. The Surface Preparation
Dry the skin using paper towels until it feels like parchment. Use a bench scraper to clear your workspace of any moisture. Season aggressively with salt and pepper from at least twelve inches above the bird to ensure even distribution.
Pro Tip: This process utilizes hygroscopy. Salt draws moisture out of the skin, which then evaporates, allowing the proteins and sugars to undergo the Maillard reaction more efficiently for a crispier texture.
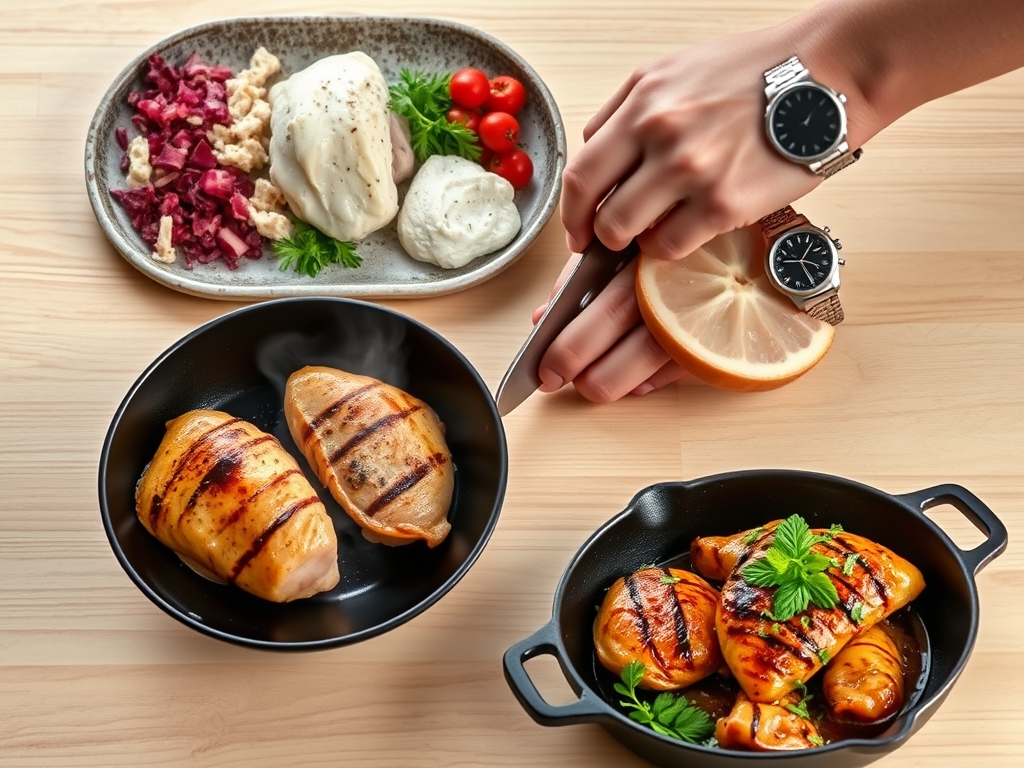
2. The Cold-Pan Start
Place the chicken skin-side down in a cold heavy-bottomed skillet. Turn the heat to medium-high. This allows the fat to render slowly as the pan heats up, rather than flash-searing and trapping unrendered fat under the skin.
Pro Tip: Gradual heating prevents the skin from shrinking too quickly. By slowly melting the subcutaneous fat, you create a self-basting environment that protects the meat from overcooking.
3. The Aromatics Infusion
Once the skin is golden and releases easily from the pan, use tongs to flip the breast. Toss in your garlic, thyme, and butter. Tilt the pan and use a large spoon to baste the hot, flavored fat over the skin.
Pro Tip: This is lipid-based flavor extraction. The fat-soluble compounds in the herbs and garlic are infused into the butter, which then coats the chicken, creating a complex flavor profile that water-based marinades cannot match.
4. The Precision Roast
Transfer the entire skillet into a 400 degree Fahrenheit oven. Use a digital scale or probe thermometer to monitor the internal temperature. You are aiming for 160 degrees Fahrenheit at the thickest part of the breast, avoiding the bone.
Pro Tip: Thermal carryover is your best friend. The internal temperature will rise about 5 degrees after you remove it from the oven. Pulling it at 160 ensures it reaches the safe 165 mark without becoming fibrous and dry.
5. The Rest and Carve
Place the chicken on a warm plate and tent loosely with foil. Do not wrap it tightly, or the steam will soften that beautiful skin you worked so hard to crisp.
Pro Tip: Resting allows the viscous juices to redistribute throughout the muscle. If you cut it immediately, the liquid, which is currently under high pressure from the heat, will escape, leaving the meat parched.
The Deep Dive:
Macro Nutrition: A 6-ounce serving of bone-in chicken breast provides approximately 50 grams of high-quality protein and 10 to 12 grams of fat. It is a powerhouse of Vitamin B6 and Niacin, which are crucial for energy metabolism.
Dietary Swaps: For a Keto version, increase the butter basting and serve with a side of creamed spinach. For Vegan guests, apply these same searing and deglazing techniques to thick "steaks" of cauliflower or celery root, using vegetable stock and vegan butter to mimic the richness.
The Fix-It:
- Soggy Skin: Your pan wasn't hot enough or you crowded the skillet. Fix it by finishing the bird under the broiler for 60 seconds.
- Raw Near the Bone: This happens if the meat wasn't tempered. Fix it by slicing the meat away from the bone and giving it a quick flash in a hot saucier with some stock.
- Bland Meat: You didn't season under the skin. Next time, gently lift the skin and rub salt directly onto the flesh.
Meal Prep Science: To maintain "day-one" quality, reheat your chicken in a 300 degree oven with a splash of stock in the pan. Avoid the microwave; it agitates water molecules so violently that it toughens the protein structures, resulting in a rubbery texture.
The Wrap-Up:
You have officially graduated from basic cooking to culinary artistry! By focusing on the science of heat transfer and the importance of rendering fat, you have turned a humble split breast into a centerpiece. Remember, the kitchen is your laboratory; don't be afraid to experiment with different aromatics or deglazing liquids like dry vermouth or apple cider. Now, go pour yourself a glass of that Sauvignon Blanc and enjoy the most succulent chicken you have ever tasted. You earned it!
The Kitchen Table:
How do I know when the chicken is done without a thermometer?
The juices should run clear, not pink, when the thickest part is pierced. The meat should feel firm to the touch, similar to the tension of your thumb pressing against your middle finger. However, a digital thermometer is always the safest bet.
Why is my chicken skin sticking to the pan?
The protein is likely still bonding to the metal. Chicken skin will naturally release once the Maillard reaction is complete and a crust has formed. Be patient and wait for the "flip" to happen effortlessly without forcing it with your tongs.
Can I use this method for boneless breasts?
You can, but you must reduce the roasting time by nearly half. Boneless breasts lack the thermal protection of the rib cage, making them much more prone to overcooking. Watch the internal temperature closely to avoid a dry, chalky result.
Should I wash the chicken before seasoning?
No, modern food safety guidelines advise against washing poultry. It spreads bacteria around your sink and counters. Instead, pat the skin dry with paper towels to ensure the best sear and eliminate surface pathogens through high-heat cooking.