
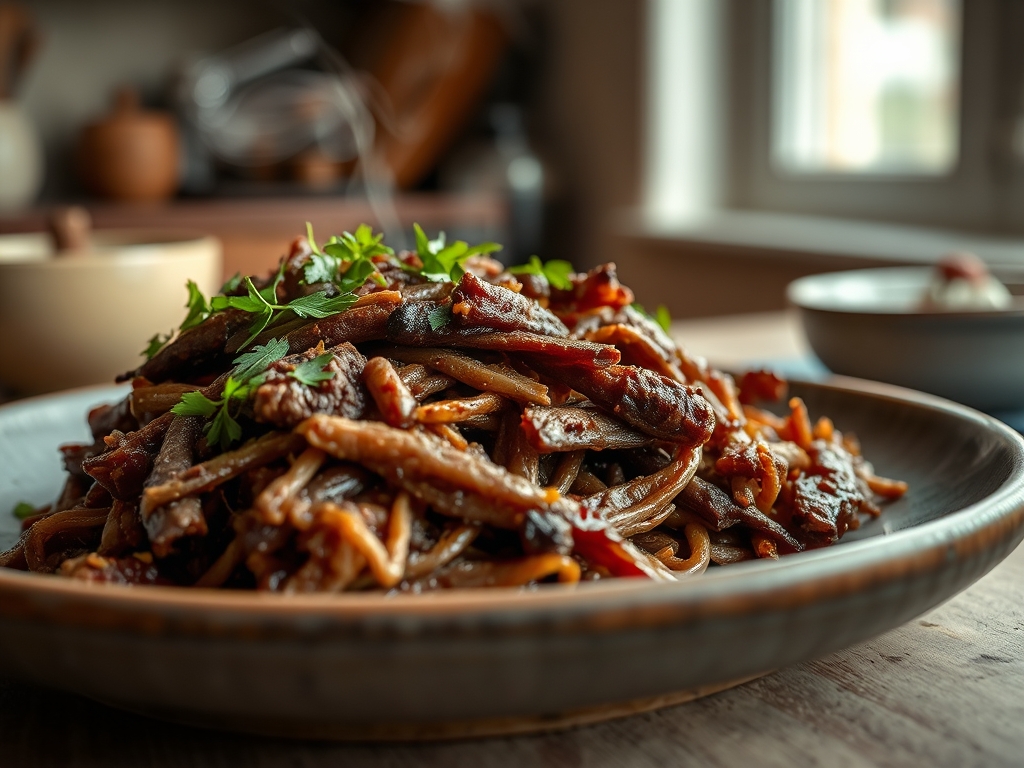
Imagine the scent of slow-simmered brisket lingering in your kitchen; it is a heady mix of black pepper, woodsmoke, and rendered fat. You opened your refrigerator to find a container of cold, shredded meat, but do not see a remnant. See a canvas. These leftover pulled beef recipes are your ticket to culinary redemption. We are moving past the sad microwave bowl and into a world of crispy textures and deep umami. We are going to harness the power of gelatin and smoke to turn yesterday's dinner into today's masterpiece.
The beauty of beef is its structural integrity. Unlike poultry, which can turn chalky upon reheating, beef is rich in connective tissue that has already broken down into luscious gelatin. This means your leftovers are actually more flavorful today than they were yesterday because the aromatics have had twenty-four hours to infuse into the lipid structures. We are not just reheating; we are re-engineering. Grab your favorite heavy-bottomed skillet and a sharp pair of tongs. We are about to transform that cold protein into nine distinct, restaurant-quality profiles that will make you wish you had made a double batch.

The Gathers:
To execute these leftover pulled beef recipes with precision, your mise-en-place must be intentional. Start with your protein: three to four cups of shredded beef, ideally brought to room temperature for fifteen minutes to soften the solidified fats. You will need a high-quality fat source to jumpstart the Maillard reaction; think ghee or avocado oil for their high smoke points. For the piquant elements, gather pickled red onions, fresh lime wedges, and a sharp horseradish cream.
The scientific secret to success here is acidity. Because the beef is rich and viscous, you need bright notes to cut through the fat. Reach for a microplane to zest citrus or grate fresh ginger. If you are looking for smart substitutions, swap traditional tortillas for sturdy butter lettuce leaves for a low-carb crunch, or use a splash of dark beer instead of beef stock to deglaze your pan. If the beef feels dry, a tablespoon of bone broth will rehydrate the fibers without diluting the flavor profile.
The Clock:
Efficiency in the kitchen is all about the "Chef's Flow." For these transformations, expect a preparation time of ten minutes and a cooking window of fifteen to twenty minutes. The goal is "flash cooking" rather than long-term simmering. You have already done the hard work of breaking down the collagen during the initial braise. Now, we are simply focusing on texture and temperature.
The flow begins with high-heat searing to create a crust, followed by a brief resting period to allow the internal temperature to equalize. By using a digital scale to portion your meat, you ensure even heating across all servings. This prevents the "hot edge, cold center" tragedy that plagues most leftover attempts. If you are managing multiple recipes at once, utilize your oven's "warm" setting at 170 degrees Fahrenheit to hold finished components while you finish your sauces in a saucier.
The Masterclass:
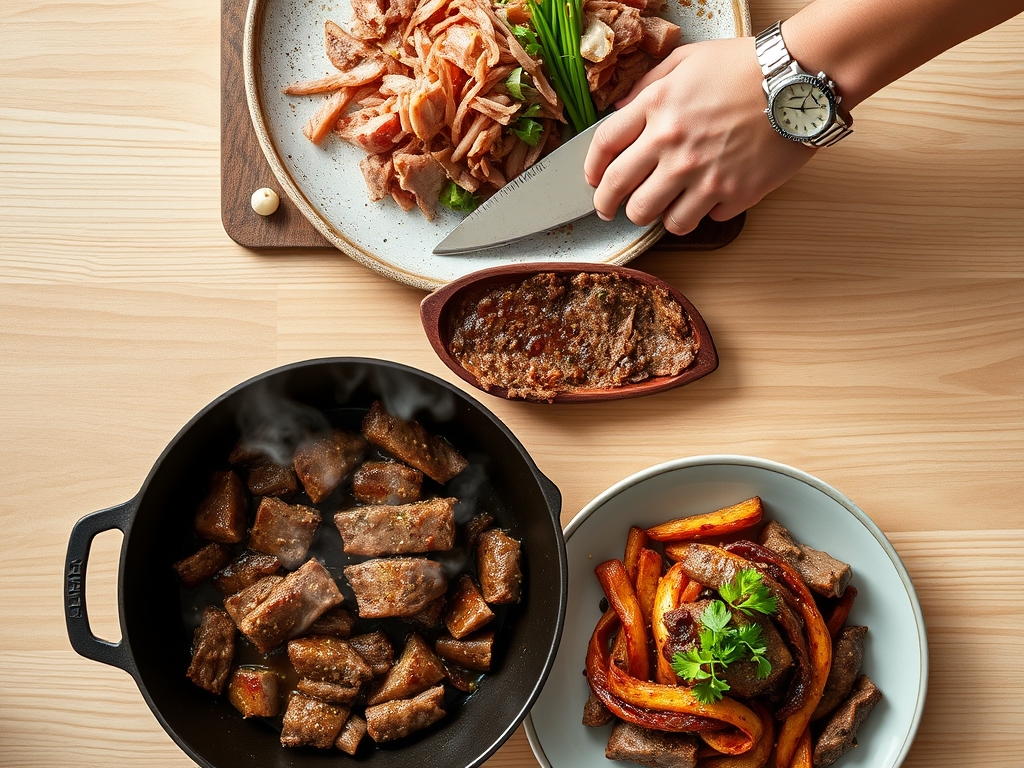
1. The High-Heat Sear
Place your heavy-bottomed skillet over medium-high heat until a drop of water dances and evaporates instantly. Add a thin film of oil and spread the beef in a single, uncrowded layer. Do not stir for at least three minutes. This allows the sugars and amino acids to undergo the Maillard reaction, creating a complex, savory crust that provides a textural contrast to the tender interior.
Pro Tip: This is known as thermal conductivity. By leaving the meat undisturbed, you maximize the contact between the pan and the protein, ensuring a crisp finish rather than steaming the meat in its own moisture.
2. The Deglaze and Emulsify
Once the beef is crispy, the pan will have a layer of browned bits called "fond." Pour in a small amount of liquid; such as red wine, stock, or even pickle juice. Use a sturdy wooden spoon or a bench scraper to lift those bits off the bottom. This process infuses the liquid with concentrated beef flavor.
Pro Tip: As the liquid reduces, the gelatin from the beef acts as a natural emulsifier. This creates a glossy, viscous sauce that clings to every fiber of the meat without the need for added flour or cornstarch.
3. The Aerated Finish
Remove the pan from the heat and toss in your fresh herbs and aromatics. Using your tongs, lift and fold the meat several times to aerate the mixture. This introduces oxygen and cools the fat slightly, which helps the flavors become more distinct on the palate rather than being masked by heat.
Pro Tip: This prevents thermal carryover. If you leave the meat in the hot pan, it will continue to cook and eventually become stringy. Moving it to a cool bowl or serving plate immediately halts the process at the peak of tenderness.
The Deep Dive:
From a nutritional standpoint, leftover pulled beef is a powerhouse of bioavailable iron, B12, and zinc. A standard four-ounce serving provides roughly 28 grams of protein. For those following a Keto lifestyle, this is a dream ingredient; simply pair it with high-fat additions like avocado or a tallow-based aioli. Vegan guests obviously cannot partake, but you can mimic the texture for them using pulled king oyster mushrooms or jackfruit seasoned with the same dry rub used on the beef. For Gluten-Free requirements, ensure your deglazing liquids and pre-made sauces are certified, as hidden thickeners are common.
Even the best cooks hit snags. If your beef is too salty, do not add water; add acidity like lemon juice or a dollop of unsweetened Greek yogurt to neutralize the perception of salt. If it is too dry, whisk a teaspoon of butter into a splash of warm broth and toss the meat gently. If the texture is mushy, spread it on a sheet pan and broil it for two minutes to dehydrate the surface. When it comes to meal prep, the science of reheating is simple: moisture is your friend. Use a damp paper towel over your container or reheat in a covered skillet to create a steam chamber that prevents the protein fibers from tightening.
The Wrap-Up:
You are now officially the master of the "second act" for your brisket or chuck roast. By understanding the chemistry of fat and the physics of heat, you have turned a simple container of leftovers into a gourmet resource. Whether you are stuffing these savory shreds into a bao bun, tossing them with a zesty chimichurri, or topping a loaded sweet potato, you are cooking with intention and wit. Go forth and conquer your kitchen; your taste buds will thank you for the upgrade!
The Kitchen Table:
How do I keep pulled beef from getting tough when reheating?
Reheat the beef gently in a skillet with a splash of broth or water. Cover the pan with a lid to create steam. This rehydrates the protein fibers and prevents the meat from becoming rubbery or dry during the process.
Can I freeze leftover pulled beef for later use?
Yes, pulled beef freezes beautifully. Store it in airtight, vacuum-sealed bags to prevent freezer burn. To maintain the best texture, thaw it overnight in the refrigerator before reheating it using the steam method or a quick sear in a skillet.
What is the best way to add flavor to bland leftovers?
Use the deglazing technique. Sauté aromatics like garlic or shallots, then add the beef and a splash of acidic liquid like apple cider vinegar or wine. The acid brightens the heavy fats and wakes up the dormant spices in the meat.
How long does cooked pulled beef stay safe in the fridge?
According to USDA guidelines, cooked beef should be consumed within three to four days when stored in a refrigerator at 40 degrees Fahrenheit or below. Always ensure the meat is cooled quickly before being placed in an airtight container for storage.