
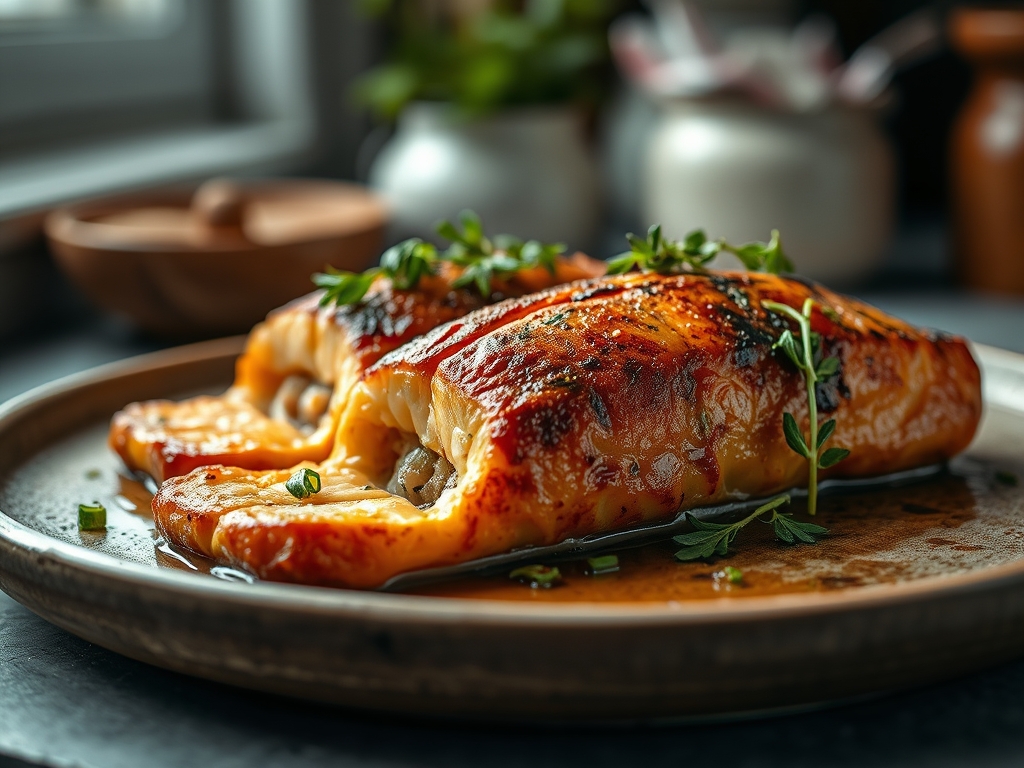
Imagine the sound of a heavy-bottomed skillet meeting the stovetop; it is a resonant, metallic chime that signals the start of something truly indulgent. As the heat rises, the aroma of cold-water fat begins to render, filling your kitchen with a scent that is both briny and buttery. When we discuss stuffed salmon recipes baked to a perfect medium-rare, we are talking about more than just dinner. We are talking about a structural masterpiece where flaky, omega-3 rich protein acts as a protective vessel for a molten, piquant center. This is the intersection of high-end catering aesthetics and the comforting warmth of a home-cooked meal. It is the kind of dish that demands your attention because it plays with textures so beautifully; the snap of a seared skin against the creamy, viscous interior of a spinach and feta filling. By mastering the geometry of the "butterfly cut" and understanding the thermal properties of fish oils, you can transform a standard fillet into a centerpiece that looks like it belongs on a magazine cover.
The Gathers:
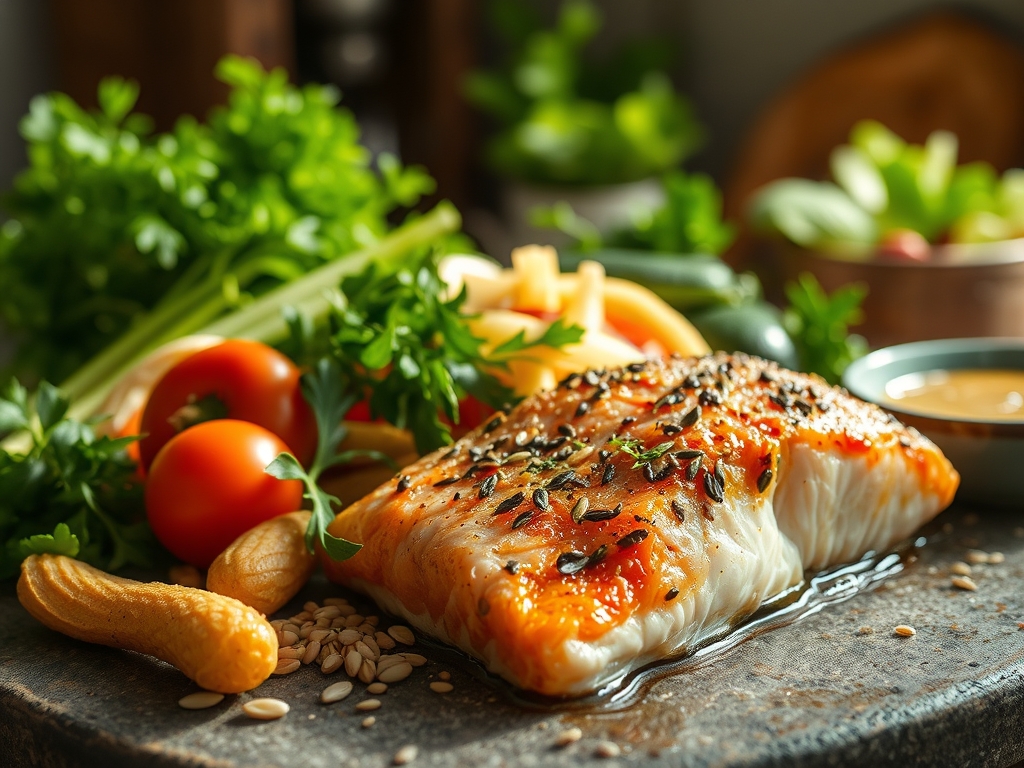
To achieve a professional result, your mise-en-place must be precise. Start with a center-cut Atlantic or King salmon fillet; these varieties possess the necessary vertical height to support a pocket without tearing. You will need high-fat cream cheese to act as a binder, freshly harvested baby spinach, and a piquant element like sun-dried tomatoes or capers to cut through the richness. Use a microplane to zest a Meyer lemon directly into your filling; this ensures the essential oils are captured rather than left on a cutting board. For the aromatics, reach for shallots rather than onions; shallots contain a higher sugar content which allows them to caramelize and infuse the stuffing with a subtle sweetness.
Smart Substitutions:
If you are looking to lighten the profile, Greek yogurt can replace cream cheese, though you must add a teaspoon of cornstarch to prevent the filling from becoming too watery under heat. For those avoiding dairy entirely, a cashew-based "cheese" provides the necessary creamy mouthfeel. If salmon is unavailable, steelhead trout offers a nearly identical fat profile and structural integrity. Always use a digital scale to portion your filling; consistency is the secret to ensuring every guest receives the same decadent experience.
The Clock: Timing the Perfect Render
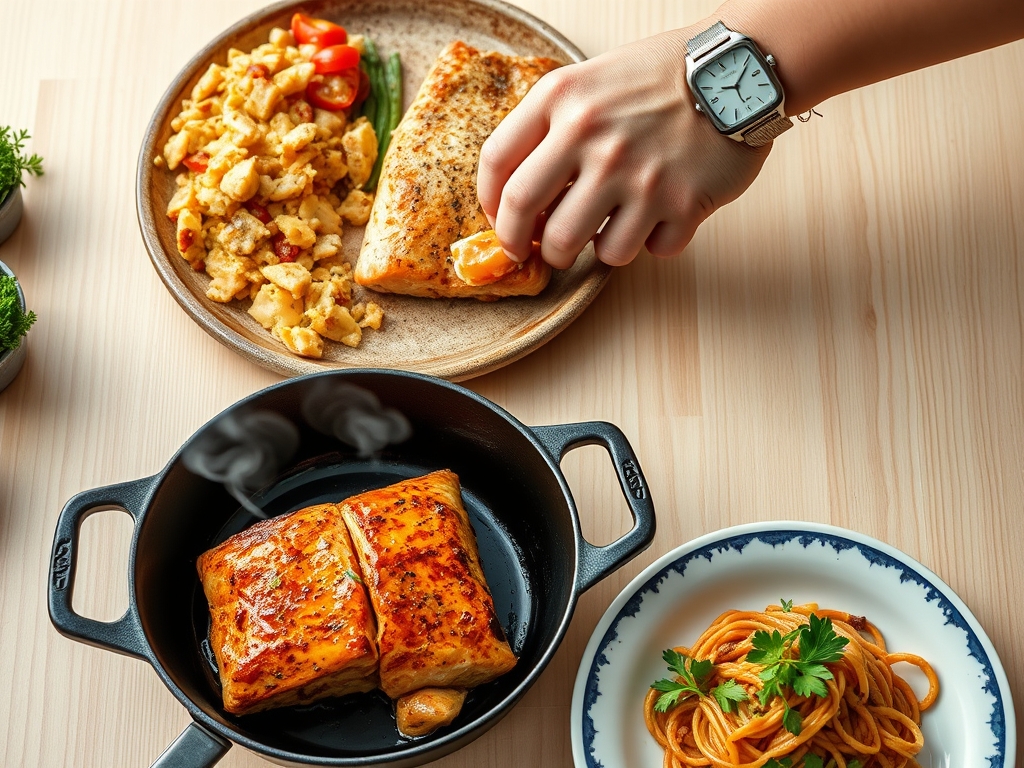
The "Chef's Flow" for this dish is divided into three distinct phases: the chill, the sear, and the finish. Expect 20 minutes of active prep time and 12 to 15 minutes of oven time. The most overlooked step is the "chill" phase. After stuffing your fillets, place them in the refrigerator for 10 minutes. This firms up the proteins and the fats in the filling, ensuring that when the fish hits the heat, the stuffing stays put instead of oozing out prematurely.
The cook time is a delicate dance with the laws of thermodynamics. We start with a high-heat sear to initiate the Maillard reaction on the exterior, followed by a gentle bake at 375 degrees Fahrenheit. This dual-zone approach ensures the center reaches a safe 145 degrees while the exterior remains crisp and vibrant.
The Masterclass
1. The Precision Pocket
Using a sharp damascus steel knife, slice a horizontal pocket into the thickest part of the fillet. Do not cut all the way through; you are creating a "pita pocket" for your ingredients.
Pro Tip: This is known as structural integrity management. By leaving a half-inch border on three sides, you create a pressurized environment that steams the filling from the inside out, keeping the interior succulent.
2. Aerating the Filling
In a small bowl, whip your cream cheese, herbs, and aromatics using a stiff spatula or a small saucier whisk. You want to incorporate air to lighten the density.
Pro Tip: Aeration prevents the filling from becoming a heavy, leaden lump. Air pockets within the cheese allow heat to distribute more evenly, ensuring the center of the stuffing is as hot as the fish.
3. The Sear and Seal
Place the stuffed fillets skin-side down in a preheated, oven-safe skillet with a high-smoke-point oil like avocado oil. Use tongs to gently press the edges down.
Pro Tip: This utilizes conductive heat to crisp the skin. A crispy skin acts as a thermal shield, protecting the delicate flesh from the harsh direct heat of the pan while adding a necessary textural crunch.
4. The Oven Transition
Transfer the entire skillet into your preheated oven. This is where the ambient heat takes over to finish the protein gently.
Pro Tip: Use a digital probe thermometer to monitor the internal temperature. Thermal carryover will cause the temperature to rise about 5 degrees after you remove it from the heat; pull the fish at 140 degrees for a perfect 145-degree finish.
5. The Rest and Deglaze
Once removed from the oven, move the salmon to a warm plate. Use the remaining juices in the pan to deglaze with a splash of white wine or lemon juice.
Pro Tip: Resting allows the muscle fibers to reabsorb moisture. If you cut into the fish immediately, the internal pressure will force the juices out, resulting in a dry mouthfeel.
The Deep Dive
From a nutritional perspective, these stuffed salmon recipes baked at home are powerhouses. A standard 6-ounce portion provides roughly 35 grams of protein and a significant dose of Vitamin D and B12. To keep it Keto-friendly, ensure your filling is heavy on fats and low on fillers like breadcrumbs. For a Vegan twist, use a "carrot lox" or a firm tofu slab treated with liquid smoke and seaweed to mimic the oceanic salinity of salmon.
The Fix-It: Common Pitfalls
- The Leaking Filling: If your cheese is running away, you likely overstuffed the pocket. Use a bench scraper to clean the pan and next time, secure the opening with a water-soaked toothpick.
- The Albumin Bleed: Those white bubbles on the surface are albumin. This happens when the fish is cooked too fast. Lower your oven temperature to ensure a gentler rise in heat.
- Soggy Skin: This is caused by moisture. Pat your salmon bone-dry with paper towels before it ever touches the pan.
Meal Prep Science:
To reheat without turning your salmon into rubber, avoid the microwave. Use a low-heat oven (275 degrees) and add a teaspoon of water to the pan, covering it with foil. This creates a small steam chamber that rehydrates the proteins without over-coagulating them.
The Wrap-Up
Mastering stuffed salmon recipes baked in your own kitchen is like holding a key to the ultimate dinner party trick. It is sophisticated, nutritionally dense, and scientifically fascinating. By focusing on the temperature gradients and the structural chemistry of the fish, you move beyond just "following a recipe" and start cooking with true intuition. Now, grab your microplane, find the freshest fillets at the market, and go create something magnificent. Your kitchen is your laboratory; make sure it smells like success.
The Kitchen Table
How do I prevent the stuffing from falling out?
Chill the stuffed fillets for 10 minutes before cooking to firm the proteins. Use water-soaked toothpicks to "stitch" the opening shut. Avoid overfilling; leave a half-inch margin around the edges of the pocket to ensure a proper seal.
What is the best temperature for baked stuffed salmon?
Bake at 375 degrees Fahrenheit after an initial stovetop sear. This temperature is high enough to finish the protein quickly without drying out the exterior. Always use a digital thermometer to pull the fish when it reaches an internal temperature of 140 degrees.
Can I use frozen salmon for this recipe?
Yes, but it must be completely thawed and patted dry. Frozen fish often contains extra moisture that can steam the fish rather than sear it. Ensure the fillets are brought to room temperature before stuffing to ensure even heat distribution.
How do I know when the salmon is done?
The salmon is done when the flesh is opaque and flakes easily with a fork. Internally, it should reach 145 degrees Fahrenheit. The filling should be hot and viscous, indicating that the fats have fully melted and integrated with the aromatics.