
The moment fresh rosemary needles hit a screaming-hot skillet, the air transforms. Herbaceous pine notes collide with browning chicken fat, and the Maillard reaction kicks off a savory cascade that makes every nose in the house turn toward the stove. These chicken recipes rosemary combinations aren't just about throwing herbs on protein; they're carefully engineered to coax out resinous oils, caramelize skin, and build layers of flavor that linger on the palate long after the last bite.
Rosemary's volatile compounds, primarily cineole and camphor, are oil-soluble, which means they marry beautifully with chicken's natural fat content. When you apply heat, these aromatics penetrate the meat and create a fragrant crust that balances savory, slightly bitter, and earthy notes. Whether you're roasting a whole bird with lemon and garlic, pan-searing thighs with white wine reduction, or grilling breasts over charcoal, rosemary acts as both a flavor anchor and a textural enhancer. The key is respecting its potency: too much and you veer into medicinal territory; just enough and you achieve that elusive restaurant-quality depth.
Each of the ten variations below explores a different technique, from slow braises that turn tough cuts silky to high-heat roasts that shatter skin into golden shards. You'll learn when to use fresh versus dried, how to infuse fats, and why timing your herb application can mean the difference between vibrant aromatics and burnt bitterness.
The Gathers
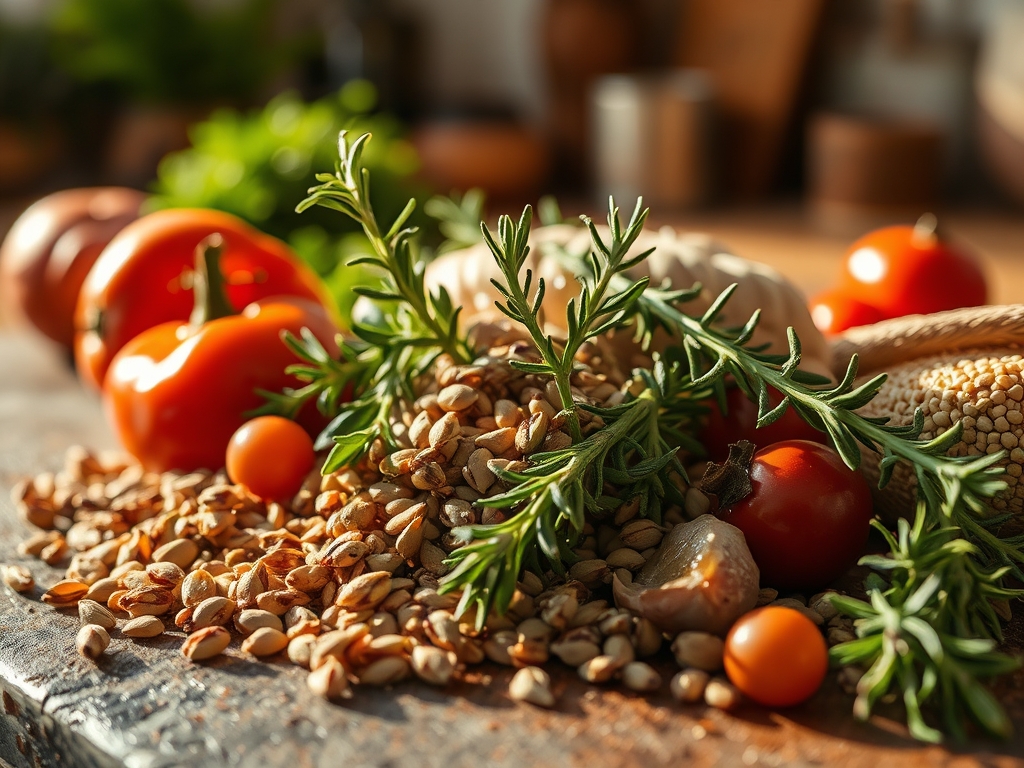
As you see in the ingredient spread below, bone-in, skin-on chicken thighs anchor most preparations. They offer superior fat content for moisture and collagen that breaks down into gelatin during cooking. Fresh rosemary sprigs should be pliable, not woody, with vibrant green needles that release oils when you run your fingers down the stem. Garlic cloves (smashed, not minced) add pungency without burning, while olive oil or unsalted butter provides the lipid vehicle for fat-soluble flavor compounds.
Lemon zest and juice cut through richness and brighten the herbaceous base. Chicken stock (preferably homemade or low-sodium) deglazes fond and creates pan sauces. Kosher salt and black pepper season at multiple stages. For browning and crust development, you'll need neutral oil with a high smoke point (grapeseed or avocado) for the initial sear.
Smart Substitutions: Swap thighs for drumsticks if you want longer braising times. Use dried rosemary at one-third the fresh quantity (1 teaspoon dried equals 1 tablespoon fresh). Replace butter with ghee for lactose-free richness. Swap lemon for white wine vinegar in equal parts for acidity.
The Clock
Prep Time: 15 minutes (trimming, seasoning, chopping aromatics).
Cook Time: 35–50 minutes depending on method (pan-sear-to-oven, grill, braise).
Total Time: 50–65 minutes.
Chef's Flow: While your oven preheats to 200°C (400°F), season the chicken and let it sit at room temperature for 10 minutes. This tempering reduces temperature shock and promotes even cooking. Prep your rosemary and garlic during that window. Start your sear in a cold pan with oil, then crank the heat; this gradual warm-up renders fat without sticking. Move to the oven or add liquid for braising while the fond is still active. Rest the finished chicken for 5 minutes under foil; carryover cooking will bring breast meat to 70°C (160°F) and thighs to 75°C (165°F) without drying out.
The Masterclass
Step 1: Season and Temper
Pat chicken completely dry with paper towels. Moisture is the enemy of browning. Salt all surfaces generously, then let rest 10 minutes at room temperature.
Why It Works: Salt draws out surface moisture initially, then reabsorbs with dissolved proteins. This creates a tacky skin that crisps faster. Room-temperature meat cooks more evenly because the exterior doesn't overcook while the center catches up.
Step 2: Sear Skin-Side Down
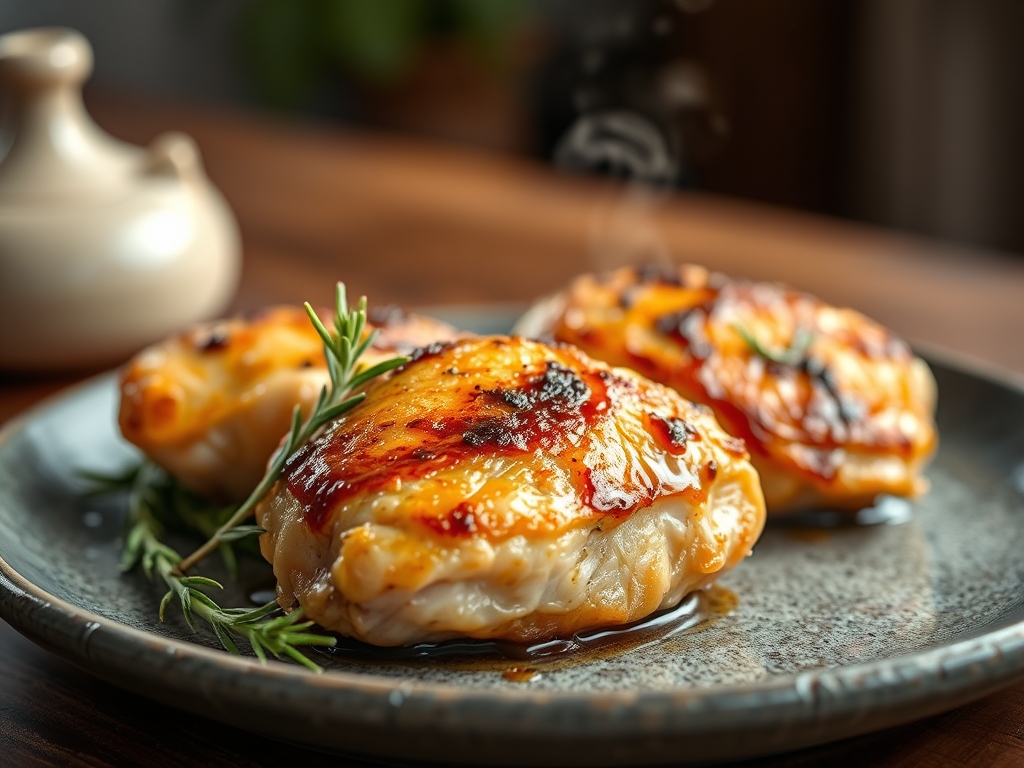
Place chicken skin-side down in a cold oven-safe skillet with 2 tablespoons neutral oil. Turn heat to medium-high. Press gently with a spatula to ensure full contact. Sear 6–8 minutes without moving.
Chef's Secret: Starting cold renders subcutaneous fat slowly, preventing the skin from shrinking before it crisps. The pressing technique flattens uneven surfaces, maximizing Maillard browning. Note the texture shown in the step-by-step photos: the skin transitions from pale to deep mahogany.
Step 3: Flip and Add Aromatics
Flip chicken. Add 3 smashed garlic cloves, 4 fresh rosemary sprigs, and 2 tablespoons butter to the pan. Tilt and baste for 2 minutes, spooning foaming butter over the skin.
Why It Works: Butter's milk solids brown quickly, adding nutty notes. Basting transfers fat and aromatics onto the meat surface, building compound flavor. Garlic and rosemary release oils into the hot fat, creating an instant infusion.
Step 4: Finish in the Oven
Transfer the skillet to a 200°C (400°F) oven. Roast 18–22 minutes until an instant-read thermometer reads 72°C (162°F) in the thickest part.
Chef's Secret: Oven heat surrounds the meat, cooking it evenly while the stovetop-crisped skin stays intact. Pulling at 72°C accounts for a 3-degree carryover rise during resting.
Step 5: Deglaze and Rest
Remove chicken to a plate and tent with foil. Place the skillet over medium heat. Add 120ml (1/2 cup) chicken stock and scrape up browned bits. Simmer 3 minutes, then stir in 1 tablespoon lemon juice.
Why It Works: Deglazing dissolves caramelized proteins (fond) into a concentrated sauce. Lemon juice added off-heat preserves bright acidity that would otherwise cook off.
Nutritional Info
Per serving (1 thigh with skin, approximately 150g cooked):
Calories: 280
Protein: 26g
Fat: 19g (7g saturated)
Carbohydrates: 1g
Fiber: 0g
Sodium: 480mg (varies with added salt)
Rosemary itself contributes negligible calories but adds antioxidants like rosmarinic acid, which has anti-inflammatory properties. Skin-on chicken provides more fat-soluble vitamins (A, D, E, K) than skinless cuts.
Dietary Swaps
Keto/Low-Carb: Already compliant. Increase fat by adding more butter or finishing with heavy cream in the pan sauce.
Paleo: Use ghee instead of butter; ensure stock is bone-broth based.
Gluten-Free: Naturally compliant; verify stock labels for hidden wheat.
Vegan: Substitute thick-cut king oyster mushrooms for chicken. Sear in olive oil with rosemary, garlic, and nutritional yeast for umami. Deglaze with vegetable stock and white miso.
Serving & Presentation
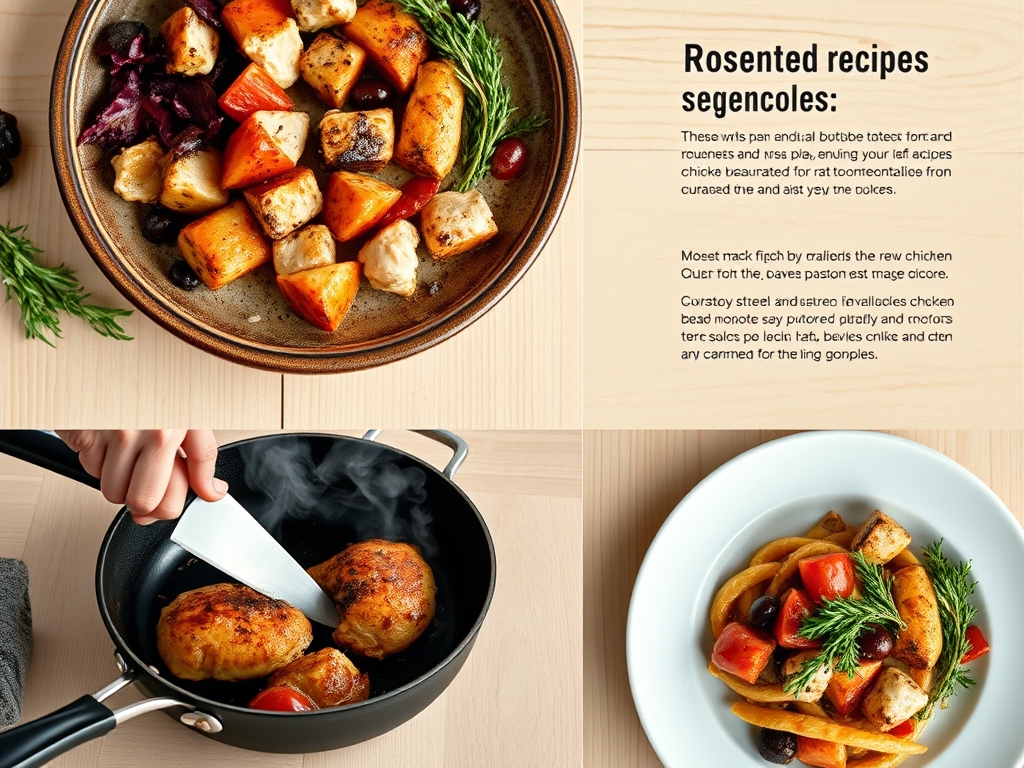
1. Rustic Family-Style: Arrange thighs on a wooden board. Drizzle pan sauce over the top. Scatter whole roasted garlic cloves and rosemary sprigs. Serve with crusty bread for dipping.
2. Elegant Plated: Place one thigh atop creamy polenta or celery root puree. Lean a charred lemon half against the meat. Drizzle reduced pan sauce in a thin line. Garnish with a micro-rosemary sprig.
3. Bowl Build: Slice thigh meat over farro or quinoa. Add roasted Brussels sprouts and shaved fennel. Spoon pan sauce around the perimeter. Top with toasted pine nuts.
The Pro-Dodge
Pitfall 1: Burnt Rosemary
Dried rosemary or loose needles burn in high heat, turning acrid. Fix: Add whole sprigs during the last 10 minutes of cooking, or steep them in warm oil before drizzling.
Pitfall 2: Rubbery Skin
Moisture, low heat, or crowding the pan causes steaming instead of browning. Fix: Dry thoroughly, use high heat, and leave space between pieces. Finish uncovered in the oven.
Pitfall 3: Dry Breast Meat
White meat overcooks quickly. Fix: Use thighs, or if using breasts, pound to even thickness and pull at 68°C (155°F) for carryover.
The Meal Prep Corner
Storage: Cool completely, then refrigerate in airtight containers for up to 4 days. Store sauce separately to prevent sogginess.
Reheating: For day-one crispness, reheat in a 180°C (350°F) oven on a wire rack for 12 minutes. Avoid microwaving, which steams the skin. If frozen, thaw in the fridge overnight, then reheat as above.
Batch Cooking: Double the recipe. Freeze individual portions in vacuum-sealed bags. Reheat from frozen in a 160°C (325°F) oven for 25 minutes.
The Wrap-Up
Mastering these chicken recipes rosemary variations means you'll always have a reliable, crowd-pleasing option in your back pocket. The interplay of crispy skin, juicy meat, and aromatic herbs proves that simple ingredient lists can yield complex, restaurant-worthy results when you apply proper technique. Whether you're cooking for a Tuesday night dinner or a weekend gathering, these methods scale effortlessly.
Try one variation this week, then share your results. Did you prefer the pan-sear-to-oven method, or did the slow braise win you over? Drop a comment below with your favorite pairing or a tweak you discovered. Your feedback fuels this community and keeps the recipe testing going strong.
The Kitchen Table
Q: Can I use dried rosemary instead of fresh?
A: Yes, but use one-third the amount. Dried rosemary is more concentrated and can taste dusty if overused. Crush it between your fingers before adding to release oils.
Q: Why does my chicken skin stick to the pan?
A: Insufficient fat, too low heat, or moving the meat too early. Start with a cold pan and oil, then wait until the skin naturally releases (6–8 minutes). It will release when a proper crust forms.
Q: How do I prevent rosemary from tasting bitter?
A: Don't chop it too finely; large pieces or whole sprigs infuse flavor without releasing bitter tannins. Remove sprigs before serving if they've darkened significantly.
Q: Can I marinate chicken with rosemary overnight?
A: Yes, but balance is key. Combine rosemary with oil, lemon juice, and garlic. Marinate 4–12 hours. Longer than 24 hours and acids can make the meat mushy.
Q: What's the best way to check doneness without a thermometer?
A: Press the meat; it should feel firm with slight give, like the fleshy part of your palm when you touch your thumb to your ring finger. Juices should run clear, not pink. However, a thermometer is always more reliable for food safety.