
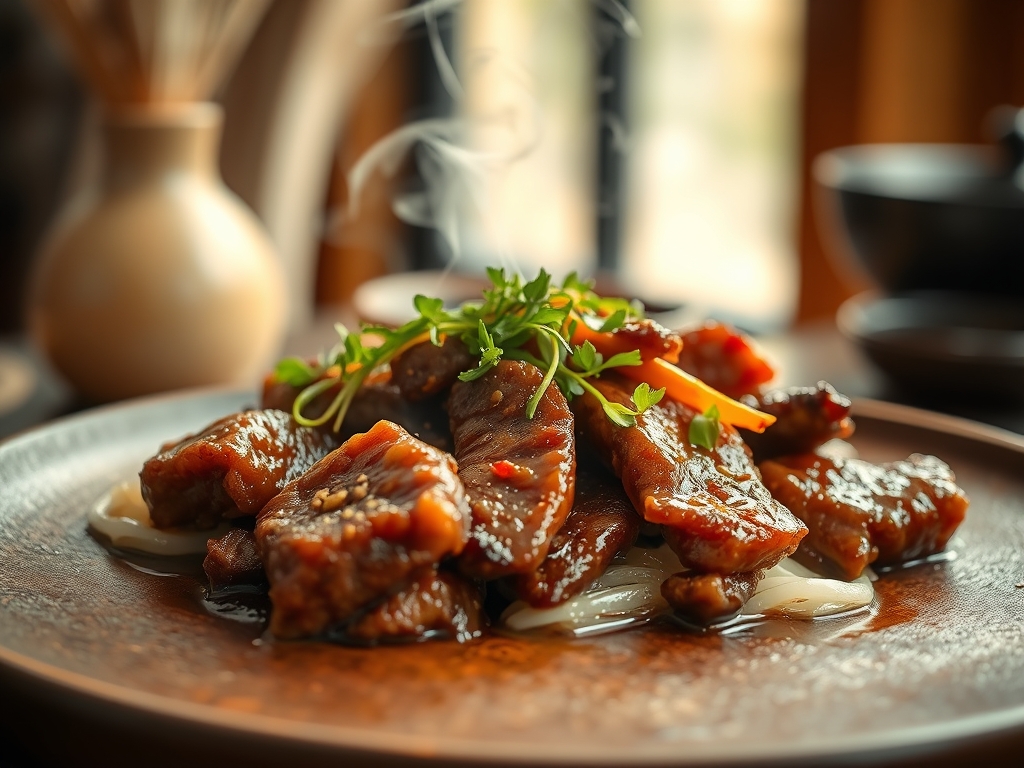
Imagine the sound of a heavy cast-iron pan meeting a flame. Within seconds, the air fills with the intoxicating scent of caramelized sugar and soy sauce. This is the heart of Japanese soul food. While many home cooks search for sukiyaki beef recipes that promise authenticity, the real magic lies in the intersection of temperature control and molecular chemistry. We are not just making a stew; we are orchestrating a communal experience where every marbled ribbon of ribeye tells a story of heat and harmony.
The secret to a world-class sukiyaki is the balance between the salty depth of the shoyu and the delicate sweetness of the mirin. It is a dance of flavors that requires a bit of wit and a lot of high-quality fat. Whether you are hosting a cozy dinner party or simply treating yourself to a weeknight masterpiece, understanding the "why" behind the sear will elevate your kitchen game from hobbyist to executive chef. Let us dive into the steam and the sizzle.
The Gathers:
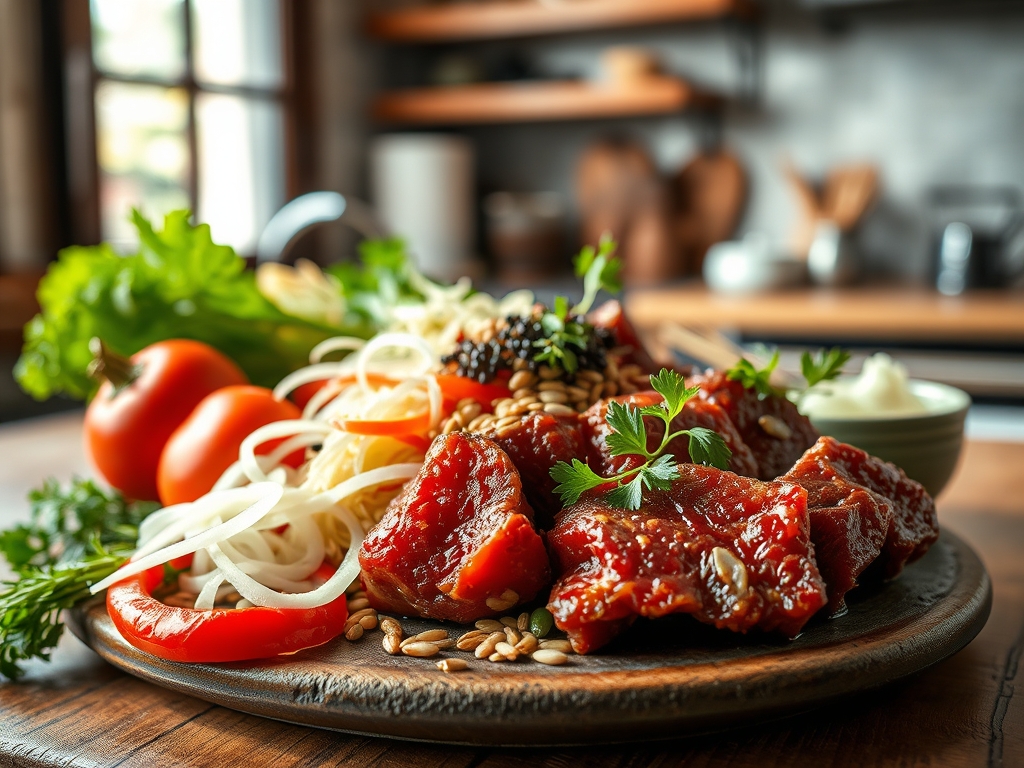
To execute sukiyaki beef recipes with precision, your mise-en-place must be flawless. Start with Wagyu or Prime-grade ribeye, sliced to a paper-thin 1.5 millimeters. At this thickness, the intramuscular fat reaches its melting point almost instantly upon contact with the pan. You will also need shirataki noodles, which provide a unique gelatinous texture; however, they contain calcium hydroxide, which can toughen beef if they touch during the simmer.
Your liquid gold, the Warishita sauce, requires high-quality shoyu, mirin, and sake. For the vegetables, gather napa cabbage for its high water content, shiitake mushrooms for an umami punch, and negi (Japanese long onion). Smart substitutions are your best friend here. If you cannot find negi, use the white parts of thick leeks. If you are dodging sugar, a splash of monk fruit syrup can mimic the viscosity of mirin without the glycemic spike. Use a digital scale to ensure your sauce ratios are chemically balanced; precision prevents the salt from overpowering the delicate beef.
The Clock
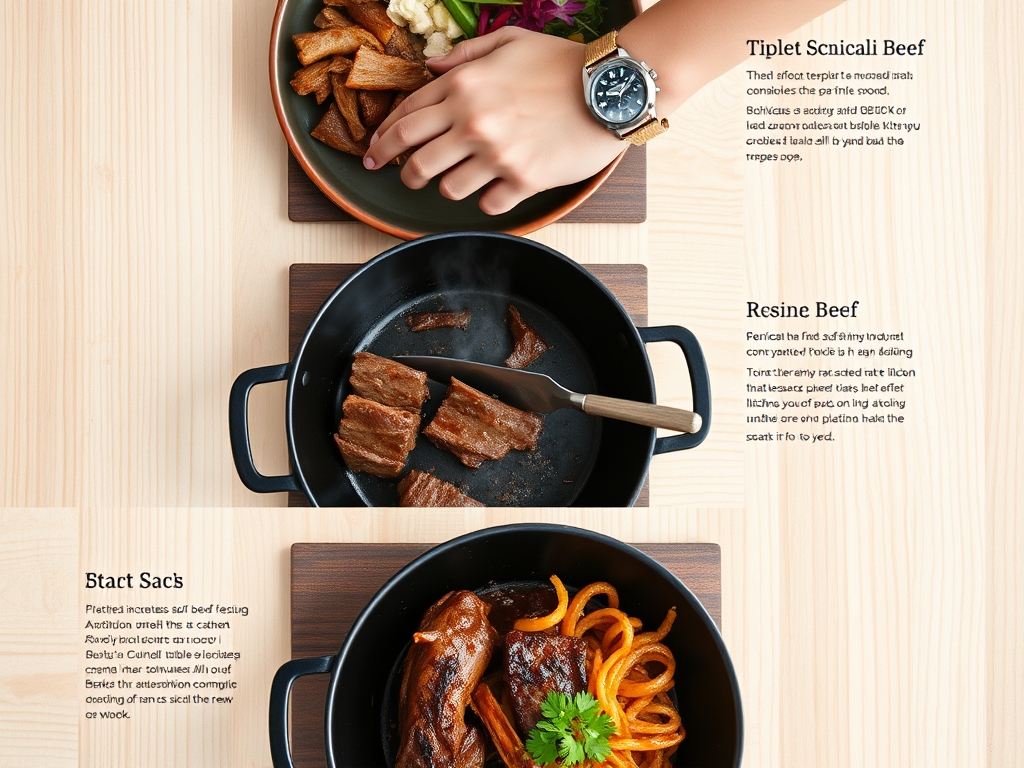
The "Chef's Flow" for sukiyaki is divided into two distinct phases: the meticulous prep and the rapid-fire table-side cook. Expect to spend about 20 minutes on prep. This includes using a bench scraper to organize your chopped aromatics and a microplane if you choose to infuse your sauce with a hint of fresh ginger.
The actual cooking time is remarkably fast, usually taking about 10 to 15 minutes. Because this is a "one-pot" style dish, the cooking happens in waves. You sear the beef first to establish a flavor base, then simmer the vegetables to release their natural juices. This creates a self-basting environment where the steam from the cabbage helps finish the beef without overcooking the proteins.
The Masterclass
1. Tempering the Beef
Before the heat even touches the pan, take your beef out of the refrigerator for exactly ten minutes. You want the fat to soften slightly but not lose its structural integrity. Use tongs to separate the slices so they do not clump.
Pro Tip: This prevents a massive temperature drop in your skillet. If the beef is too cold, it will steam in its own juices rather than achieving enzymatic browning, which is essential for that piquant, roasted flavor profile.
2. The Tallow Render
Heat a heavy-bottomed skillet or a traditional sukiyaki nabe over medium-high heat. Take a small cube of beef fat (tallow) and rub it across the surface until the pan is glossed and shimmering.
Pro Tip: Using rendered animal fat instead of vegetable oil creates a more stable emulsion when you add the liquid sauce later. This ensures the fat carries the flavor of the soy sauce directly into the muscle fibers of the meat.
3. The Initial Sear
Lay a few slices of beef flat in the pan. Sprinkle a pinch of granulated sugar directly onto the meat before flipping. This creates a rapid Maillard reaction, forming a crust that seals in moisture.
Pro Tip: Sugar lowers the temperature required for browning. By adding it directly to the meat, you create a concentrated burst of flavor compounds that will eventually season the entire broth.
4. Deglazing with Warishita
Once the beef is browned but still slightly pink in the center, pour in your pre-mixed sauce. Use a saucier or a small pitcher to pour it around the edges of the pan rather than directly over the meat to maintain the sear.
Pro Tip: This is called deglazing. The liquid picks up the "fond" (the browned bits stuck to the pan), integrating those deep, roasted notes back into the sauce for a more complex finish.
5. The Zonal Arrangement
Push the beef to one side and add your sturdier vegetables like carrots and the white bases of the cabbage. Place the shirataki noodles on the opposite side of the beef.
Pro Tip: Keeping the noodles away from the beef is a chemical necessity. The calcium in the noodle soaking liquid can cause the beef proteins to tighten and become rubbery via cross-linking.
6. The Gentle Simmer
Add the leafy greens and mushrooms, then cover the pan for three minutes. The residual heat will soften the vegetables while the beef finishes via thermal carryover.
Pro Tip: Over-boiling destroys the delicate esters in the sake and mirin. A gentle simmer preserves the piquant aroma of the alcohol while allowing the flavors to infuse the porous mushrooms.
The Deep Dive
From a macro perspective, sukiyaki is a powerhouse of protein and healthy fats. A standard serving contains roughly 35 grams of protein and 25 grams of fat, though this varies based on the marbling of your beef. To make this Keto-friendly, replace the sugar with erythritol and skip the noodles. For a Vegan twist, use "beef" style soy curls and a mushroom-based dashi instead of traditional beef fat.
If you run into trouble, don't panic. If the sauce is too salty, do not add plain water; add a splash of unsalted dashi or a bit more sake to aerate the flavor without thinning the texture. If the beef feels tough, you likely skipped the tempering step or crowded the pan. To meal prep this, store the sauce and raw components separately. When reheating, use a low power setting on the microwave or a quick flash-sear in a pan to avoid over-coagulating the proteins.
The Wrap-Up
Mastering sukiyaki beef recipes is about more than just following a list of steps; it is about respecting the ingredients and the physics of the pan. When you see that shimmering, viscous sauce coating a perfectly tender slice of Wagyu, you will know the science was worth it. Now, grab your favorite pair of long chopsticks, gather your friends around the table, and let the communal sizzle begin. Your kitchen is now a five-star Tokyo eatery.
The Kitchen Table
What is the best cut of beef for sukiyaki?
The gold standard is highly marbled ribeye or top sirloin. These cuts contain enough intramuscular fat to remain tender during the searing and simmering process. Always ensure the beef is sliced against the grain for maximum tenderness.
Can I make sukiyaki without a traditional pot?
Absolutely. A heavy-bottomed skillet or a cast-iron pan works perfectly. The key is using a vessel that retains heat consistently so the temperature does not plummet when you add the liquid Warishita sauce.
Why do people dip sukiyaki beef in raw egg?
The raw egg acts as a cooling agent and a creamy emulsifier. It coats the salty, hot beef, mellowing the intense flavors of the soy sauce and providing a silky mouthfeel that balances the texture of the meat.
How do I store leftover sukiyaki?
Store leftovers in an airtight glass container for up to two days. Reheat gently in a skillet over low heat with a tablespoon of water to loosen the sauce. Avoid high heat to prevent the beef from becoming rubbery.