
The sound of chicken skin meeting a preheated stainless pan is unmistakable: that sharp, confident sizzle that tells you surface moisture has evaporated and the Maillard reaction has begun. Mastering cooking with chicken recipes demands more than following steps. It requires understanding heat transfer, protein structure, and how a single degree or thirty extra seconds can mean the difference between succulence and dry disappointment. Poultry is deceptively simple, yet professionals spend years refining their approach to this blank canvas protein. These eight tips synthesize decades of line-cook repetition, culinary school science, and the kind of mistakes that teach you more than any textbook. Whether you're pan-roasting thighs, poaching breasts, or spatchcocking a whole bird, these principles apply universally. They address the biological reality of chicken: lean breast meat that overcooks in moments, dark meat rich in collagen that rewards patience, and skin that can transform from flabby to shatteringly crisp with proper technique.
The Gathers
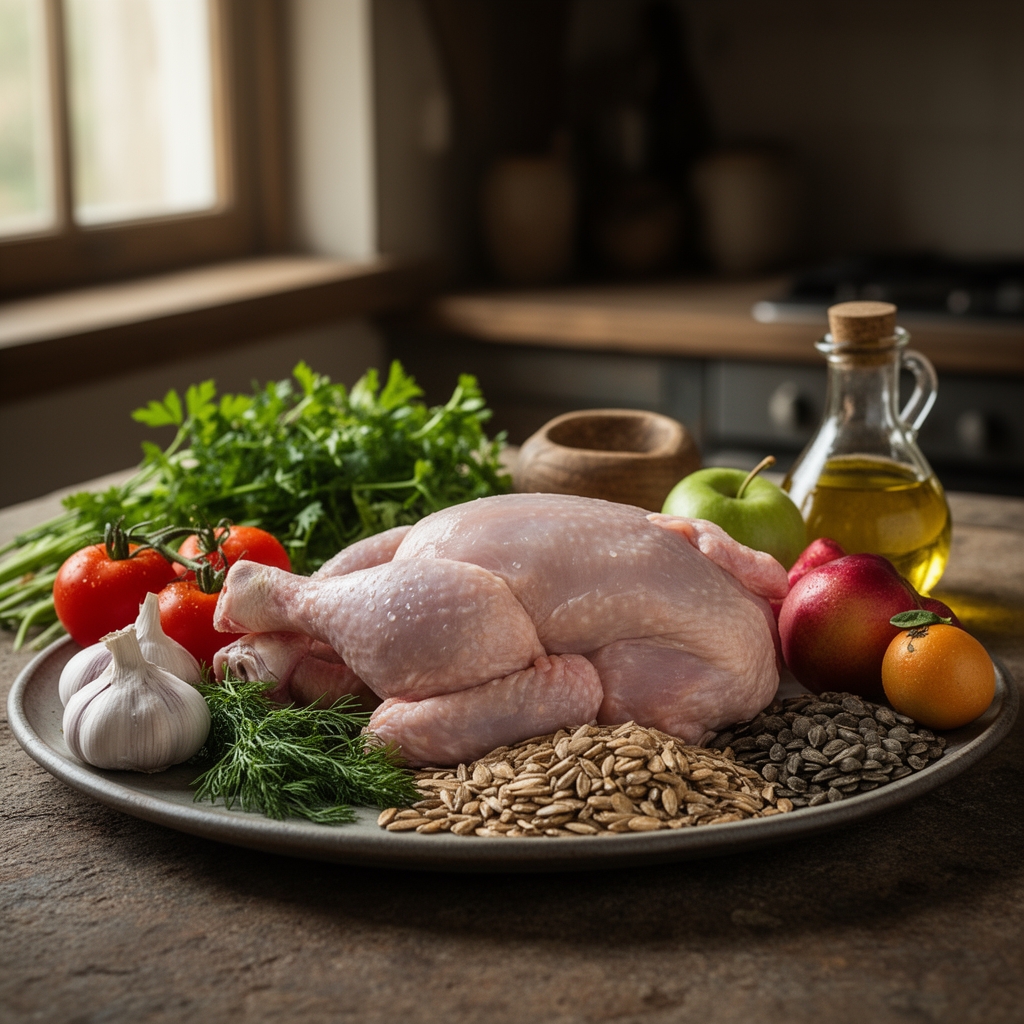
As you see in the ingredient spread below, mise-en-place for chicken starts with the protein itself. Bone-in, skin-on thighs offer forgiveness and flavor, while boneless, skinless breasts demand precision. Look for meat with a pale pink hue, never grey or slimy. Kosher salt (not iodized table salt) is non-negotiable for brining and seasoning. Neutral oil with a high smoke point, such as grapeseed or avocado, handles the 400°F+ temperatures required for proper browning. Fresh garlic, thyme, and lemon form the holy trinity of chicken aromatics, but dried herbs work if bloomed in fat first. Whole black peppercorns cracked just before use release volatile oils that preground versions have long lost. Unsalted butter finishes the pan sauce and bastes the meat without burning, thanks to milk solids that brown, not char, when added late.
Smart Substitutions: Swap thyme for rosemary or sage (use half the amount, they're more assertive). Replace lemon with white wine or apple cider vinegar (acid is the goal). If butter is out, ghee provides the same richness without dairy solids that can scorch.
The Clock
Prep Time: 15 minutes
Cook Time: 25 minutes
Total Time: 40 minutes
Chef's Flow: While the oven preheats to 425°F (218°C), dry-brine the chicken (salt applied 20 minutes before cooking). Use those 20 minutes to prep aromatics, measure liquids, and bring the meat closer to room temperature for even cooking. Preheat your pan for a full 3 minutes over medium-high before adding oil. Overlapping these micro-tasks shaves 10 minutes off perceived prep time and ensures no component sits idle.
The Masterclass
Step 1: The Dry Brine
Pat chicken completely dry with paper towels. Season with 1 teaspoon kosher salt per pound on all surfaces. Rest uncovered in the refrigerator for 20 minutes to 24 hours.
Chef's Secret: Uncovered rest removes surface moisture. Less moisture equals better browning and crispier skin. Salt penetrates the muscle, seasoning from within and slightly denaturing proteins for a firmer, juicier bite.
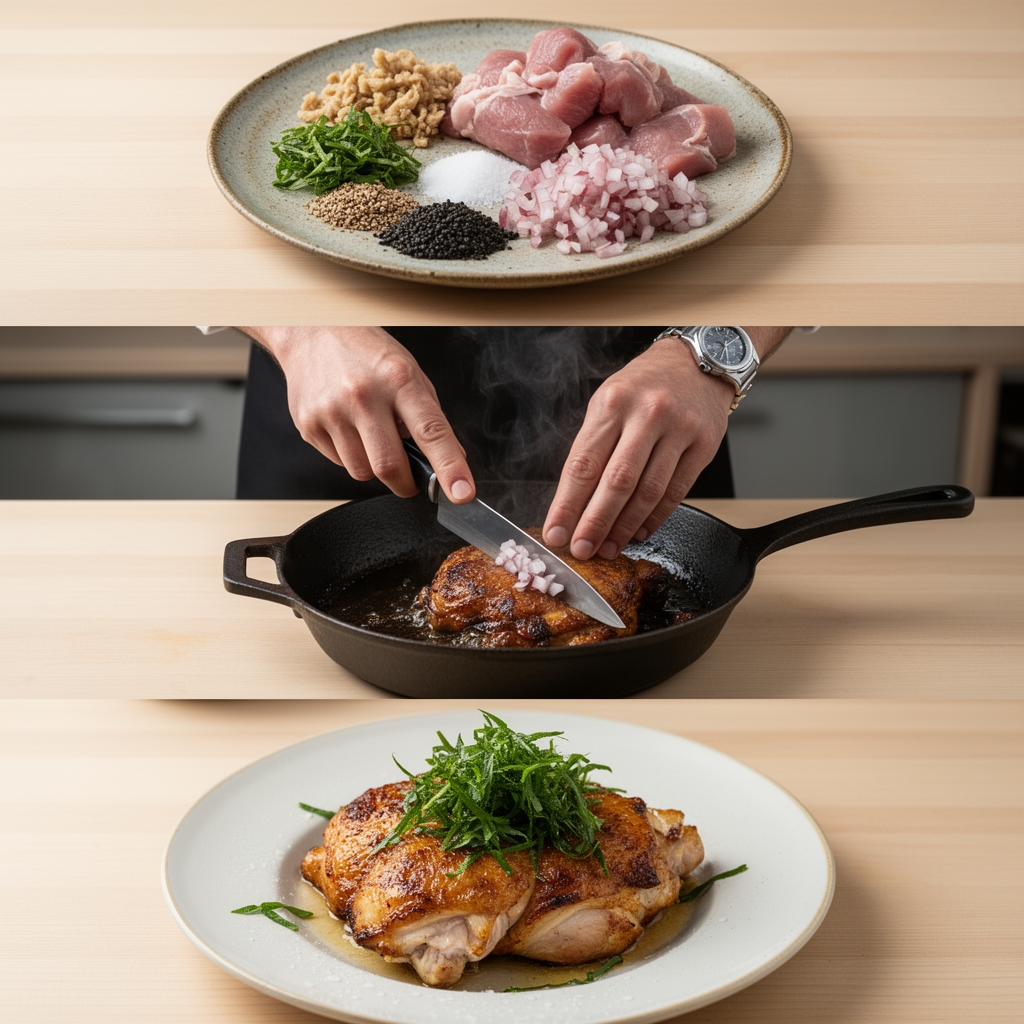
Step 2: The Sear
Heat a stainless or cast-iron skillet over medium-high for 3 minutes. Add 2 tablespoons neutral oil. Place chicken skin-side down without moving. Cook 6 to 8 minutes until deeply golden.
Why It Works: Resist the urge to peek. Proteins bond with metal initially, then release naturally once a crust forms. Flipping prematurely tears the skin and prevents the crisp crust you're after. Note the texture shown in the step-by-step photos: that mahogany crust is your target.
Step 3: The Flip and Oven Finish
Flip chicken once. Add smashed garlic cloves, thyme sprigs, and 2 tablespoons butter to the pan. Transfer the entire pan to a 425°F (218°C) oven for 12 to 15 minutes (thighs) or 8 to 10 minutes (breasts).
Chef's Secret: Finishing in the oven provides gentle, even heat from all directions. Pan-only cooking risks burning the exterior before the center reaches 165°F (74°C). The butter bastes and infuses herbaceous, nutty notes as it foams.
Step 4: The Rest
Remove chicken when a probe thermometer reads 160°F (71°C) at the thickest part. Tent loosely with foil and rest 5 minutes.
Why It Works: Carryover cooking raises internal temp to 165°F. Resting redistributes juices driven to the center by heat. Cutting immediately causes those juices to hemorrhage onto the board, not your palate.
Step 5: The Pan Sauce
Return the skillet to medium heat. Add 1/2 cup white wine or stock, scraping browned bits. Reduce by half. Swirl in 1 tablespoon cold butter off heat.
Chef's Secret: Deglazing dissolves fond, the caramelized proteins and sugars stuck to the pan. Those bits are umami bombs. Cold butter, added off heat, emulsifies into a glossy sauce rather than breaking into greasy puddles.
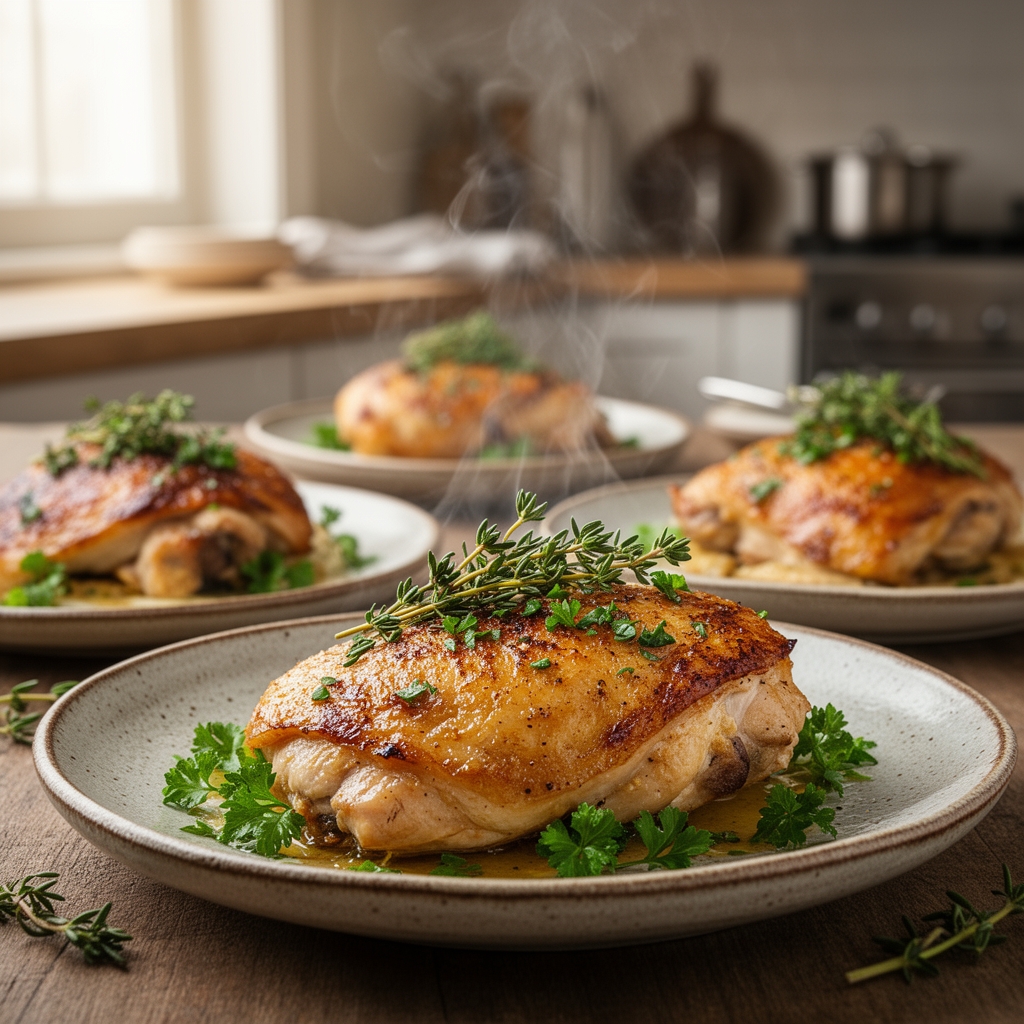
Step 6: The Plate
Slice against the grain if serving breasts. Spoon pan sauce over chicken. Garnish with fresh herbs and a squeeze of lemon.
Why It Works: Slicing against the grain shortens muscle fibers, making each bite more tender. Acid brightens the rich, fatty flavors and balances the dish.
Step 7: The Temperature Check
Always verify doneness with an instant-read thermometer. Breasts: 165°F. Thighs: 175°F for rendered collagen and silky texture.
Chef's Secret: Dark meat benefits from higher temps. At 175°F, collagen melts into gelatin, giving thighs their luxurious mouthfeel. Breasts dry out past 165°F, so precision matters.
Step 8: The Carryover Calculation
Pull chicken 5°F below target temp. Residual heat does the rest.
Why It Works: This technique prevents overcooking. A breast at 160°F, rested, hits 165°F perfectly. One cooked to 165°F becomes 170°F and chalky.
Nutritional Info
Per serving (6 oz chicken thigh with skin, 2 tbsp pan sauce):
Calories: 340
Protein: 28g
Fat: 24g (8g saturated)
Carbohydrates: 1g
Sodium: 480mg
Skinless breast reduces fat to 8g and calories to 220. Dark meat provides more iron and zinc, while breast offers leaner protein. The pan sauce adds negligible carbs but concentrates flavor.
Dietary Swaps
Keto: Already compliant. Increase fat with extra butter or olive oil drizzle.
Gluten-Free: Confirm stock and wine are gluten-free. Otherwise, no adjustments needed.
Paleo: Skip butter in the sauce. Use ghee or finish with extra-virgin olive oil.
Vegan Pivot: Replace chicken with king oyster mushroom "scallops" or firm tofu, pressed and seared. Mimic the process: high heat, no movement, oven finish. Timing drops to 6 minutes in the oven.
Serving & Presentation
Rustic Farmhouse: Serve chicken on a bed of creamy polenta. Drizzle pan sauce and scatter crispy fried sage leaves.
Modern Minimalist: Slice breast thinly. Fan across a white plate. Pool sauce to one side. Microgreens and edible flowers for color.
Family Style: Arrange whole pieces on a platter. Surround with roasted root vegetables and fresh herbs. Pour sauce into a small pitcher for guests to self-serve.
The Pro-Dodge
Pitfall 1: Crowding the pan causes steaming, not searing.
Fix: Cook in batches. Leave 1 inch between pieces. Steam is the enemy of crust.
Pitfall 2: Using cold chicken straight from the fridge.
Fix: Rest at room temp for 15 minutes. Cold centers cook unevenly, leaving raw spots while the exterior chars.
Pitfall 3: Cutting into chicken to check doneness.
Fix: Invest in a $20 instant-read thermometer. Slicing releases juices and reduces succulence. Guessing is for amateurs.
The Meal Prep Corner
Storage: Cool completely. Store in airtight containers for up to 4 days. Keep pan sauce separate to prevent sogginess.
Reheating: Place chicken in a 350°F (177°C) oven for 10 minutes. Add a splash of stock to the container to reintroduce moisture. Microwave works but sacrifices skin crispness.
Pro Tip: Shred leftover chicken for tacos, salads, or soup. The seasoning and flavor base are already built in.
The Wrap-Up
These eight tips form the backbone of every professional's approach to cooking with chicken recipes. From dry-brining to carryover cooking, each step leverages biology and physics to coax maximum flavor and texture from poultry. Practice these principles on repeat until they become instinct. Your family, your dinner guests, and your own palate will notice the difference immediately. Drop a comment below with your biggest chicken cooking challenge. Let's troubleshoot together.
The Kitchen Table
Q: How long should I brine chicken?
A: Minimum 20 minutes, maximum 24 hours. Beyond that, texture turns mushy as salt over-denatures proteins. For a 4-pound bird, 12 hours is the sweet spot.
Q: Can I use frozen chicken?
A: Thaw completely in the refrigerator (24 hours per 5 pounds). Frozen chicken releases excess water during cooking, preventing proper browning and diluting flavor.
Q: Why is my chicken skin rubbery?
A: Moisture is the culprit. Dry the skin thoroughly, use high heat, and avoid covering the pan. Rendering fat takes time. Patience delivers crackly, golden skin.
Q: What's the best pan for searing chicken?
A: Stainless steel or cast iron. Nonstick prevents fond development and can't handle oven temps above 400°F safely. Heavy pans retain heat better, ensuring even crust formation.
Q: How do I prevent dry breast meat?
A: Pull at 160°F, rest for 5 minutes, and rely on carryover. Brining helps, but temperature control is everything. A few degrees separate juicy from jerky.